It’s time for part 2 of exploring some cool and relatively unique features in Logic Pro X while I spend a month using it.
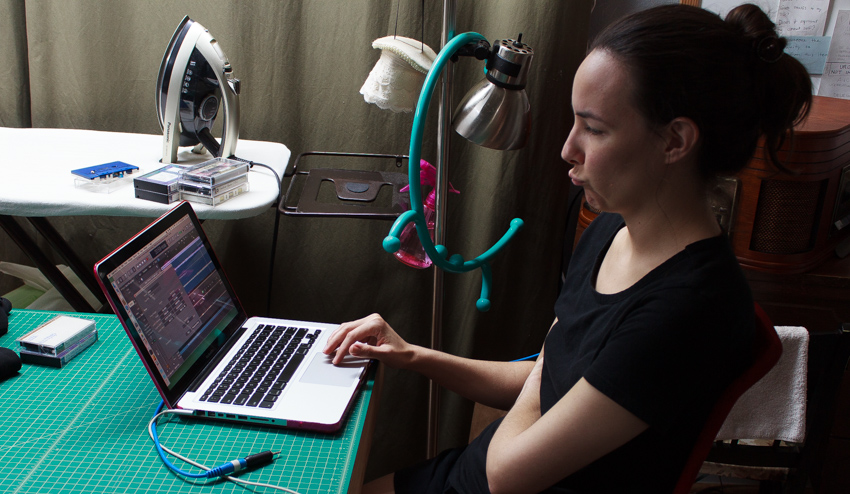
These are some features for correction and creativity. (It so happens that my wife (seen above) was causually using these features to restore some old music cassettes in her sewing room the last few days.)
- Flex Time
- Flex Pitch
- Groove Track
- Quick Help
Time to dive in.
p.s. That’s a Cane Massager hanging off the lights. They’re pretty awesome for fixing knots in your neck and back that you can’t reach yourself.
Other parts in this series:
- Cool things in Logic Pro X Part 1
- Cool things in Logic Pro X Part 3
- Cool things in Logic Pro X Part 4
- Cool things in Logic Pro X Part 5
- Logic Pro X Tips & Tricks and more cool things
- Logic Effects Review
- Cool things in Logic Pro X Part 10.4
- Logic Instruments and MIDI Effects Review
- Things I hate about Logic Pro X and Conclusion!
Contents
Flex Time
‘Audio Warping’ is a big feature in the post-2010 DAW world. This feature allows you to grab a single piece of audio and stretch the audio just at that point. Watch the video above to see what’s happening.
Logic calls this feature ‘Flex time’, and it wouldn’t warrant a specific mention except for how well it works. The initial transient detection is usually quite good, but when it’s not you can switch to the ‘File’ view inside the editor and easily add/remove or adjust markers. Flex makers can be edited/adjusted in the ‘Track’ view in the editor as well if needed.
Logic allows you to easily choose if you want to move the entire track after the flex marker (by moving the top of the marker), or only applying the flex marker change between the previous and next flex marker (by moving the bottom of the marker). In the video above I am only adjusting the notes that are between the previous and next. This means that I’m only affecting 2 notes potentially which yields a much cleaner sound.
Logic’s Flex Time algorithms sound good, but they aren’t the best. That award goes to Reaper, Studio One, Ableton Live and Cubase (using elastique v3). Where Logic shines is how well it allows you to control the flex markers and how well it marks transients. The net result tends to be a workflow that favours fewer changes and less drastic changes. My results using Flex Time are almost always superior in time spent and overall quality compared to other implementations.
Flex time is awesome for remixes and creatively changing loops as well. Flex time is used natively by Logic when adjusting audio (including loops) to a new project tempo.
A place where Flex time really shines is Multitrack Flex Time…
Multitrack Flex Time
Logic has the ability to to phase-locked flex time edits to a group of tracks. First you create a group with the ‘Quantize-Locked (audio)’ setting, then you select one or two tracks as the ‘Q-reference’.
The ‘Q-reference’ tracks’ markers are copied to all of the other tracks in the group. Now when you make a flex time edit to one of those markers, all of the markers on the other tracks are moved too. Using the ‘Slicing’ mode with ‘Fill Gaps’ turned on produces excellent drum edits, especially when very small adjustments are made.
This isn’t just for drums though. You can use it on double/triple tracked guitars, vocals or anything you can think of where multiple tracks represent a single ‘instrument’.
Other DAWs like Pro Tools, Studio One and Reaper also have excellent implementations of this functionality, but Logic’s ease of use is once again the trump card. In the time it takes to setup markers, adjust markers, group tracks, copy markers etc… in another DAW, I’m already halfway done editing in Logic.
Flex Pitch
Flex Pitch allows you to reach in to audio and adjust the pitch, gain and timing of each note-event in the audio. You can use this feature to correct audio or creatively create new melodies or harmonies.
Flex Pitch only works on monophonic sources, not polyphonic sources like some other certain software. This means that the part ideally is only playing 1 note at a time. Flex Pitch can be used on a variety of polyphonic sources, but you may not always get the expected results. Maybe that’s great though if you’re looking for inspiration!
Each note in the Flex Pitch editor has 6 handles (from right to left, top to bottom) -
- Pitch Drift - pitch drift on the onset of the note
- Fine Pitch - fine adjustment of the note’s pitch
- Pitch Drift - pitch drift on the exit of the note
- Gain - volume of the note
- Vibrato - pitch movement during the note
- Formant Shift - changing the resonance in the note. Think changing from a male voice to a female voice without changing the pitch.
Each note can be moved in time, split (using the scissor tool) and glued (by using the glue tool on selected notes). There is a scale quantize function that allows you to quantize the selected notes to a specific scale, including custom scales.
Flex time is decent for small pitch edits, but awesome for creating harmonies. Just duplicate your track and Flex Pitch the duped track with a new part. Shift some notes around, play with the formant a bit to add some variety to the sound then you instantly have a harmonized part!
Once again Logic isn’t the only DAW with this feature built-in; Cubase, Digital Performer and Samplitude have similar features. Logic’s Flex Pitch is just easier. Accessing the 6 aspects of each note is simple and always at hand.
Logic’s Flex Pitch isn’t the best sounding either, however in my experience it’s about on par with other DAW’s implementation. If you want really high-quality pitch editing then software like Melodyne, Auto-Tune (yes, auto-tune!) and Pitchmap are all superior to what any DAW offers. It’s my opinion that ease of use and quick results are the current benchmark for integrated pitch editing in DAWs, and Logic wins there. If you truly need quality then no integrated DAW pitch editing solution is sufficient except for very small adjustments. Not even Digital Performer 9.5’s new algorithms come close to the third-party solutions.
Groove Track
Many DAWs have things called ‘Groove Templates’ or ‘Groove Quantize’. Logic has these if you wish to use them, but no matter what DAW you use they are a bit of a hassle.
Enter the ‘Groove Track’.
In Logic Pro X you can simply set a track as the ‘Groove Master’, then assign other tracks as ‘Match Groove Track’s. Logic extracts the timing variances from the master and applies them to the ‘Match Groove Track’s. Fast and simple.
You can match audio to midi, audio to audio, midi to audio and midi to midi. It doesn’t matter. Any tracks can have the groove matched to the master. When an audio track is being matched, it uses the Flex Time settings of that track.
In the video above the track with the star is the ‘Groove Master’. I demonstrate matching midi to audio and audio to midi. It’s really that fast and simple!
NOTE - with the default Logic setup you need to right click on the track header then select Track Header Components->Groove Track. Groove tracks are not shown by default.
Quick Help
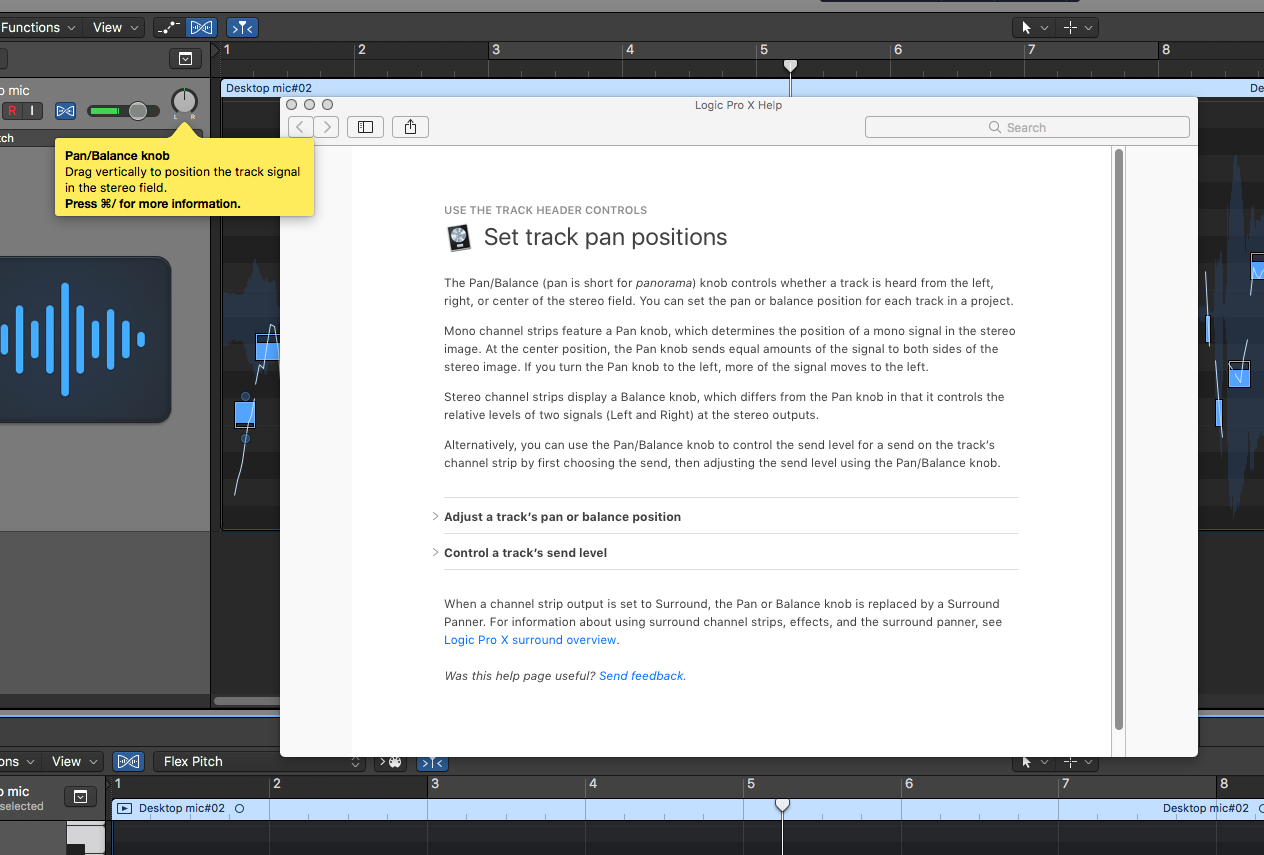
I think most Logic users turn off the ‘Quick Help’ function right away. Quick help gives you a little pop-up bubble with an explanation of the widget under the mouse. You can turn this on or off by clicking the ? In the upper-left of Logic.
Let’s ignore that quick help feature. It’s pretty annoying after your first few minutes in Logic. The real quick help that’s awesome is hoving your mouse over something and pressing cmd-/. The Logic help pops up with the corresponding help topic on that widget. This works with quick-help turned off.
I’ve used Logic quite a bit in the last few years, and I still use the cmd-/ feature to pull up some reference on a topic when I forget some detail. While writing this post I had to use it twice to double check some information, and it probably saved me an hour of googling.
Support Me!
This post took 3 hours to research, screenshot, write and edit. If you appreciate the information presented then please consider joining patreon or donating!
