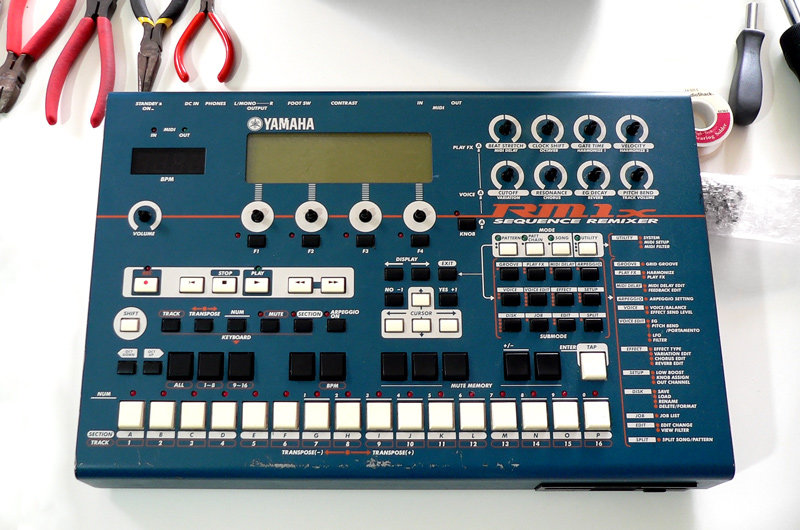
Today we’re going to have a tutorial on how to replace the switches on the Yamaha RM1x. Why would you do this you may ask? There’s a few reasons:
- The switches break. It’s fairly common for the switches on this machine to go bad and be very difficult to use.
- You can have better feel on your switches. Switches with a tactile click are much better for this purpose.
- Resale value! The RM1x is worth more when the most common problem and complaint is resolved.
To begin with, let’s make another list! Supplies you will need!
- Screwdriver
- Tape
- Marking device
- Solder
- Soldering iron
- Some sort of desoldering device. I’m using braid in this tutorial for simplicity of demonstration.
- New Switches: I suggest purchasing these switches
- A good work space
Contents
Dissassemble!
First thing we need to do is disassemble this thing. Remove the knobs, then remove the screws.I suggest getting a few cups so you can keep the screws organized. It can be a pain to try and figure out which screws go where later.
Now take the top cover off. If it doesn’t come off then you forgot a screw.
Prepare for re-assembly
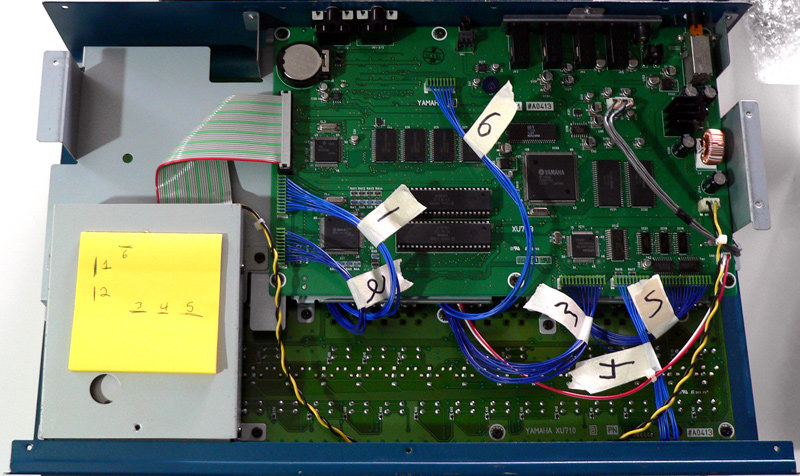
I’m sure people will think this is dumb, since you can’t reconnect these cables incorrectly, but take some tape and label all the blue cables!! It’s not so you remember where to plug them in. There are 2 layers to the RM1x and you will need to position the cables when putting on the top layer. The last thing you want is to screw through a cable or end up ripping something out because it’s not positioned properly beneath the board.
Trust me, this is a good idea.
Dissassemble more
Remove all the screws on the floppy drive, and the top circuit board. Once again try to keep things in well organized cups or ramequins, because screwing up the re-assembly sucks. Har har.
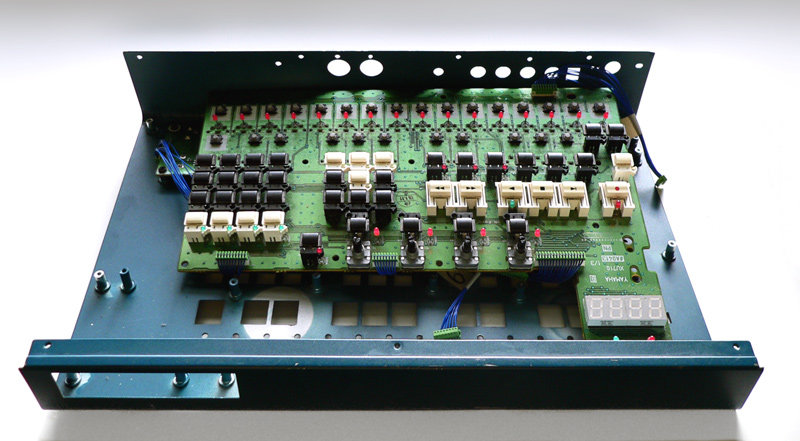
Fully remove the top board and set it aside, preferably on something you know is non-static and clean.
Unscrew the bottom board and do the same thing. We’ll be working on the bottom board.
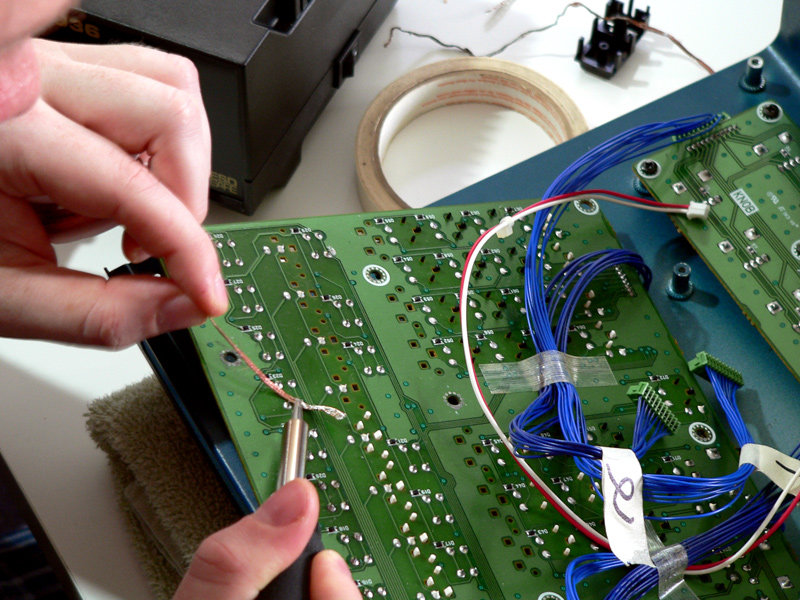
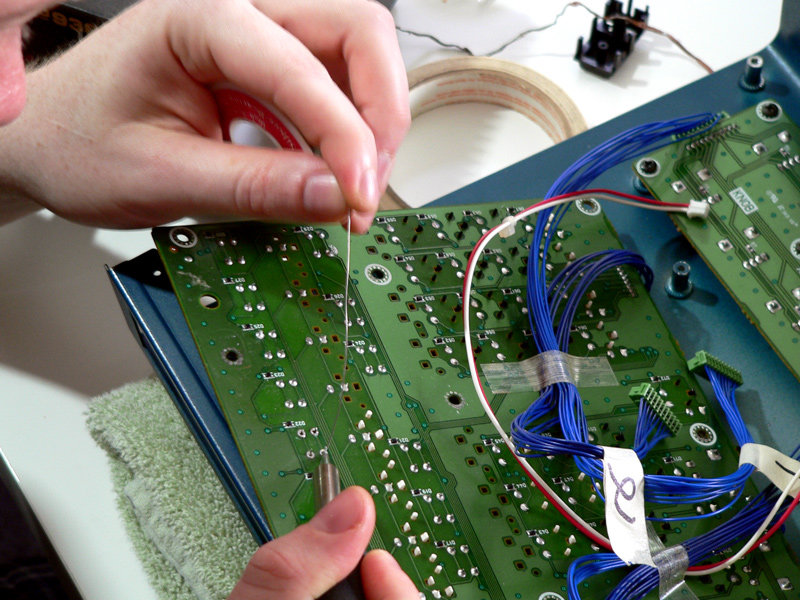
Desolder
I’m using braid in this tutorial much to my chagrin, but I thought it would be easier to demonstrate, and easier for a newbie to use. I can assure you off camera this is not how I did it.
When using desoldering braid, simply press the braid down against the solder and put your soldering iron on top of the braid. Once you see the solder wicked, move on.
We’re going to remove the bottom row of switches only for this. The keyboard section.
New switches!
Now simply put on the new switches once the old ones are all gone!
I put the switch into the holes, then press the legs out slightly so it sits in there tightly when I turn it upside down to solder.
The proper procedure is to heat up the switch then apply solder. This makes sure you have a complete bond between the metal and solder.
Finished
New switches are on. You were patient and now you are rewarded. Carefully put the cables back and carefully put the top layer on. I can not emphasize how easy it is to put a screw through one of those cables. Don’t do it!
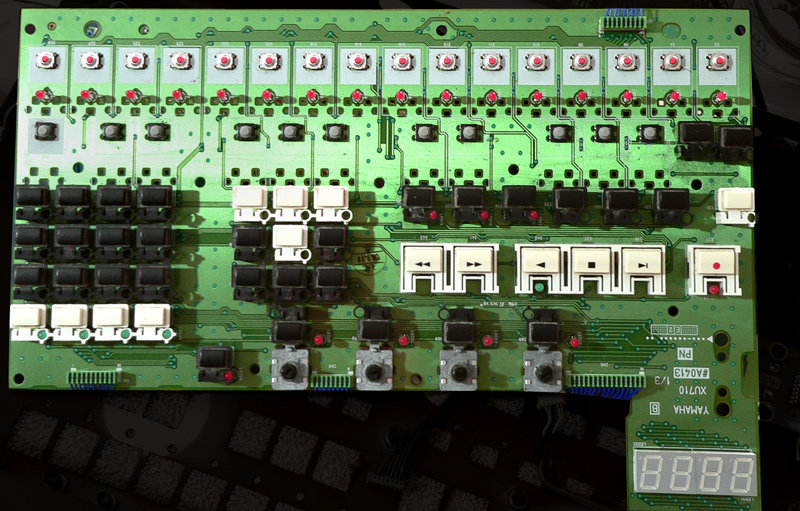
Here’s a picture of the board half done with new switches, just for reference.
Wasn’t that easy? Remove screws, organize screws, brain on solder, iron on braid, switches in holes, legs bent, iron on switch, solder on switch, screws in holes, beats in brain. Done. Cool.
