I've been playing a lot of funk, and funk inspired music on my kit lately and I really wanted a small muffling pillow for my drum.
I've tried just shoving a pillow in there, blankets, tape, foam and all the other random things. They all muffle the drum way too much! Clearly we need a custom solution, so that's what I've done.

Contents
- Begin
- Measure
- Iron
- Mark the first seam
- Layout the zipper.
- Sew the Zipper
- Open the zipper
- Sew up the box
- Iron the square corners.
- Measure the square corners
- Cut the corners
- Invert
- Fill
- Done
- Support me!
Begin

The materials that I'm using are.
- Light duck cloth remnants from Joann Fabrics. I purchased remnants for about $3. That was enough for the entire project.
- Gutterman Polyester Thread
- Heavy Duty Zipper. I have a huge roll of zippers from a yard sale. So that's what I used.
- I filled my drum pillow with wood shavings. Surprise right?! Use whatever you want. Wood shavings offer nearly the perfect amount of give for my muffling pillow, and I have tons of them that I save.
Measure
The first thing to figure out is how big the inside of your drum is. Measure it from the inside of the batter to the inside of the resonant head. My drum is 20.5" inside.
Now we calculate the seam allowances, and the square corner allowance. The width of the pillow is up to you. I also wanted my pillow to be 3" tall. I am using 1/2" seams here, so this is what we have to factor in for the length of the pillow.
- 20.5" - The final dimension
- 0.5" - Seam of one end
- 0.5" - Seam of the other end
- 1.5" - One end's squared fold-over.
- 1.5" - The other end's quared fold-over.
Total: 24.5" length.
For a total 12" width:
- 12" - The final width
- 0.5" - Seam of one side
- 0.5" - Seam of the other side
- 1.5" - One square corner
- 1.5" - The other square corner.
Total: 16" width.
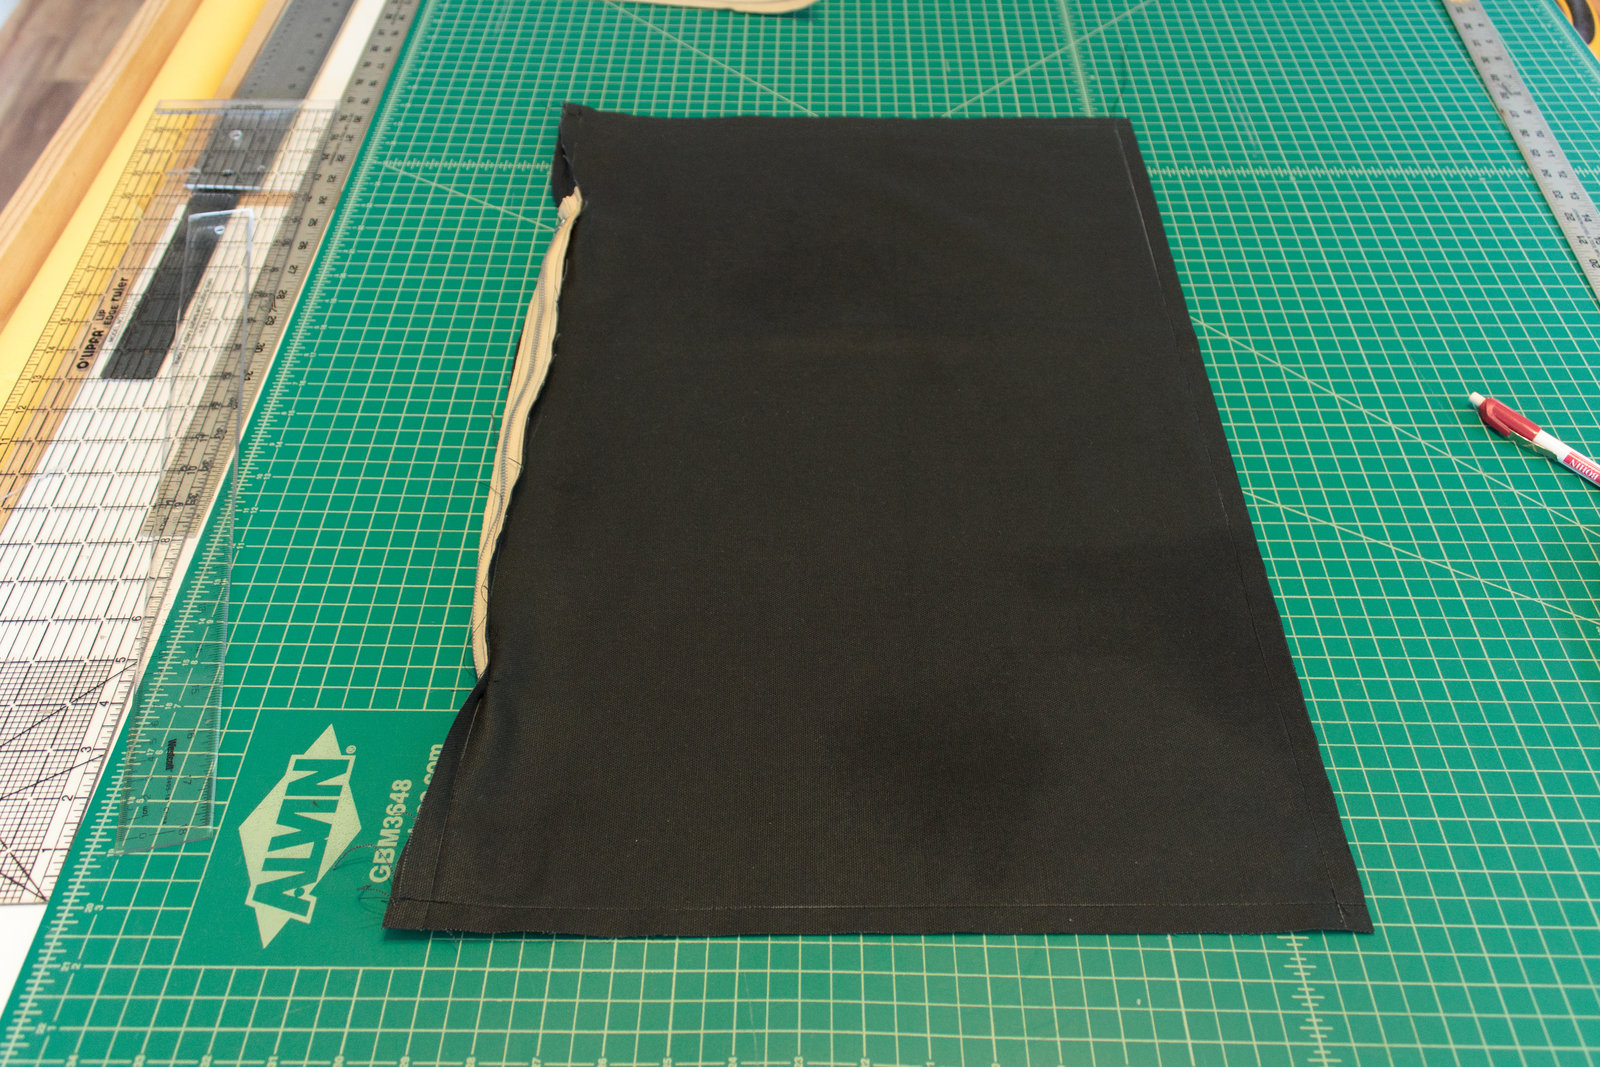
Iron
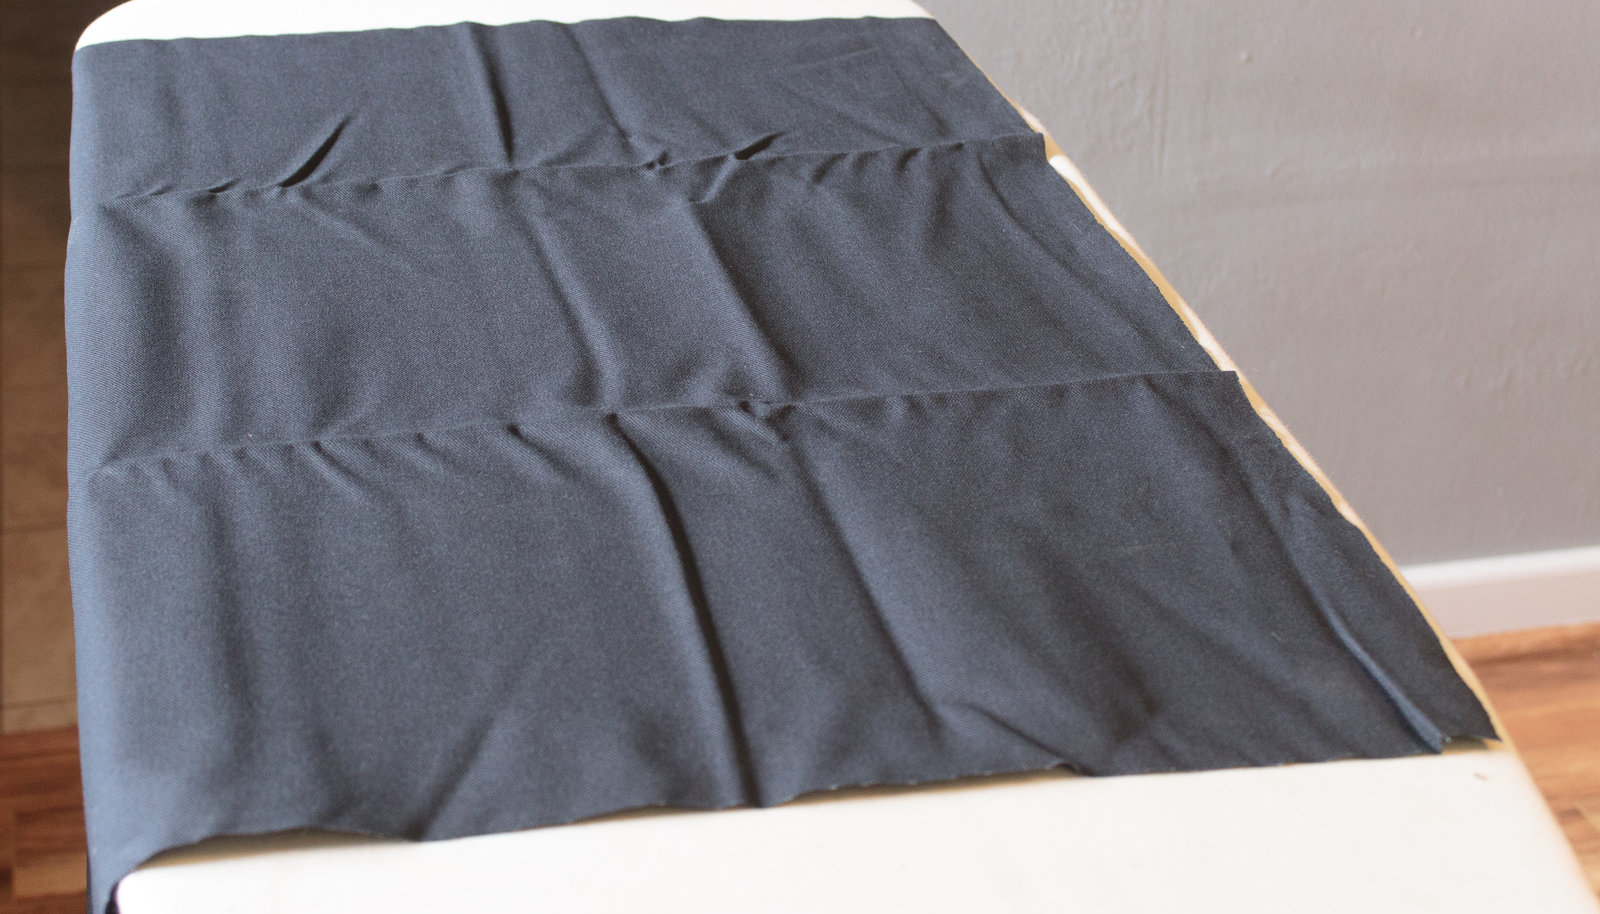
You must iron your fabric before you start. This is not optional. Your pillow will not turn out well if you do not do this.
I repeat, iron your fabric.
It should look nice and pretty like this.
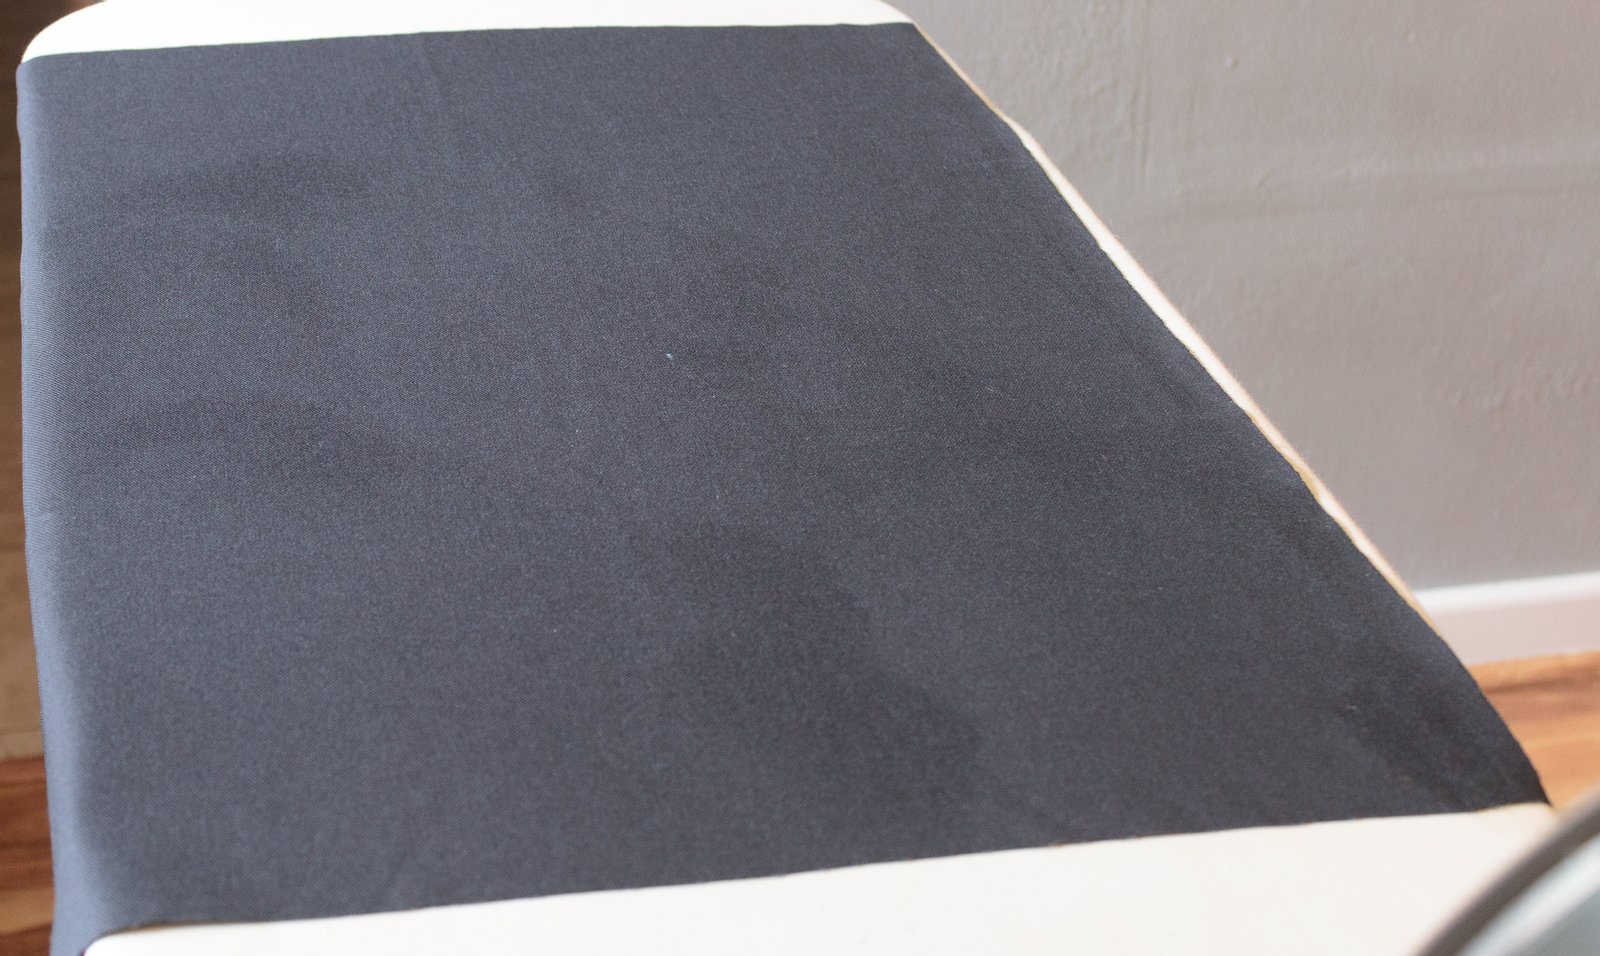
It is damn near impossible to mark out accurate lines and sew straight seams if you are working with wrinkly fabric.
If you are using duck clock, set your iron to the 'linen' setting. Spray the duck clock with some water and go to town. Without water, it will take a while, but a light spritz really speeds things up.
Mark the first seam

Mark your first seam 1/2" from the edge. I am using a Bohin Chalk Pencil to do this. It's a fantastic product, and if you do any amount of sewing you really should have one of these.
I am planning on putting my zipper in the center of the side seam. So I am sewing the side seam first. That is one of the longer sides.
Sew it.
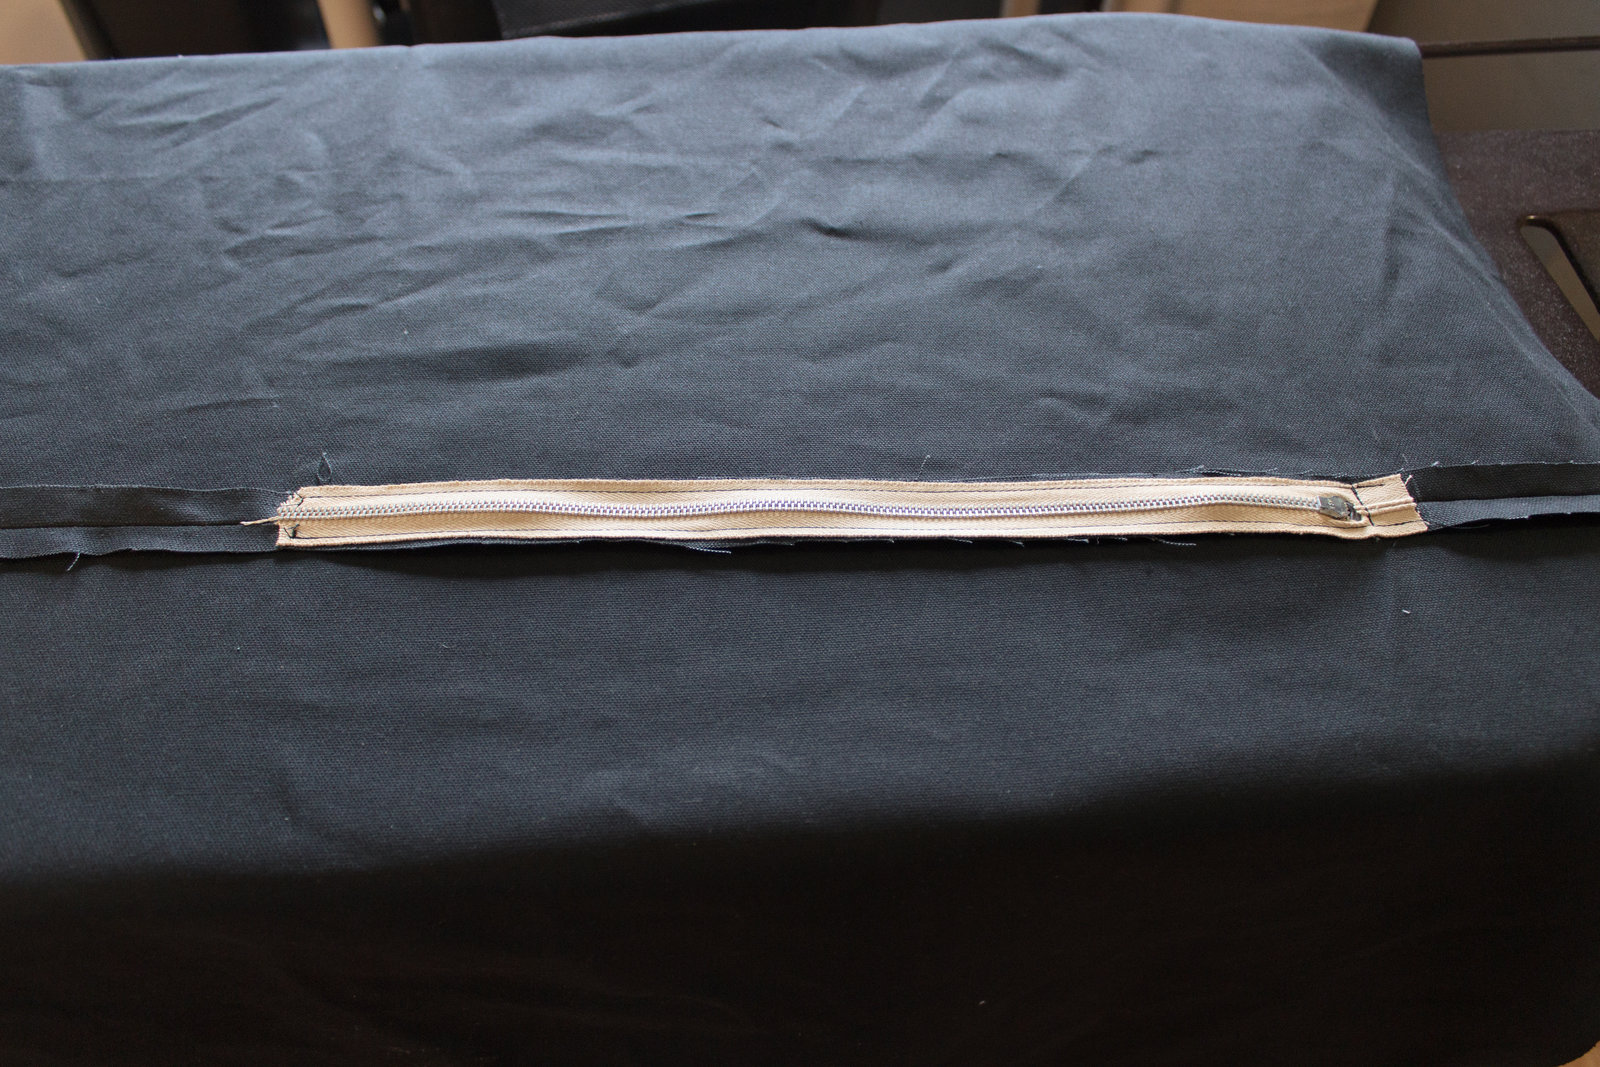
Layout the zipper.
So now there's more ironing to do. Open up the seam that you just sewed and iron it open like in the picture. You can put the zipper wherever you want as long as it's sufficiently far from the edges to not interfere with the square corners.
It is very important for the clasp to be sewn down. If you see the zipper clasp when you are sewing, you've screwed up.
I did this, despite knowing not to do it. It can happen to anyone. Take my word for it and don't screw this up.
Sew the Zipper
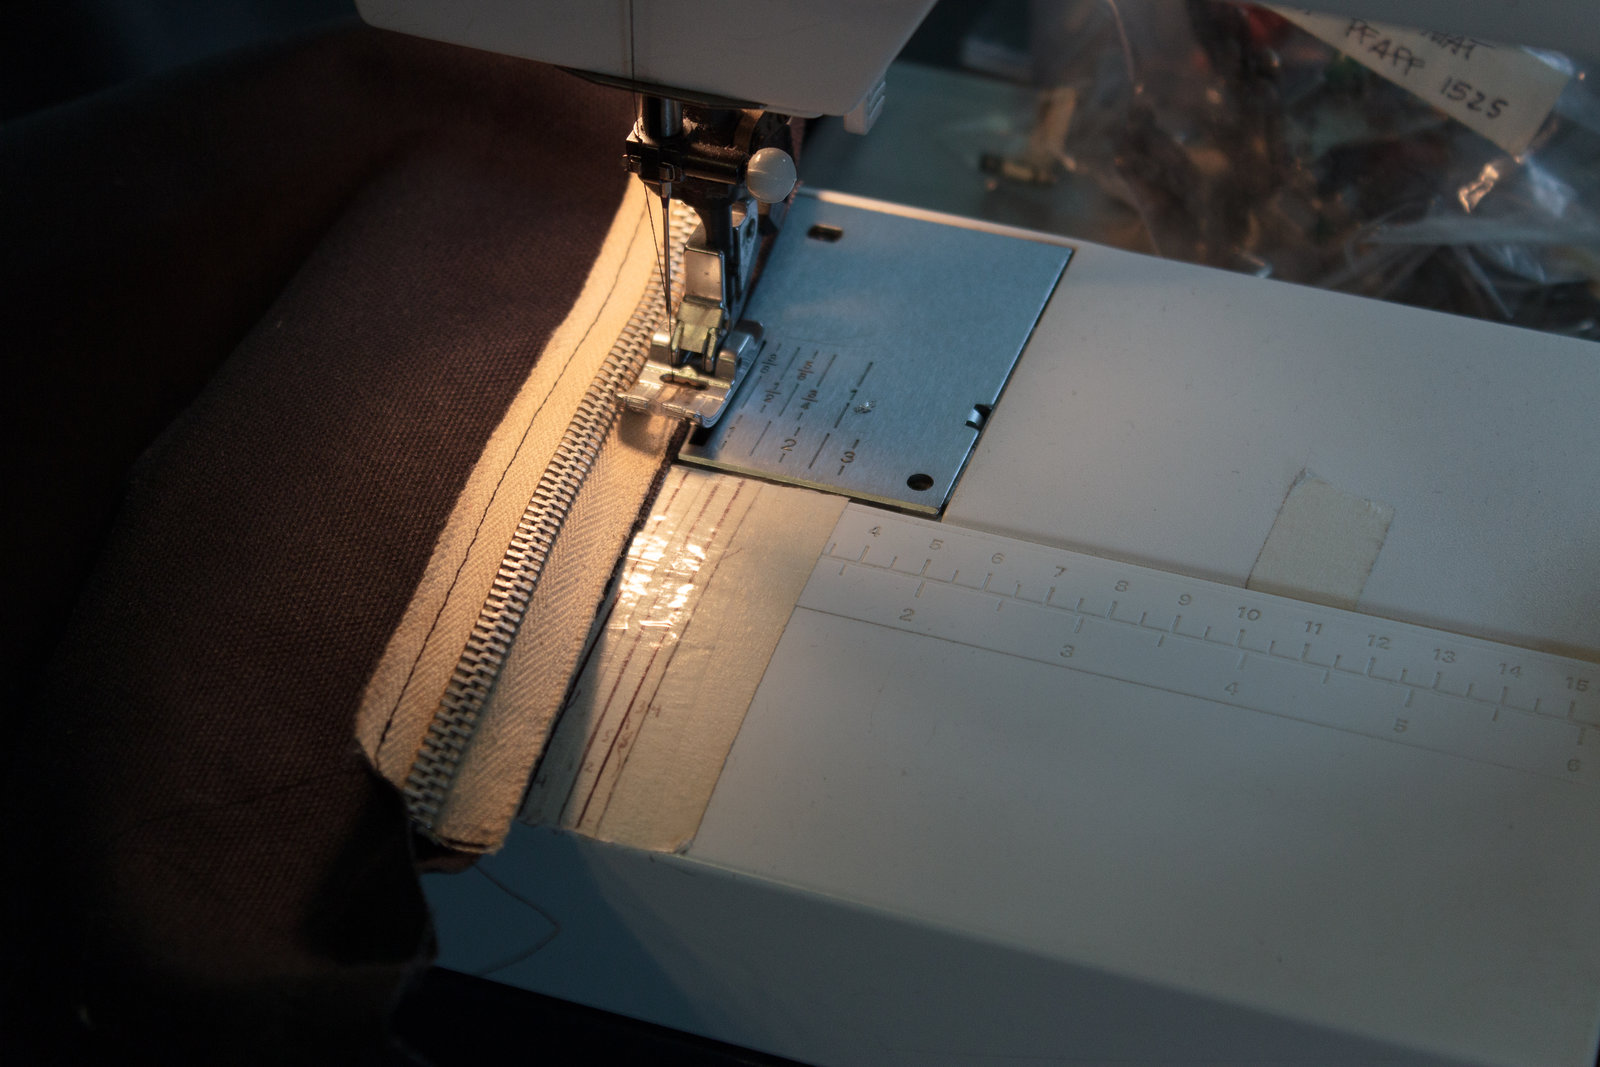
Now just sew the zipper on. The zipper is only sewn to the seam wings. It is not attached to the main pillow body. You are only sewing the long seam of the zipper to the seam that it's laying on. The small finishing seams are attached to the pillow. See the next picture for clarification.
This means you need to fold the pillow back and only sew on the seam.
I use a 1/4" allowance and move my needle all the way to the side, since I couldn't find my zipper foot.
Take note of how it's sewn. I finished the ends, and it's only attached to the seam along the length. The cross seams at the end need to be sewn in to the pillow body. Inspect the above picture clearly.
If you are unsure, read the next section and the previous section to see what is happening.
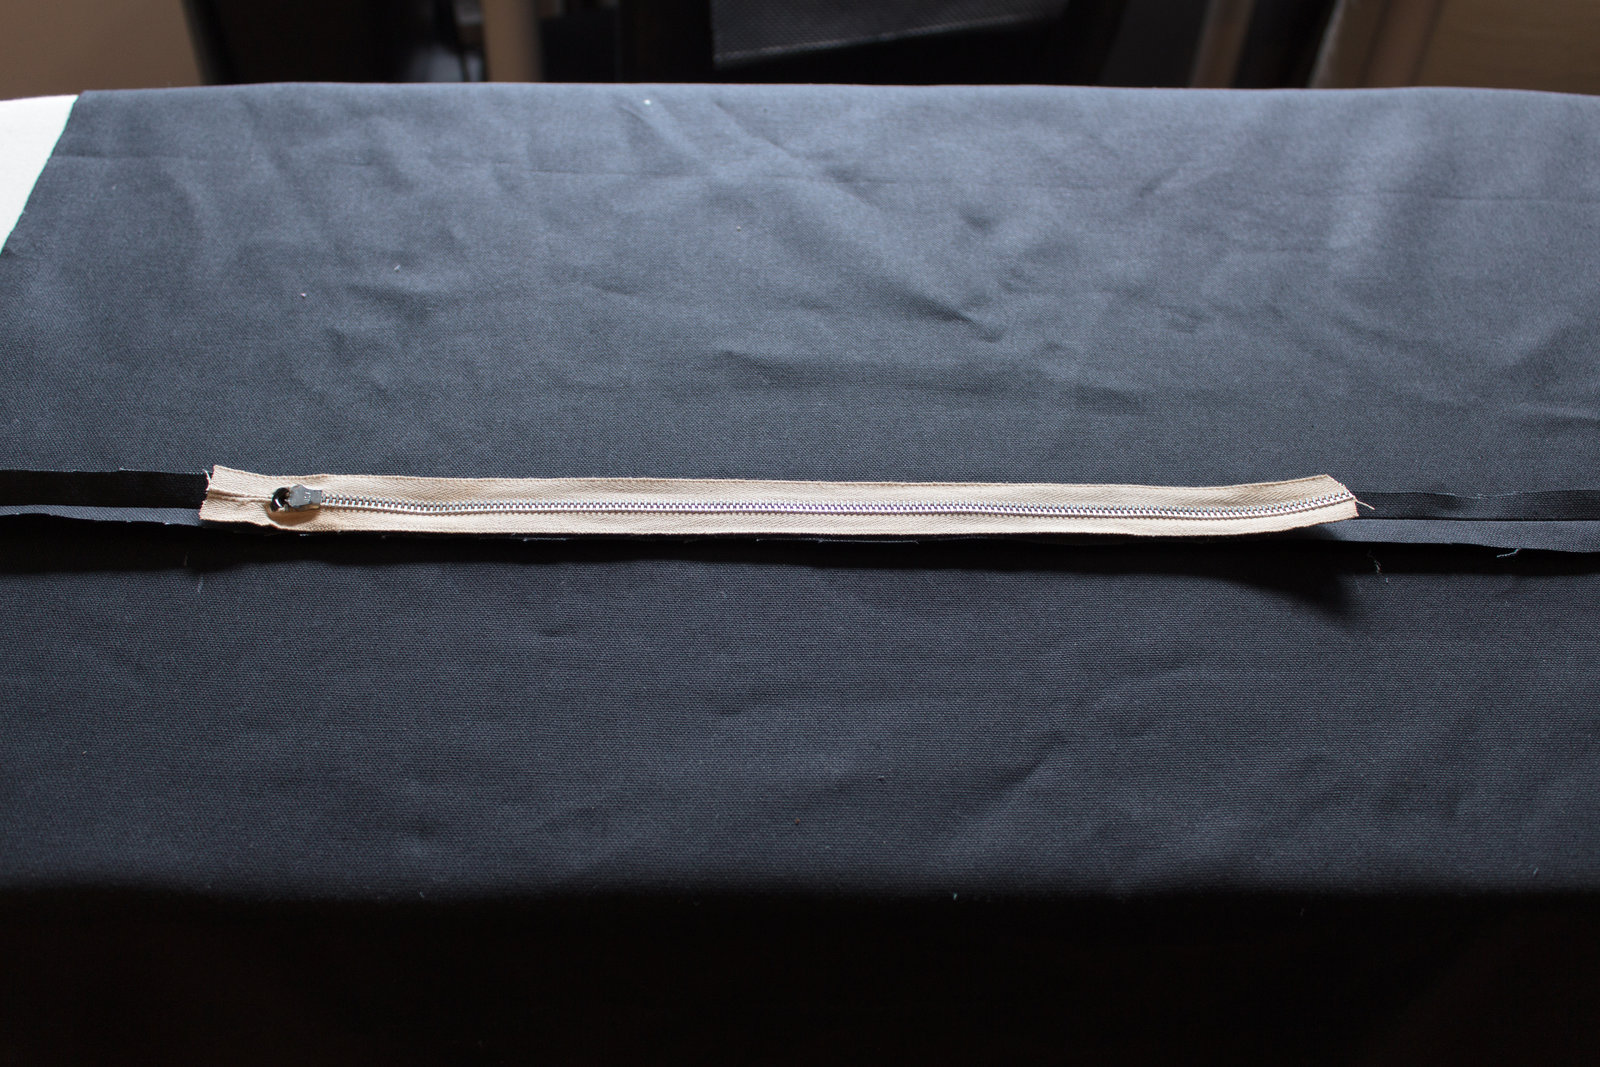
Open the zipper
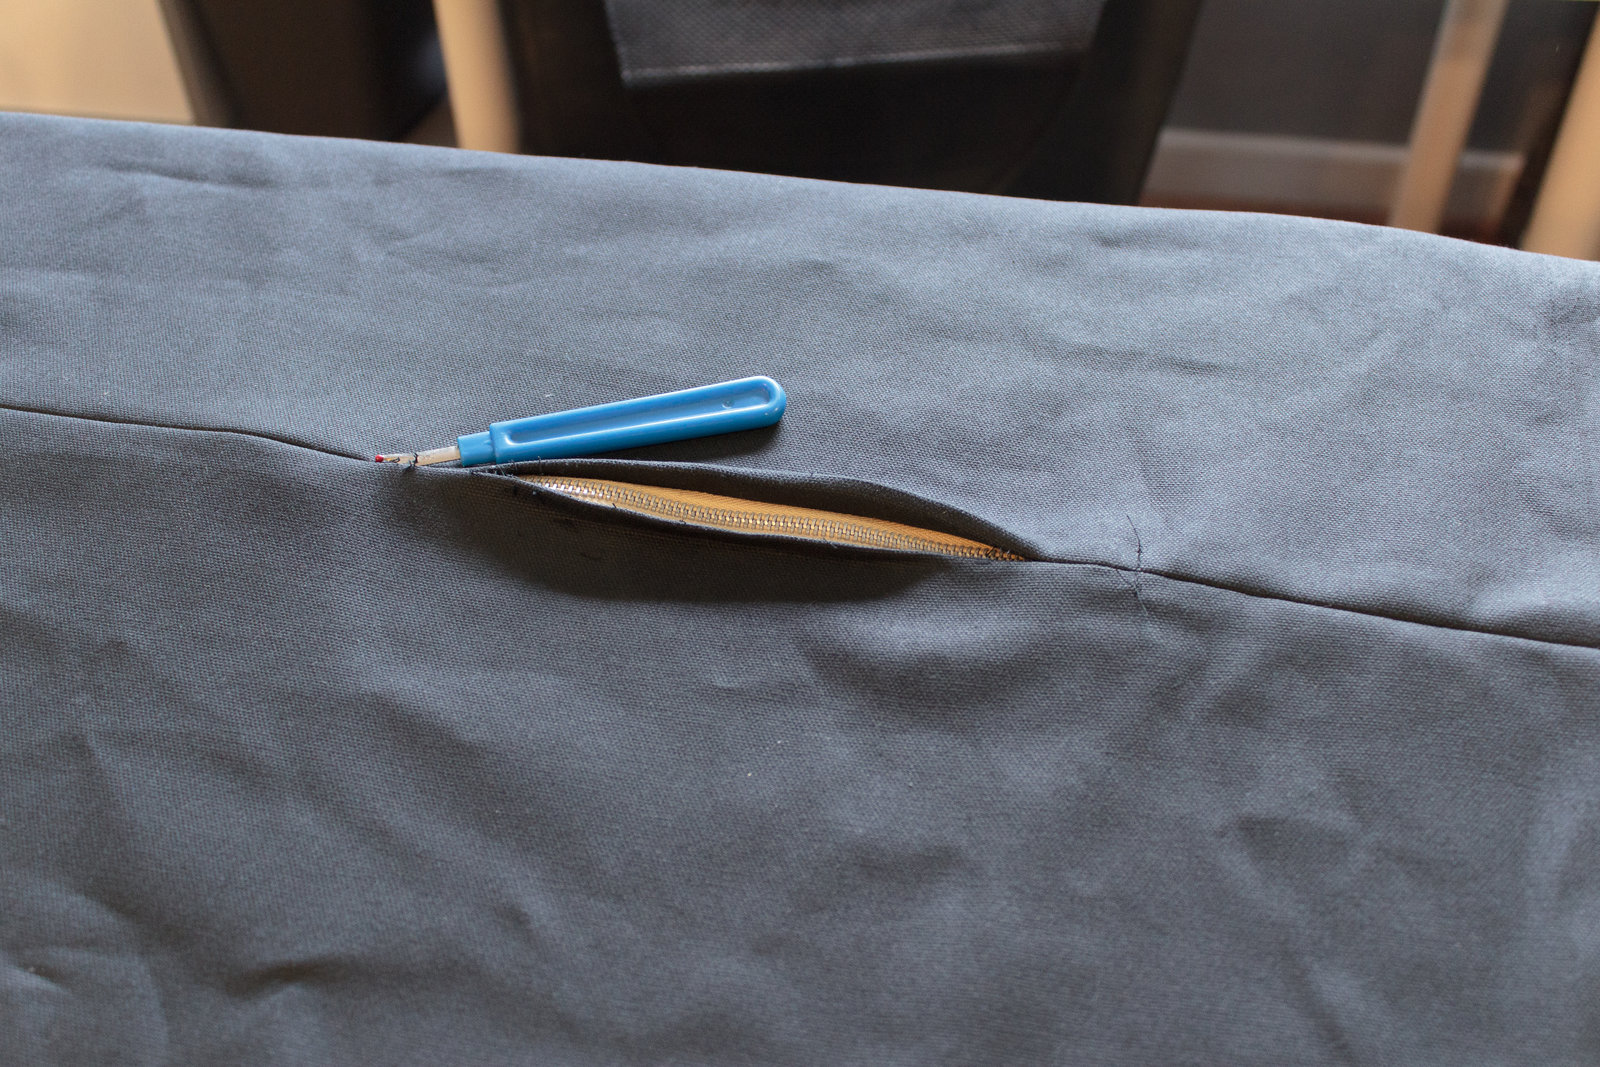
This is where the magic happens. Take a seam ripper, razor blade, knife or whatever you want and undo the seam between the 2 finishing seams on the zipper.
Once your zipper looks like this...
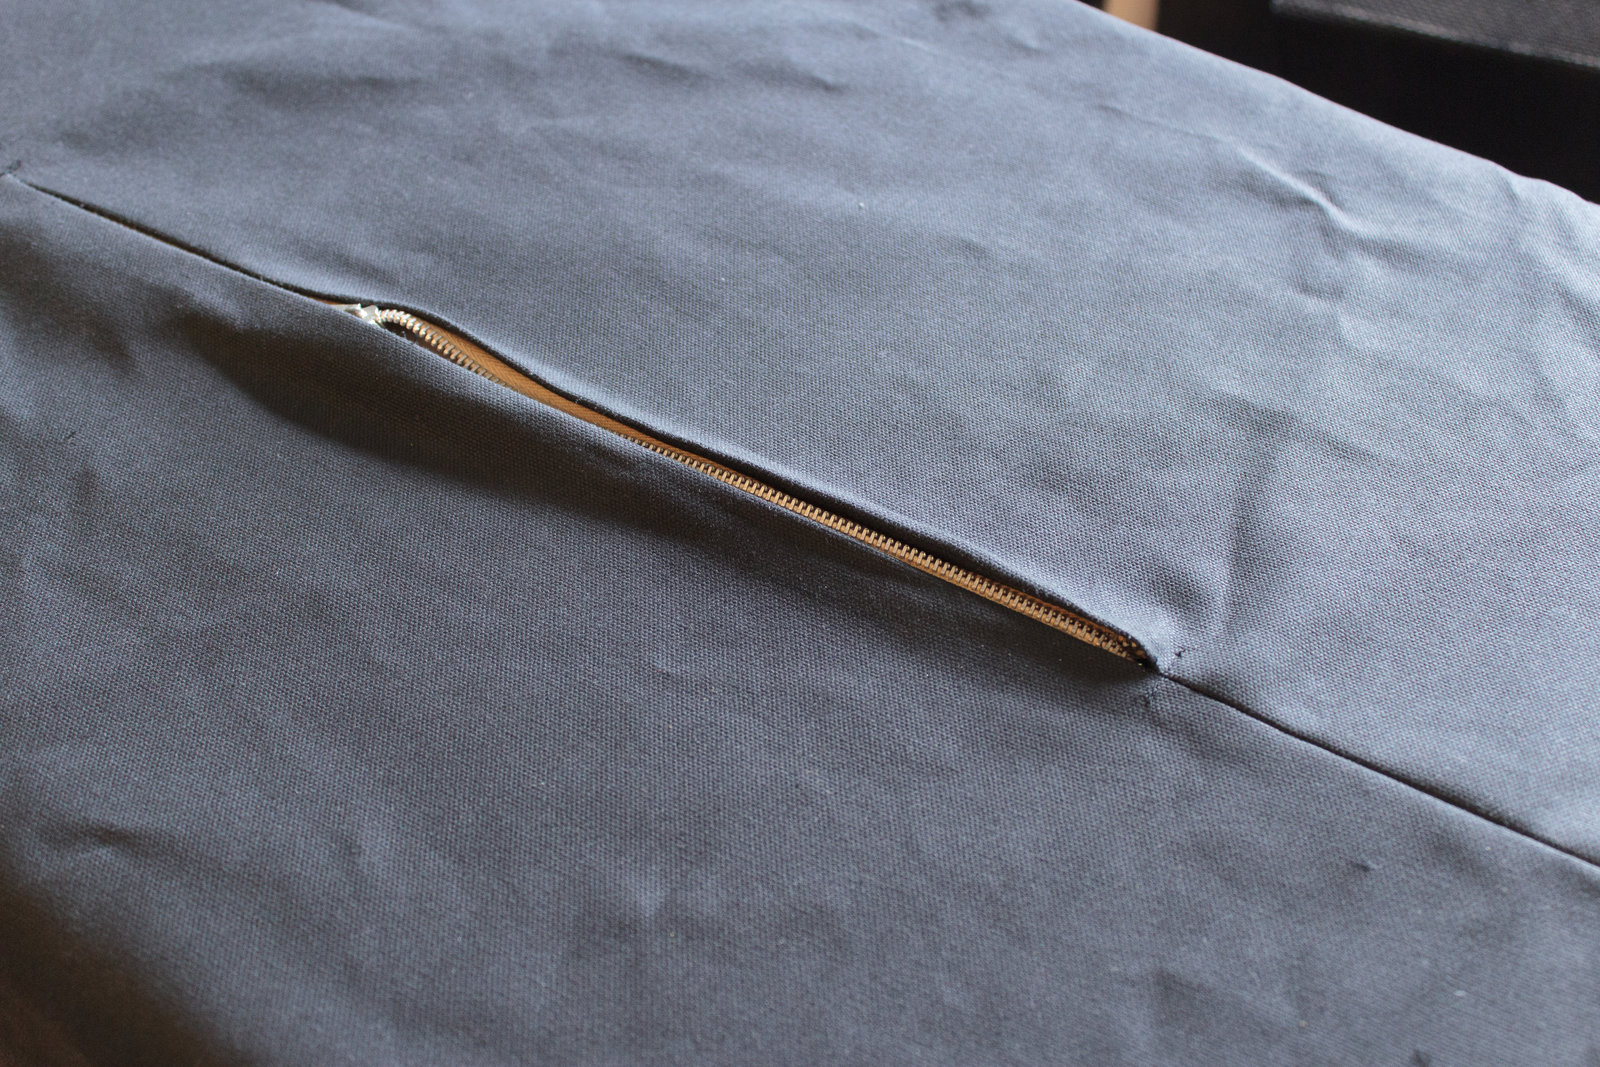
Then you are done with the zipper. A nice hidden zipper. Isn't that easy?
Sew up the box
Now you just need to measure out and sew the rest of the plain box. Use the measurements that you determined, mark your seam allowance and just go to work.

Eventually it will look like this, and we just need to square up those corners.
Iron the square corners.
Now you need to squash the seams together on a corner and iron it down really well.
You must iron it to look like it does in this picture

In that photo, the seams are lined up perfectly, and the seam is pressed carefully down to one side. The quality of the project depends on you taking your time and doing this correctly.
You should only do 1 corner at a time.
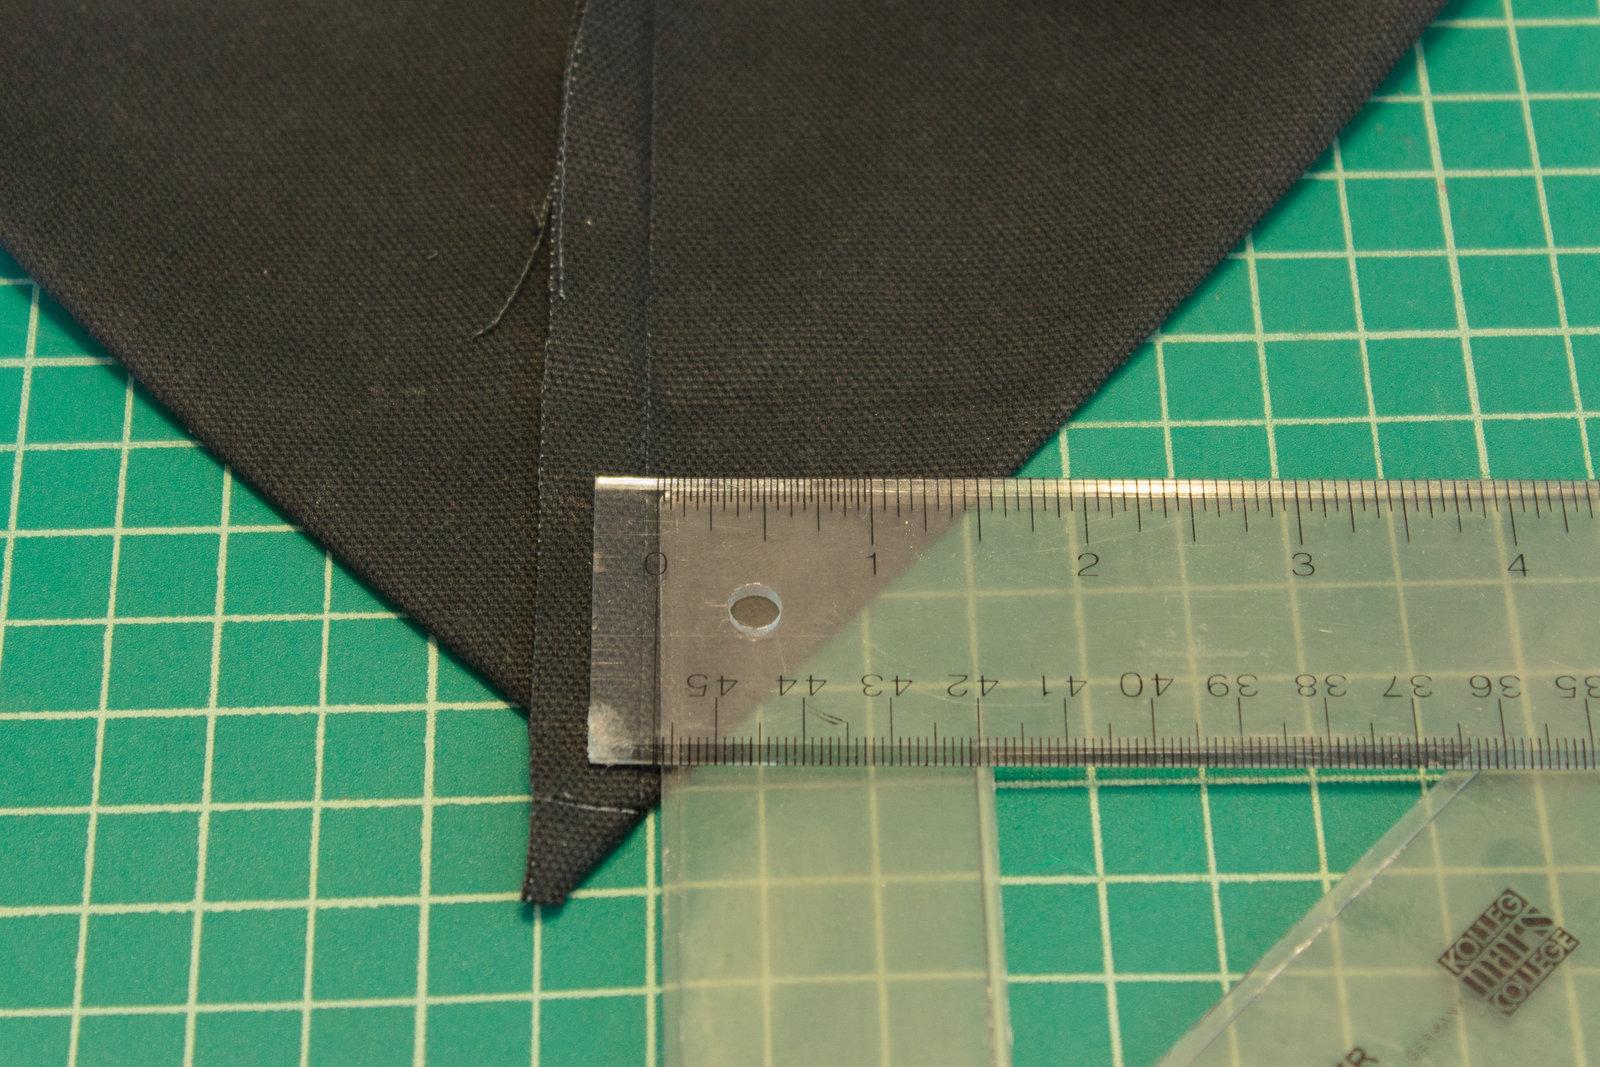
Measure the square corners
Since I want a total of a 3" tall pillow, I want 1.5" on each side of the seam.
To mark the corner seam, find where the seam is 1.5" from the ironed edge. Make sure that you are measuring at 90° to the seam. Look at the picture if you are unsure of how to do this.
Draw a line across that is perpendicular to the seam, and then sew it.
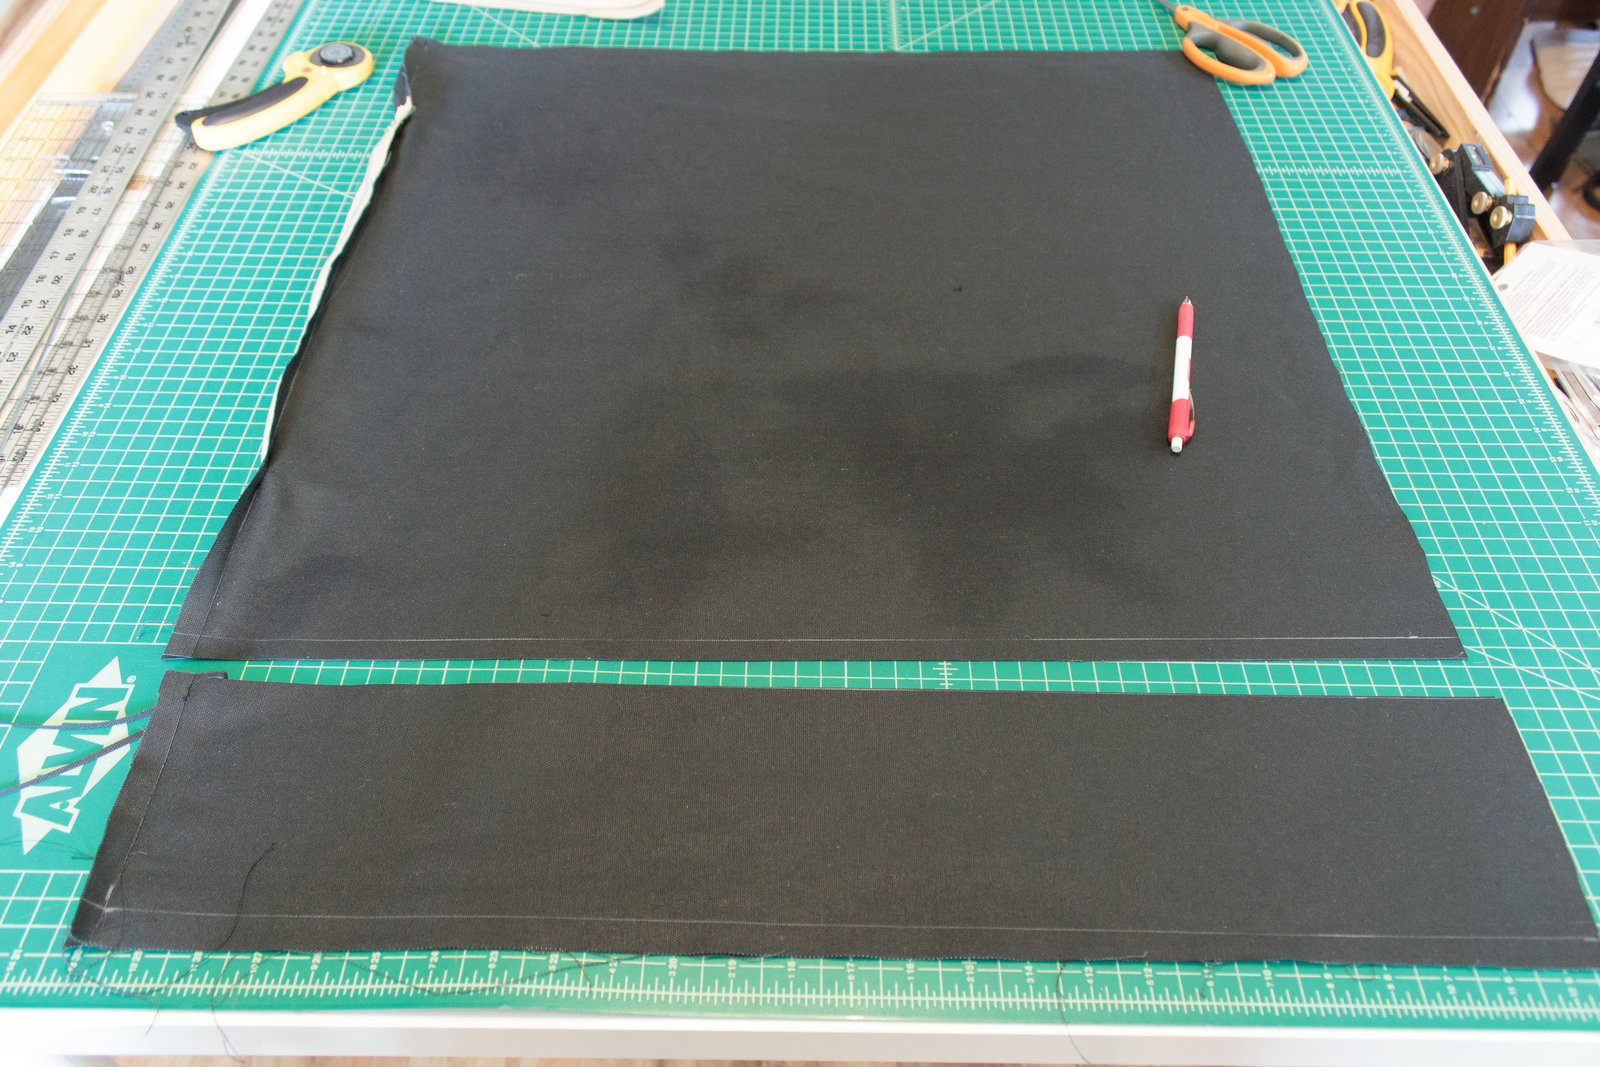
Cut the corners
I screwed up and forgot to take pictures of marking, sewing and cutting the corners. Luckily you are smart and you can figure this out on your own by looking at the previous picture and this one:
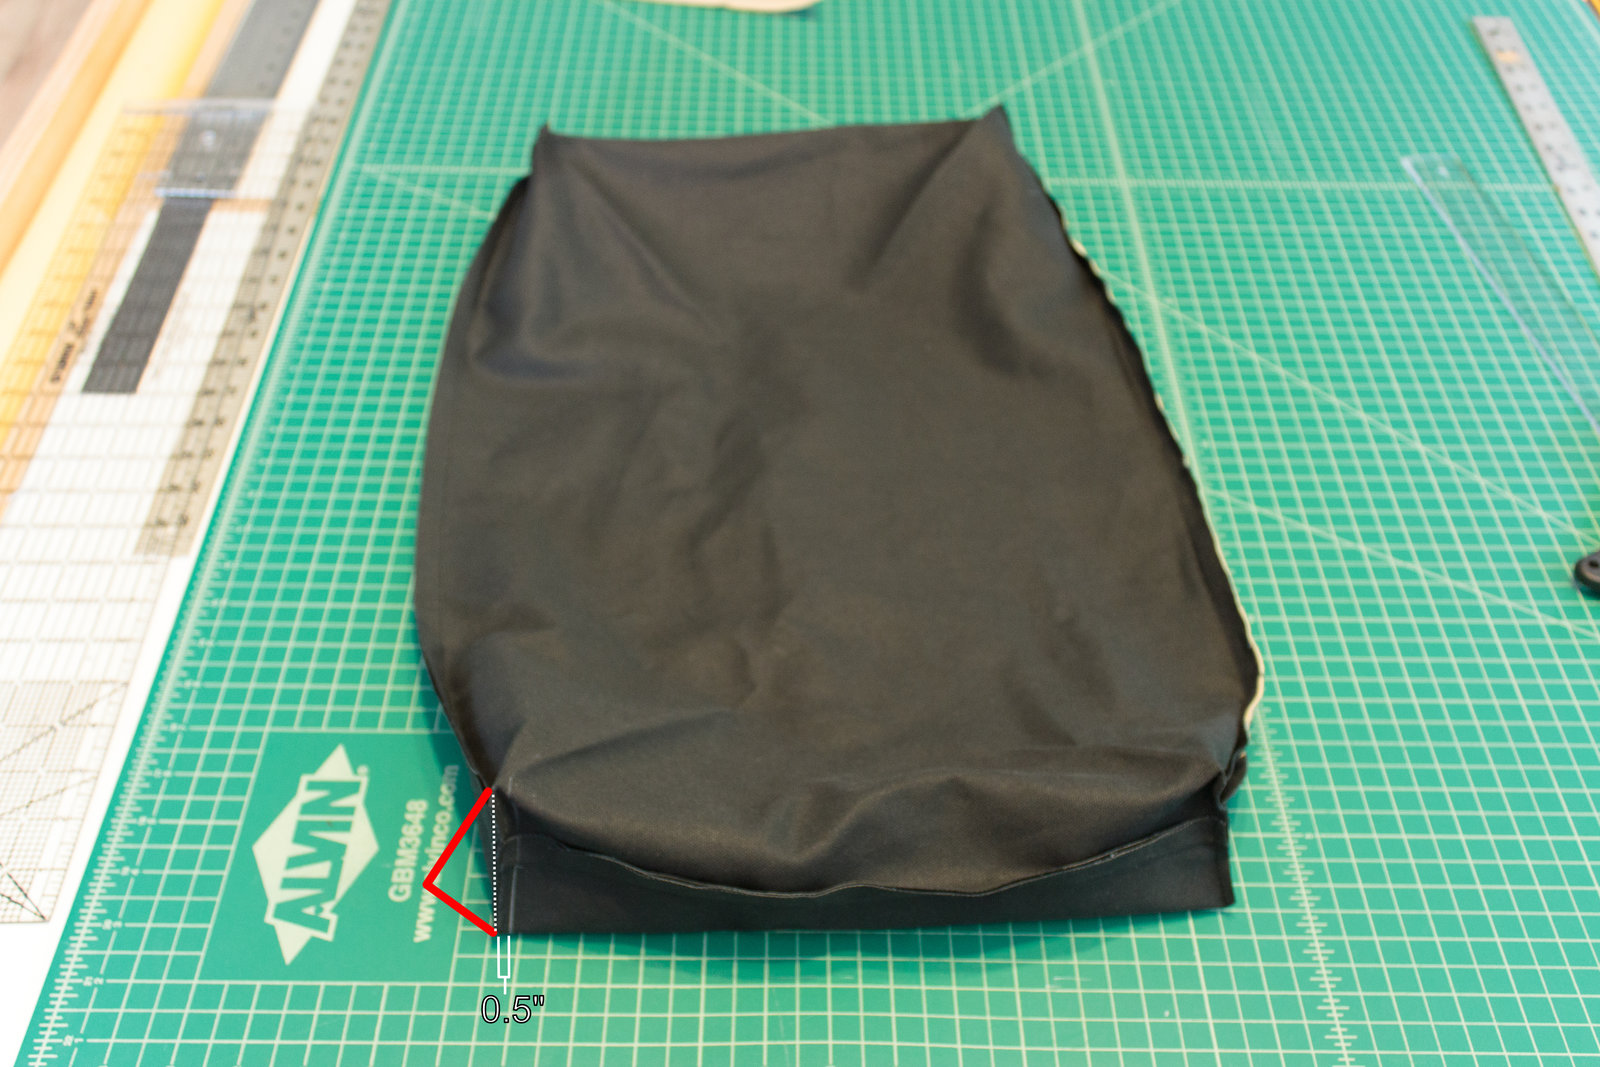
Note the 0.5" remaining after the cut.
Invert
Open your zipper and turn the pillow inside out.
No pictures. This one is pretty easy :)
Fill
Yay! The fun and messy part. Open up the zipper and fill the pillow with your choice of filling.

I will note that I did iron my edges before I did this. I wanted the pillow to have a nice box look. You can do this if you want. Check out the next picture if you want to see what was ironed. I ironed where the creases are.
Done
That's it.

Put it in your drum, replace your batter head, and play!
Support me!
If you appreciate the information presented then please consider joining patreon or donating!
If you appreciate the information presented then please consider joining Patreon or donating money/time.
