It’s time for when I do a mini-review of every single effect in FLStudio.
I’m not going to waste any more time with the foreword. Let’s do it.
Spoiler - Overall rating:
Other posts in this series:
- Part 0: Introduction to this series
- Part 1: Introduction to FL
- Part 2: Recording and Editing Audio
- Part 3: Piano Roll basics
- Part 4: Advanced Piano Roll
- Part 5: Piano Roll Tools
- Part 6: MIDI Controllers
- Part 7: Modulation
- Part 8: Performance mode and Video FX
- Part 9: Workflow
- Part 10: Effects Review
- Part 11: Instruments Review
- Part 12: Conclusion
Contents
- Vector
- Free for Everyone
- Control Surface
- Effector
- Fruity 7 Band EQ
- Fruity Balance
- Fruity Bass Boost
- Fruity Big Clock
- Fruity Center
- Fruity Chorus
- Fruity Compressor
- Fruity dB meter
- Fruity Delay
- Fruity Delay 2
- Fruity Delay 3
- Fruity Delay Bank
- Fruity Fast Dist
- Fruity Fast LP
- Fruity Filter
- Fruity Flanger
- Fruity Flangus
- Fruity Formula Controller
- Fruity Free Filter
- Fruity HTML NoteBook
- Fruity LSD
- Fruity Limiter
- Fruity Love Philter
- Fruity Multiband Compressor
- Fruity Mute 2
- Fruity NoteBook
- Fruity NoteBook 2
- Fruity PanOMatic
- Fruity Parametric EQ
- Fruity Parametric EQ 2
- Fruity Peak Controller
- Fruity Phase Inverter
- Fruity Phaser
- Fruity Reeverb
- Fruity Reeverb 2
- Fruity Scratcher
- Fruity Send
- Fruity Soft Clipper
- Fruity Spectroman
- Fruity Squeeze
- Fruity Stereo Enhancer
- Fruity Stereo Shaper
- Fruity Vocoder
- Fruity WaveShaper
- Fruity X-Y Controller
- Fruity X-Y-Z Controller
- Patcher
- Razer Chroma
- Soundgoodizer
- Wave Candy
- ZGameEditor Visualizer
- Producer Only
- Signature only
- All Plugins only
- Conclusion
- Support Me!
Vector
STOP HERE
Look at how nice these images are.
FLStudio’s effects are mostly all vectorized. I took these images on a 5k iMac and due to the vectorization of the GUIs, they came out sharp and massive.
This is something that nearly every other DAW can learn from. No other DAW has such a collection of beautifully scaling effects.
END TRANSMISSION
Free for Everyone
These plugins come with all versions of FLStudio
Control Surface
Control Surface is described here
Control Surface is a major component to FLStudio’s ability to work as a live performance tool, and if you’re willing to put in the work, it helps fix some of the things I complained about in the workflow post
Some other DAWs have similar things, but Control Surface is probably the best integrated that I’ve seen.
Effector
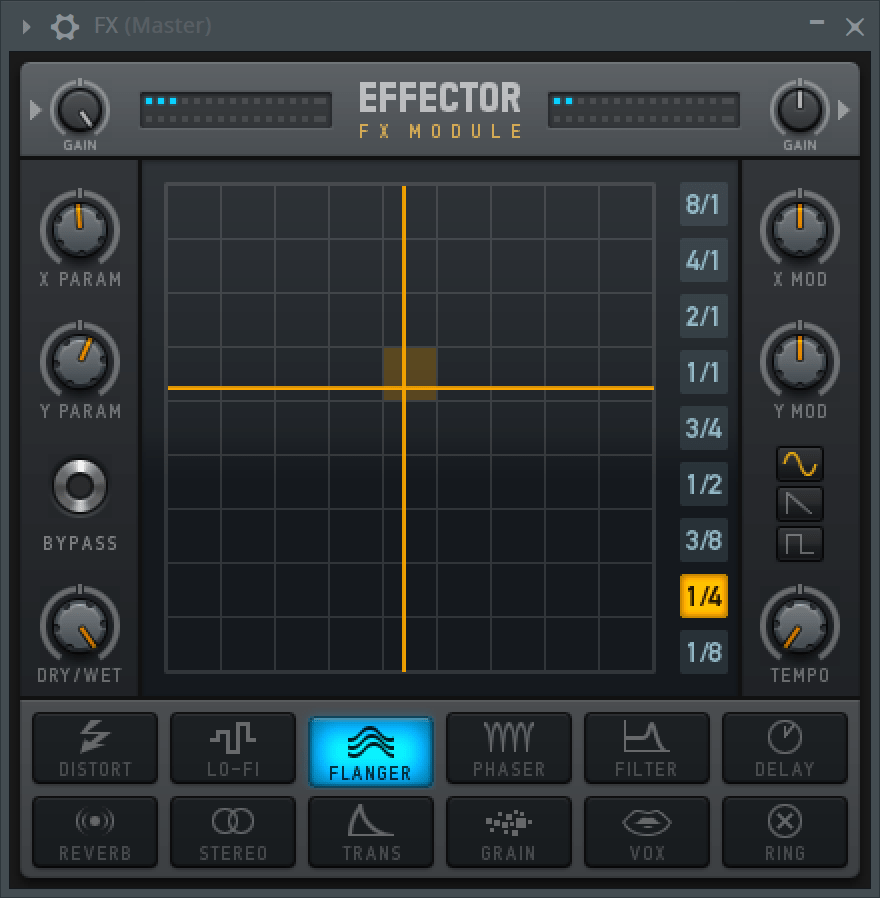
Effector is largely a live performance effect. If you’re familiar with the Kaossilator then this is fairly similar.
You get 12 effects, which you can use one at a time. Then there’s an X/Y pad that controls 2 parameters of the selected effect.
There’s 2 tempo synced LFOs for each control, with various shapes and switches to select the main tempo division.
How does it sound? It’s not super amazing, and you’re intentionally given minimal control, but in the context of live performance it’s fantastic. You could set this up yourself using an XY controller and a bunch of effects, but why bother? You load this up and you’re out of the gate.
The delay, grain and ‘Vox’ mode are particularly fun to play with.
If you have any sort of 2 dimensional controller, load this guy up, assign the X/Y controls and go to town. I used a WiiMote and Osculator and subsequently put myself half a day behind with this review.
You don’t need a hardware controller either. FLStudio’s Modulation capability has you covered. You can assign X and Y to internal controllers to get some rather neat effects.
Effector isn’t the best effect, in any way, out there, but what it lacks in sonic quality it makes up for in sheer fun factor.
Fruity 7 Band EQ
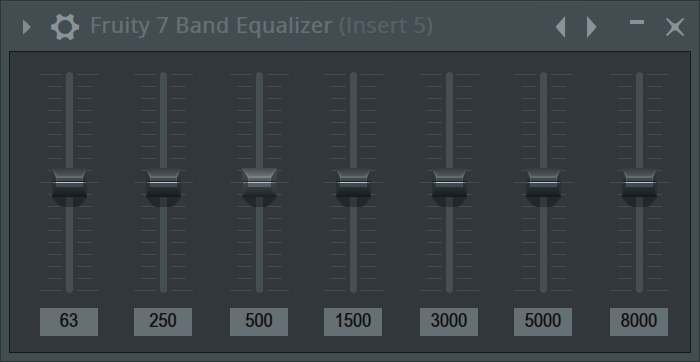
It’s a 7 band graphic EQ. No Q settings. No ability to change frequency.
Compared to other EQ options in FL, there’s not much reason to use this. I suspect it’s a bit of a legacy plugin.
Fruity Balance
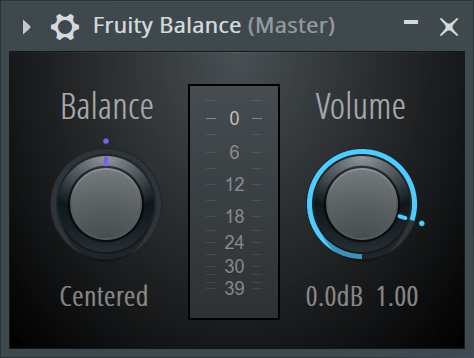
Pan and Volume. Totally useless on its own, but to handle gain staging between plugins or sends it’s great to have.
It’s also nice for modulation.
Fruity Bass Boost
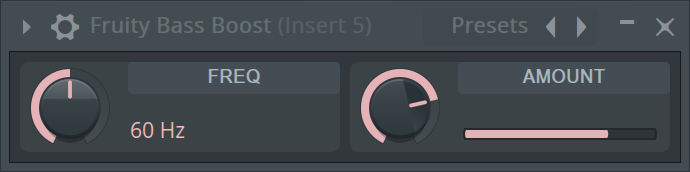
It’s an EQ that targets bass. It’s just a low shelf with 2 parameters.
Hmm.
Fruity Big Clock
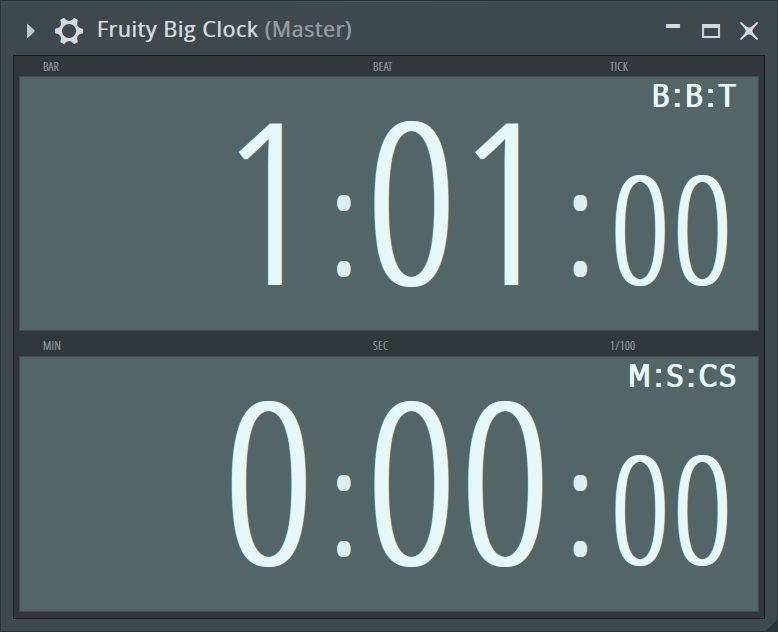
It’s a resizable clock. It shows you both song position in bars:beats:ticks (or bars:steps:ticks) and minutes:seconds:centiseconds.
There’s multiple colours available, but they’re all a bit weird and I don’t see any way to adjust them. It also doesn’t appear possible to only show one time format.
No video time available either, and there’s no indication marks for recording/playback/overdub/etc…
The positive is that it displays very nicely on a 5k hidpi screen, but the lack of customization is a real downer.
Fruity Center
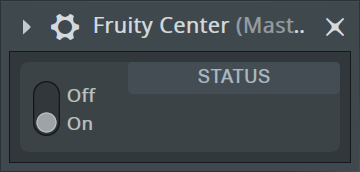
Center is a strangely named DC offset removal tool. I’m surprised more DAWs don’t have such a simple tool available like this. Usually it’s buried in some ‘utility tool’.
This is quite necessary when working with certain synth sounds, and sometimes with direct recorded guitars/bass. It’s a welcome addition.
Fruity Chorus
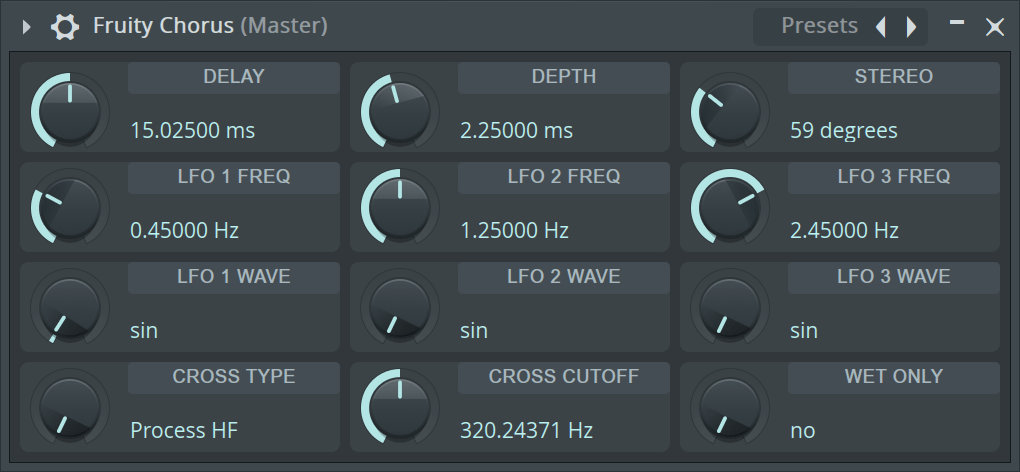
Fruity Chorus is rather simple in looks, but I’m surprisingly impressed by how nice it can sound. It has 3 LFOs with multiple sine-based shapes (and frequency).
I honestly expected a waste of time, but Fruity Chorus is a simple but competent chorus. It’s not the most ‘liquid’ sounding compressor and it’s not emulating any beat-down analog device, but for adding some modulation and stereo width to a track I can seem this being used for a quick go.
Fruity Compressor
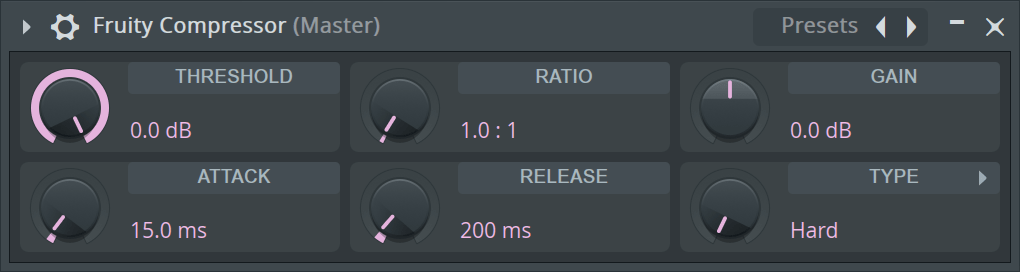
Fruity Compressor can sound decent. It has a few modes that give you a palette of compression flavours and there’s no obvious signs of poor compression.
The biggest issue I have is that some of the control throws are not ideal.
Often with the attack value you’ll use values between 0-10ms. You may want values up to 40ms sometimes, but generally you want the most control between 0-10ms. What does Fruity Compressor do? The first 1% or so of the knob is 0-10ms and 50% is 200ms!
The same for the release parameter.
The ratio parameter is 15:1 at 50% knob throw, which is ridiculous. Values between 1.5:1 and 5:1 should be the first 50% of the knob (r similar).
Yes, sometimes you’ll want ridiculous values like a 300ms attack or 2500ms release when doing sidechaining or very special processing, but 95% of the time it will be the values I suggested above. Thusly it’d be much more usable if the knobs throw corresponded to these values.
As it is, it’s nearly useless due to how difficult it can be to set reasonable values.
Fruity dB meter
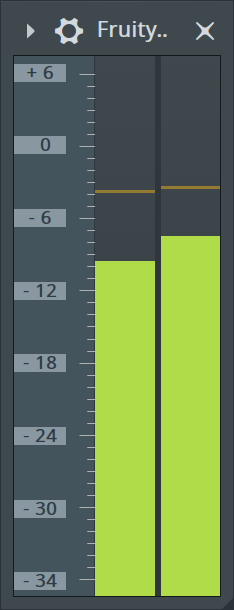
A non-true-peak meter.
Not… particularly… useful. If it perhaps had multiple metering modes then I could see some value in it, but a simple sample meter with no adjustable parameters?
Nope.
Fruity Delay
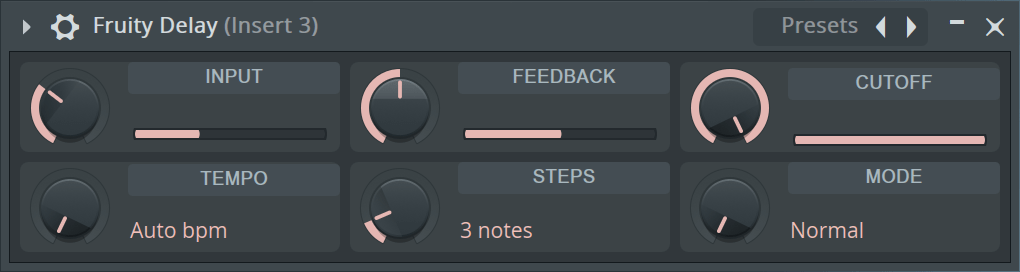
An extremely simple delay with 3 modes and tempo sync.
The auto bpm mode has no control over the division or any offset. The filter only has a cutoff with no resonance or filter modes.
You can’t modulate the delay time for subtle pitch modulation.
I suspect this is yet another legacy plugin from the very early days of FL. Not much use for it.
Fruity Delay 2
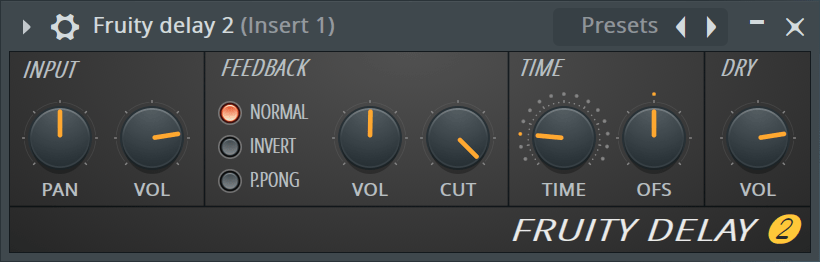
Very similar to Fruity Delay, but with a slightly prettier GUI… kinda.
You get an offset for your time selection, but you lose a graphical readout of the time (you can see this in the help bar though).
Once again, you can’t modulate the delay time. It mutes the delay when you do this, which is sad.
I’d probably grab Fruity Delay over this… but really, I’d likely go use one of many free VSTs that are much nicer.
Fruity Delay 3
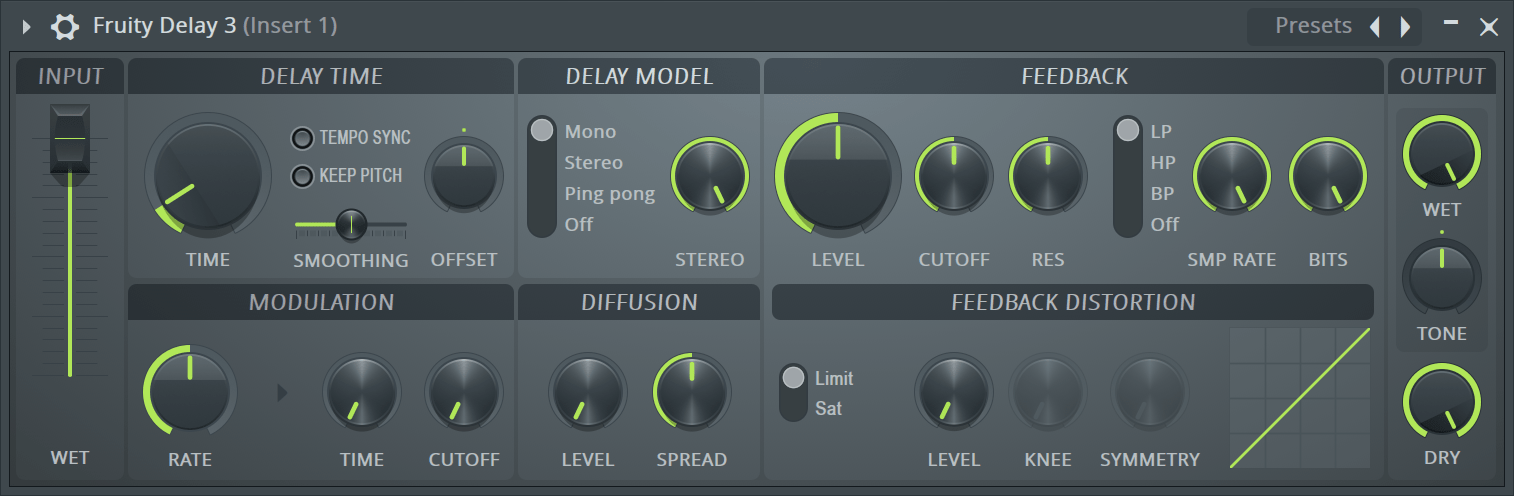
OK! Finally, a delay that doesn’t suck.
Now we can modulate the delay time, externally and internally, along with the filter cutoff. The filter cutoff has resonance, and selecatable high-pass, low-pass and bandpass. There’s a bitcrusher and decimator (reduces sample rate) in the feedback loop with the filter. Awesome.
There’s a waveshaper in the feedback path that gives you a variety of distortion options to warm up, or totally destroy your signal.
The feedback knob goes up to 125% which means you can create those awesome screaming feedback loops. Temporarily let it hover >100% for a few seconds then tweak the filter/distortion knobs and you are now privy to a unique organic sound. Even better still, use control surface to make your own interface that controls many of these parameters at once from a single knob. Now you can automate just that one control for your tailor made feedback machine.
There’s proper stereo controls for the stereo modes and diffusion of the taps.
All of this in an easy to use no-nonsense vectorized GUI (with controls that seem to have came straight out of control surface… or vice versa?)
Fruity Delay Bank
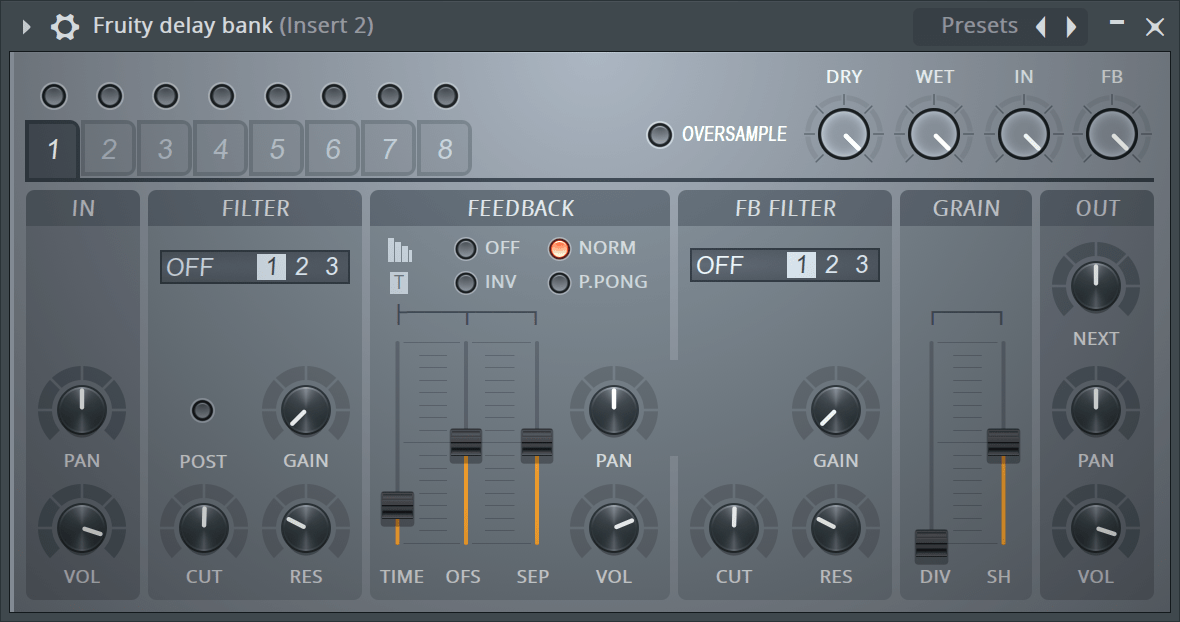
Ok, take the fantastic Fruity Delay 3 and throw 8 of them in a box. Now you have a Fruity Delay Bank.
Except now you have:
- 8 filter types with adjustable slope.
- pre or post delay filters
- feedback loop filters
- First delay exclusion.
- Per tap delay offset
- Granulizer (slicing the delays in to small chunks and re-arranging them and applying an envelope)
- Global feedback
- Any tap (except 8th) can be fed in to the next delay or run totally in parallel
- Oversampling
You get 8 of these that you can turn on/off as you wish and each one has its own separate settings
It’s a beautiful thing. I love delays (and Reverbs), and this is just a great delay given how simple it’s presented.
It would be nicer if there was variable outputs for each tap, so you could run this and mix the delays externally rather than have to run multiple fruity delay 3s, but it’s a minor complaint.
Great.
Fruity Fast Dist
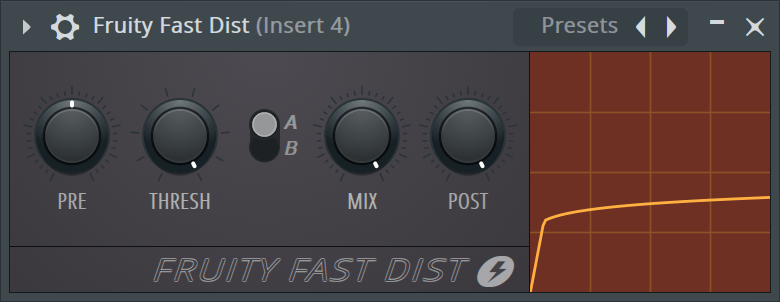
The ‘fast’ part of this is how simple the GUI is. It’s a waveshaper with a handful of controls.
Unfortunately it only seems to be useful for making things dirty. If you want a nice subtle responsive saturation, this isn’t for you.
For making dirty, nasty leads then maybe. I’d nearly always grab something else though.
Fruity Fast LP
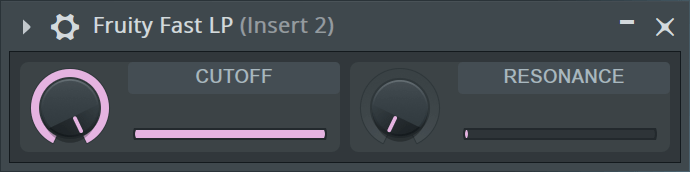
A simple low pass filter. Meh. Why bother? There’s better options all over.
Fruity Filter
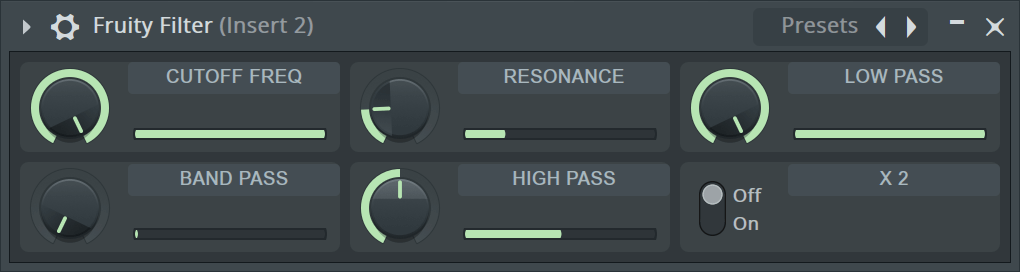
More options than Fruity Fast LP but unfortunately not much better. It’s not a particularly interesting sounding filter and you get very little control over the sound.
I can see this being useful to automate for simple swept filter sounds, but once again I think it’s easy to do better.
Fruity Flanger
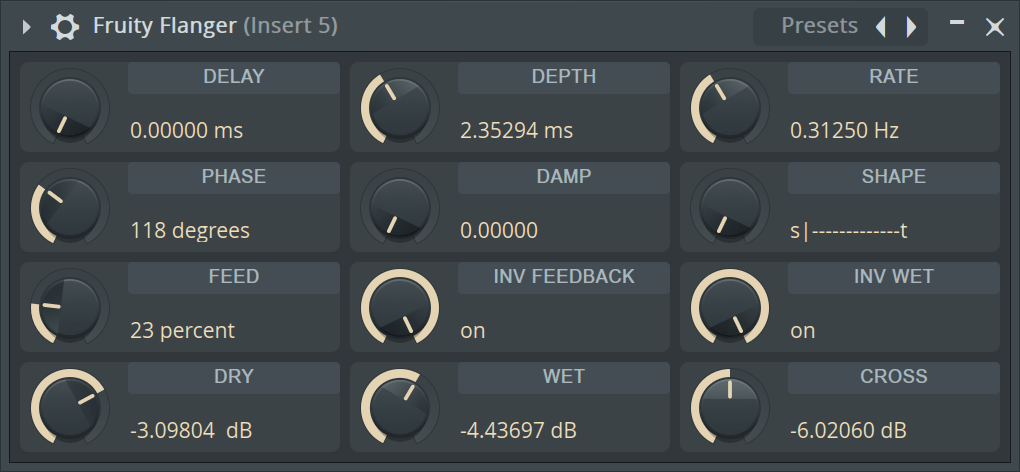
It’s a flanger! It’s a fairly competent flanger with an unfortunate GUI though.
It has enough presets to allow you to not rely on the GUI entirely to get a variety of sounds. Get the preset that sounds fairly close and tweak a knob or two.
It sounds surprisingly alright. It’s not going to get you a warm tape-like flanger sound, but that’s rarely what’s needed anyway.
Fruity Flangus

Yet another flanger.
This one I find disappointing. You can’t get deep flanging sounds with it, and there’s noise when adjusting the delay, spread and depth controls.
If you want crackling in your speakers while you try to get a sound that you’ll be disappointed with anyway… use flangus!
Fruity Formula Controller
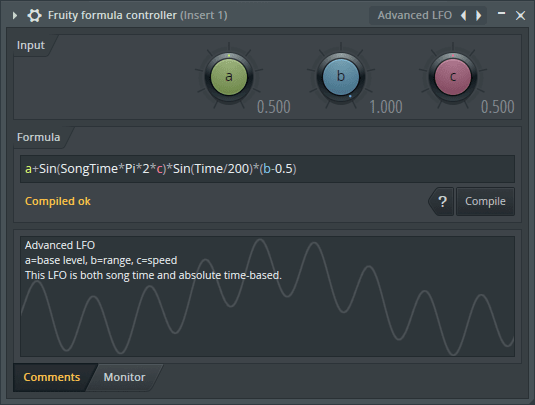
Formula Controller was covered already.
It’s awesome. That’s it.
Fruity Free Filter
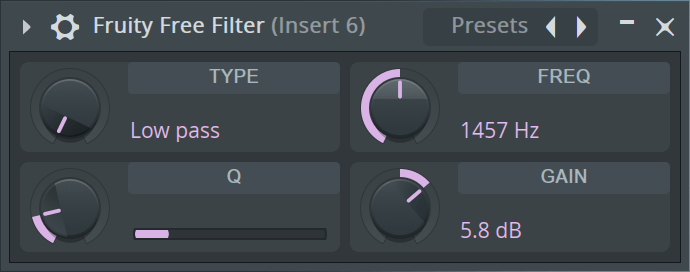
Another simple filter. Image Line loves these guys.
At least this time you can adjust the filter type and Q… but still. Take some time and learn to use Fruity Love Philter instead. You’ll be rewarded.
Fruity HTML NoteBook
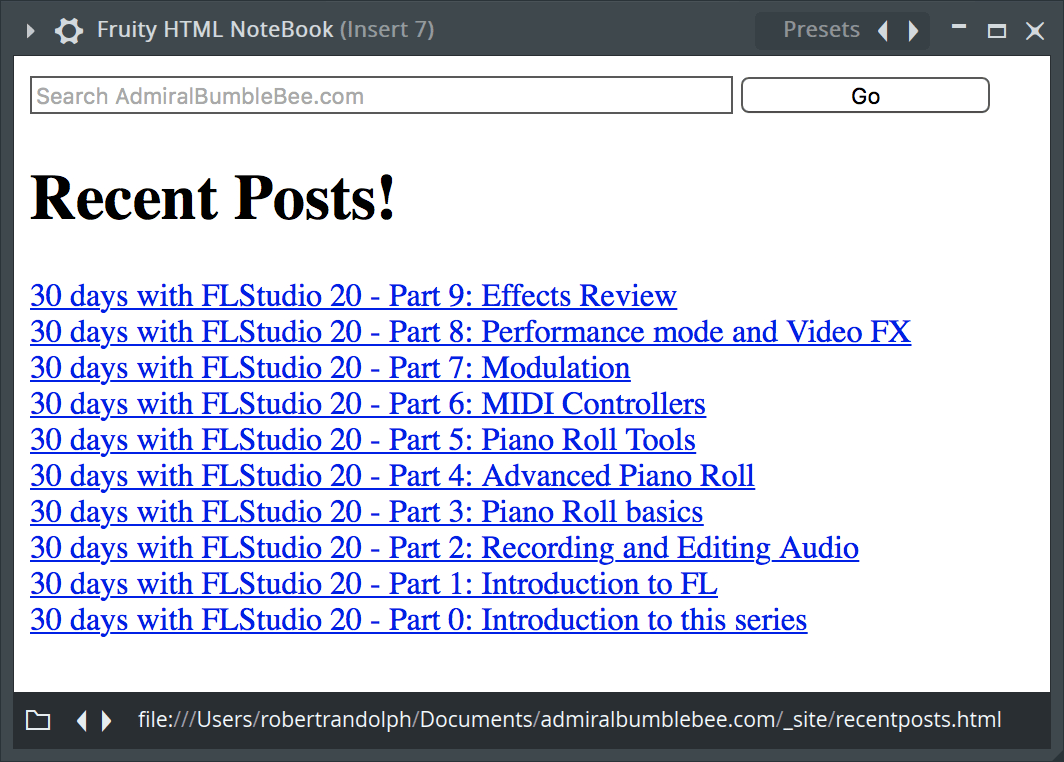
It’s a place to write notes, except you can write them in HTML to have nice formatting.
I think this is a fantastic plugin. With some basic html knowledge you can create easy to read notes that will help you navigate your session and remember what you were doing when you revisit the project again in 3 years.
I doubt most FL users will ever touch this, but it’s great and unique. Really cool idea.
Fruity LSD
32-bit only. Will not be reviewed.
Fruity Limiter
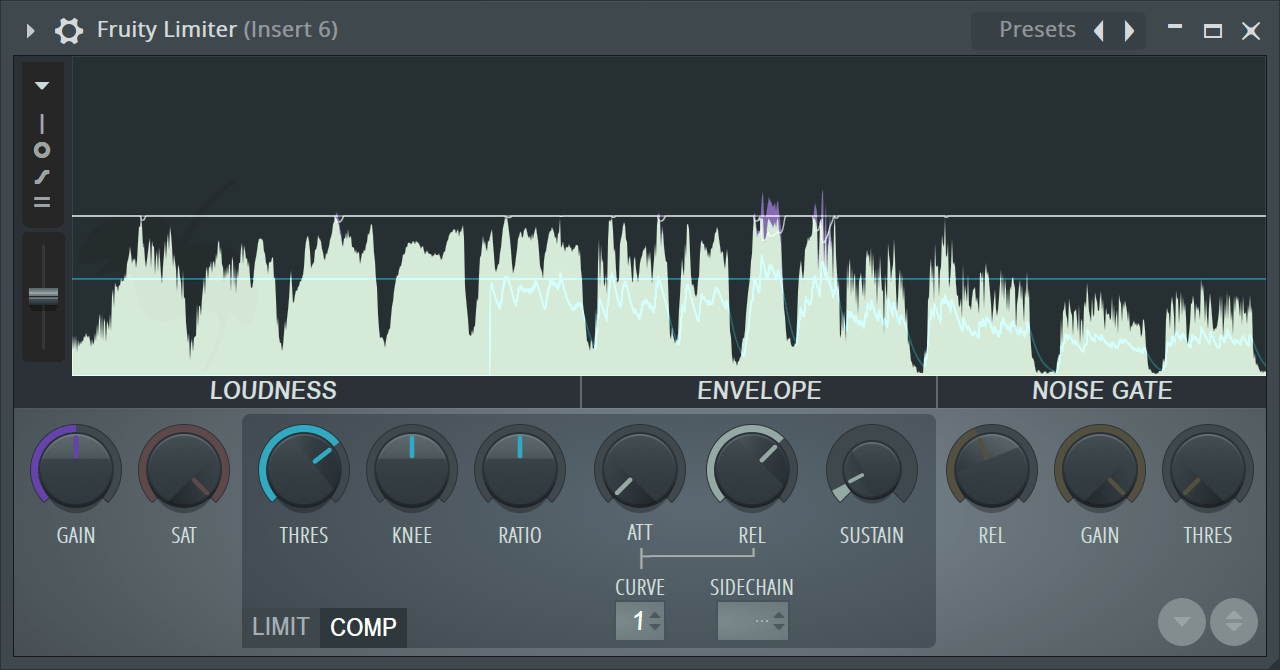
This is on the master channel by default in the normal ‘new project’. (You can create your own template to avoid this of course)
Does it deserve to be there?
Firstly, the GUI is fantastic. It’s pleasant to look at and the graphical readout is relatively accurate and clean.
Secondly, it’s not just a limiter. It’s a compressor, noise gate and saturator. The compressor is fantastic, largely due to the attack and release curves.
A big part of a compressor’s “sound” is how the attack and release stages move towards full gain reduction. The attack and release times don’t tell you how long until the attack/release act, they tell you how long until they’re at some level of gain reduction. So how it gets there, what shape the increase/decrease is, will change how the compressor sounds. Fruity Limiter gives you a number of curve options which greatly increases the versatility of the compressor section.
The compressor has variable peak to RMS mode, which is strangely called “sustain”, but it’s a powerful compression control regardless. You can think of this as how smoothly the compressor reacts. Low ‘sustain’ on drums, high ‘sustain’ on vocals and you’ll be loving what you can accomplish.
The saturation is ok-ish. It’s nothing special, but the graphical readout of where it engages relative to the input volume envelope is very nice.
The noise gate is… eh. It’s a very simple noise gate that I can see being useful for some sidechaining duties or similar, but most of the time when you need a proper noise gate you’ll want something more capable than this. That said, I think it’s sufficient for the most common uses as the release time/shape seems to work well, which is something a lot of simple noise gates do wrong.
The limiter section is not that fantastic. If you’re really serious about getting your tracks out there you can spend €50 on something much, much better. but then again that might be 25%-50% of what you paid for FL. If you’re just enjoying your time in the program then it may be sufficient.
If you’re looking for release-quality then you may find it a struggle to get modern levels using Fruity Limiter without same rather nasty results.
BUT… Should you really be pushing the ‘modern levels’ train down the tracks? Ask yourself that first.
For what I’d consider sane levels (~ -12rms or lower) Fruity Limiter works alright.
Fruity Love Philter
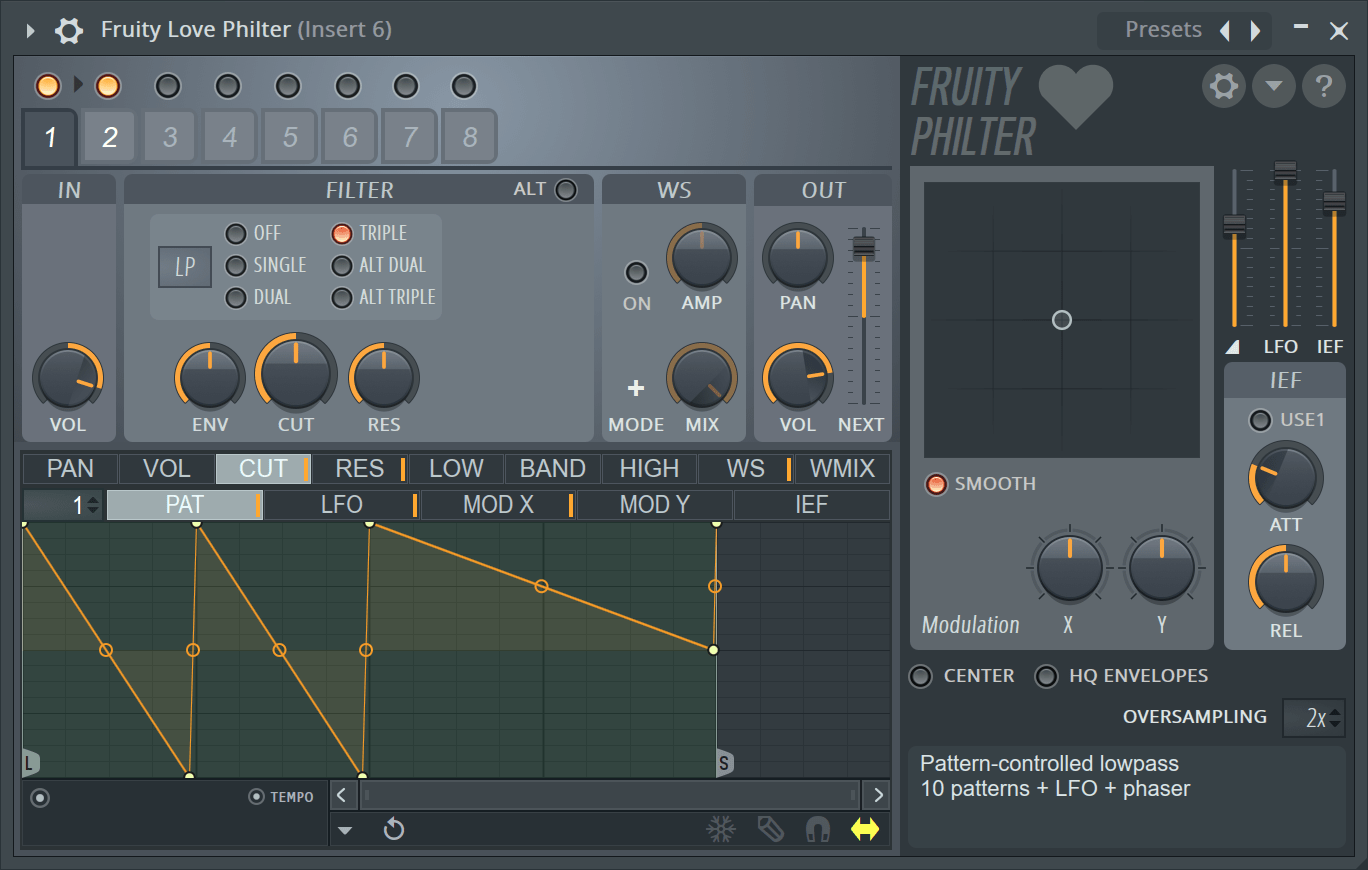
Love Philter is to filters what Fruity Delay Bank is to delays.
You get:
- 8 full filter sections
- Global X/Y modulation
- Global LFO level
- Global Envelope Follower level
- 12 filter types
- Alternate modes on 2 slopes
- Multiple filter layer types
- MIDI note triggering with independent drawable envelopes for
- Volume
- Pan
- Cutoff
- Resonance
- Low band
- Mid band
- High band
- Waveshaper Level
- Waveshaper Mix
- Articulator patterns - essentially per-filter modulation that controls how the other envelopes react in a ‘global’ (to the filter) level.
- 16 oversampling (improves filter shape and reduces aliasing from the waveshaper)
- Each filter can be used in parallel or serial
JUST as a filter it sounds great. But now you get multiple drawable envelopes for a variety of parameters. Throw on 7 more filters with amazing articulation ability and hot damn.
This falls in to the category of stock DAW plugins that I wish I could buy (it is available for Windows VST, but not macOS, which is what I use). It’s just great fun and a fantastic filter. I haven’t done it justice with this short blurb, but if you are a filter lover then you’ll ‘get it’ just by reading the description.
So much modulation. So many envelopes. So much fun!
Fruity Multiband Compressor
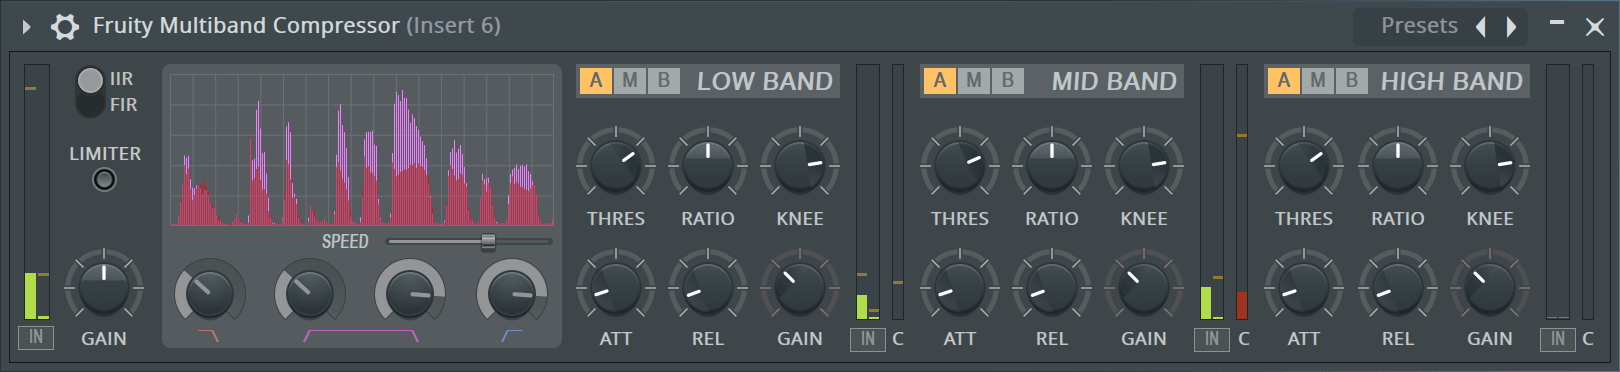
This is a rather simple Multiband compressor. You don’t get all the fancy compression options like you do with Fruity Limiter, which would have been nice. (You can create your own multiband Fruity Limiter with Patcher anyway).
One of the more annoying things is that moving crossover points “together” or resetting them is not possible unless you use something like control surface to set that up.
The attack and release time knob scaling is the same for all 3 bands. That is not good. Often you want the low band to have slower attack and release, and the higher bands to work faster. Setting that up is difficult. The knobs also scale very poorly like Fruity Compressor.
The option of having linearphase FIR filters or IIR is really nice. Why you’d want to choose one over the other is out of the scope of this discussion, but it’s a useful option that increases the usefulness of this a good bit.
Still… as a multiband compressor it isn’t as fantastic as it could be. It’s largely usability that lets me down here.
Fruity Mute 2
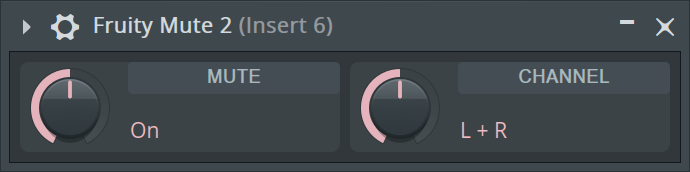
I’d expect that if there’s a specific plugin for muting, that it’d not suck. This sucks.
Fruity Mute Fail
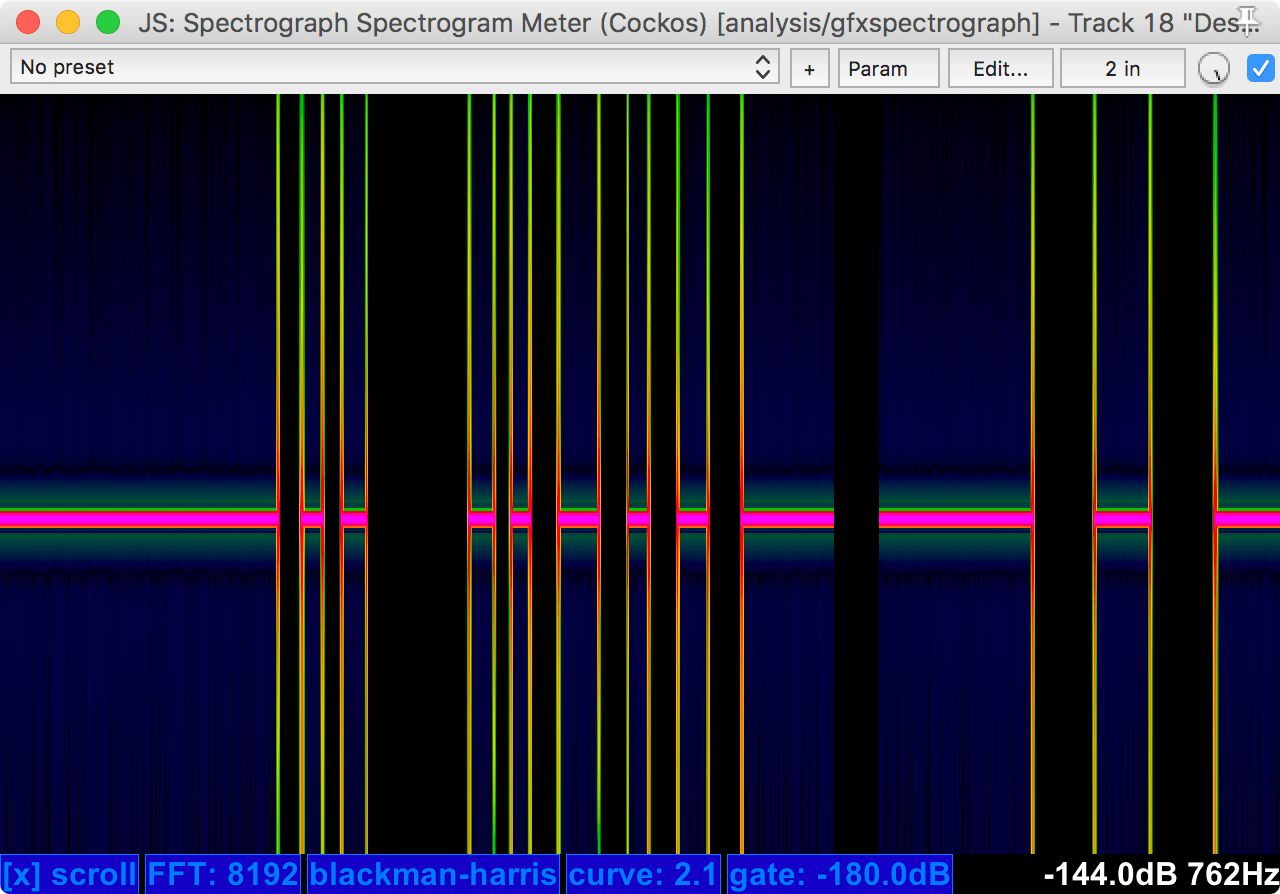
This is a spectrograph. X is time. Y is frequency. Colour is intensity of that frequency. Black is nothing, Blue is low, yellow is kinda loud, Red is super loud.
I have a 1khz sine wave going through this. That’s the horizontal line. I turn Fruity Mute on and off. You can see the sine wave go ‘black’ during that time, but look at the edges!
Noise. It’s an audible pop when you mute and unmute. This should be a very short fade to stop this. It’s entirely possible for a plugin to mute/bypass gracefully without the pop.
Then again, if you just need a static mute that never changes. It’s ok. It lets you mute Left, Right or both channels.
Fruity NoteBook
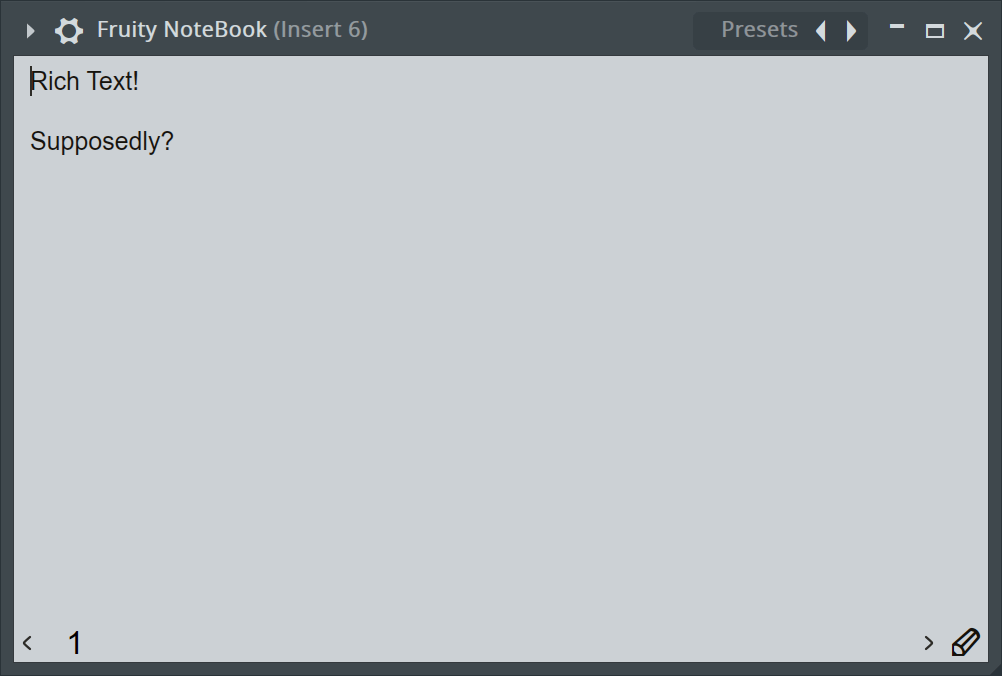
A notebook. Nice. It supports Rich Text Format, but I don’t know how exactly you use that? Copy and Paste from another editor I guess?
If I could figure out how to actually use RTF in it, I’d think it was awesome. Till then… may as well use Fruity Notebook 2
Fruity NoteBook 2
A notebook. A simple place to write notes.
Every DAW should have this.
Fruity PanOMatic
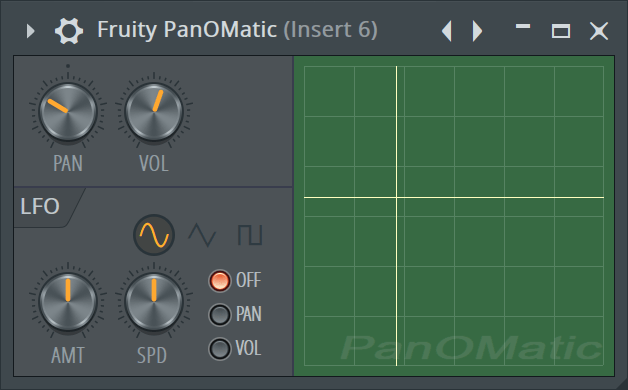
Panning and volume with LFOs for each and an XY control.
I can’t really say it excites me much…
Fruity FailOMatic
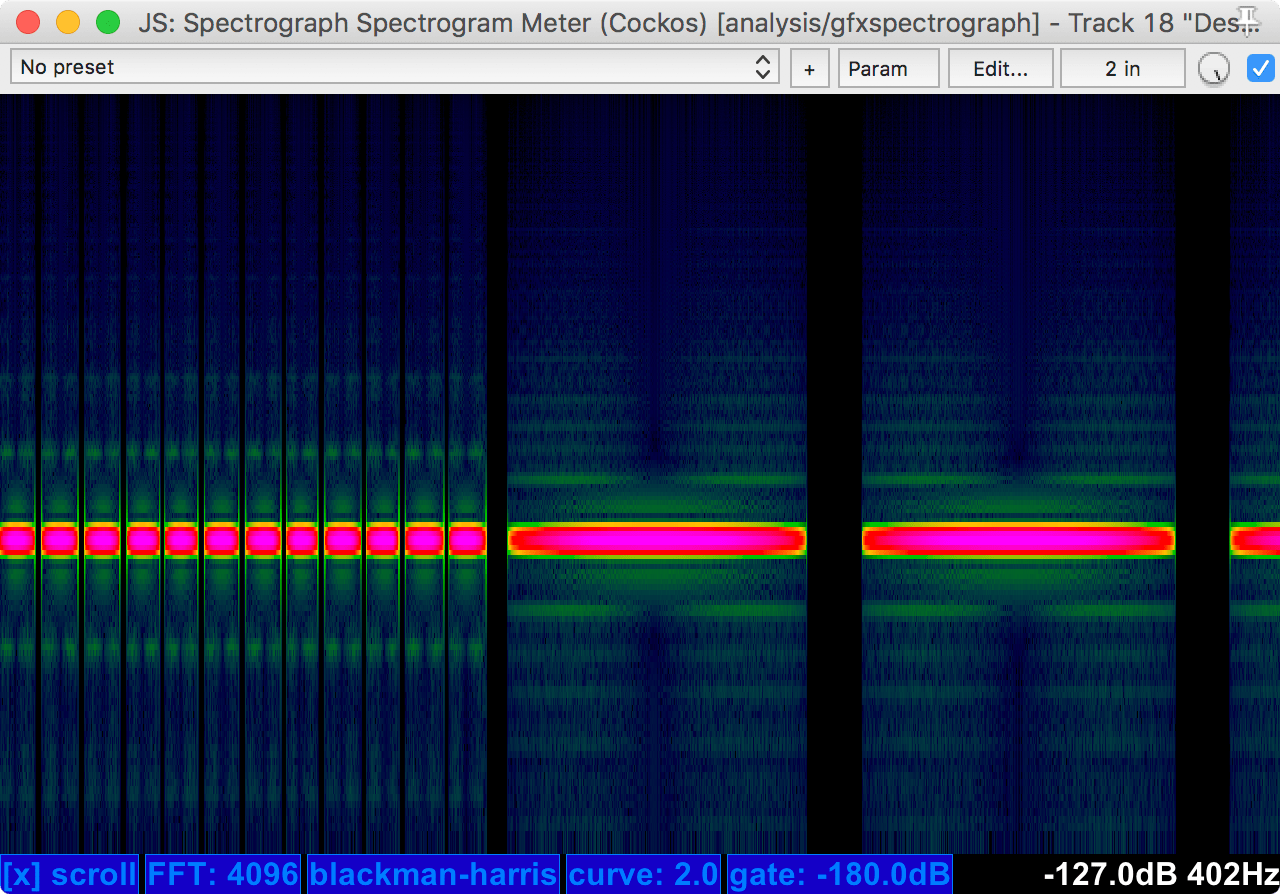
Here’s what you’re getting with the LFO in PanOMatic. Pretty dirty for a simple Tremolo volume modulation!
It can be done much cleaner…
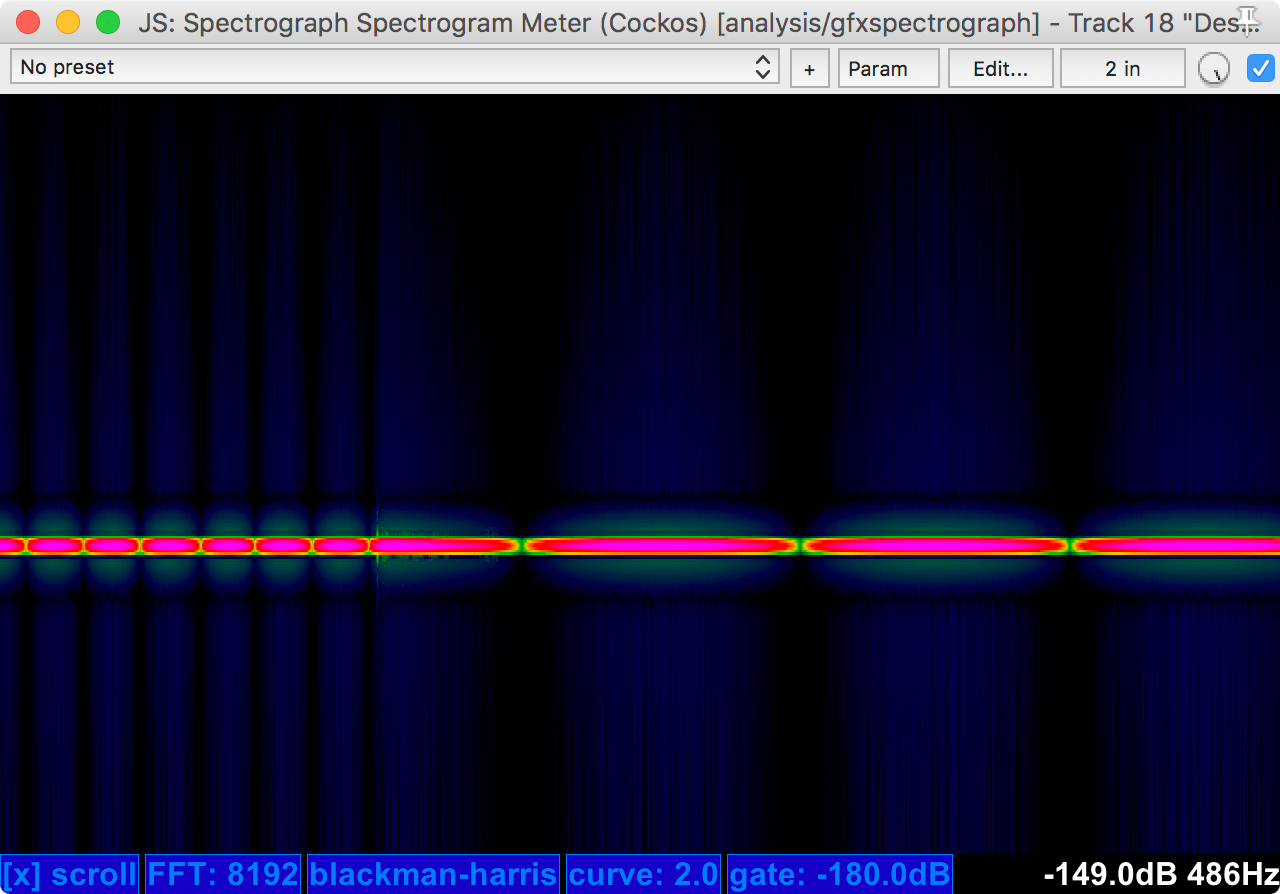
MTremolo is in action above. Look at how much cleaner it modulates. When you compare them you can hear the difference. The difference may not be noticeable otherwise, but once you start to learn to hear the difference in modulation capability you will grimace every time.
Fruity Parametric EQ
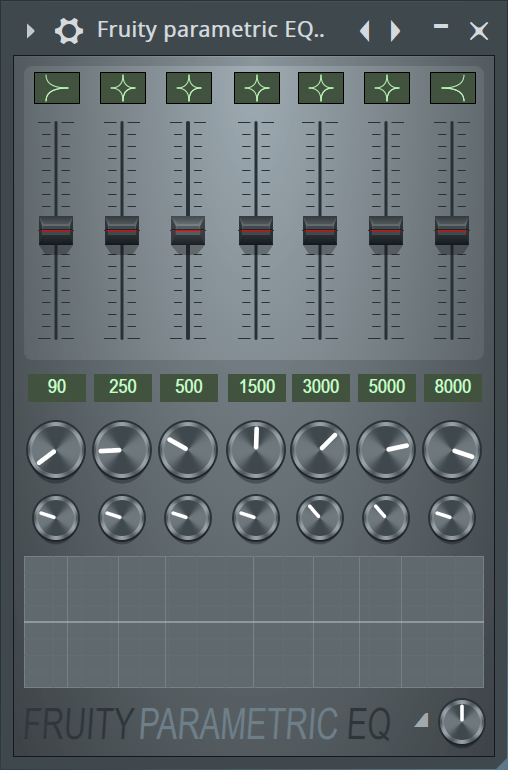
Yet another simple plugin. It’s similar to 7 Band EQ except you can change the filter’s Q (bandwidth) and frequency.
Uninspiring and not particularly easy to use.
Fruity Parametric EQ 2
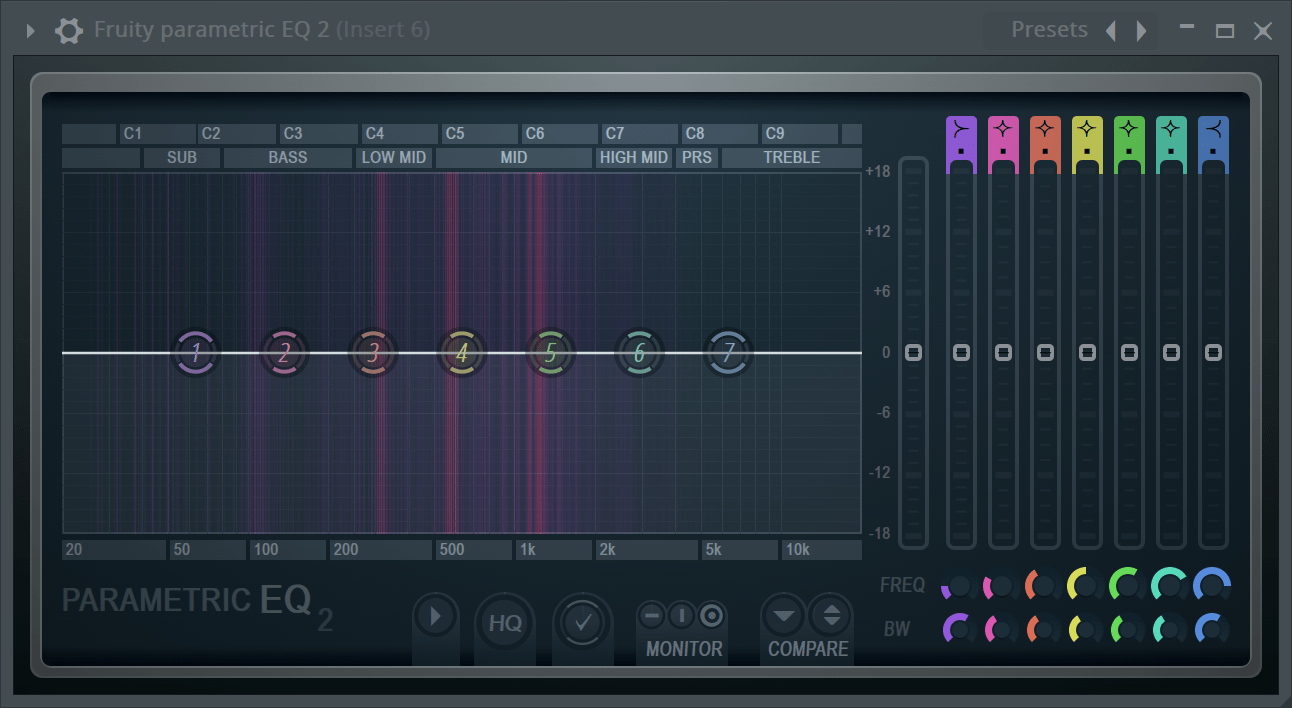
The big boy. This is where the fun happens. An EQ with nice click-drag band control.
One of the best parts of PEQ2, is the display. You get a spectrograph-like display that shows colours for intensity rather than using the Y-axis to communicate amplitude. This makes it much easier to visually identify problem frequencies or just to see what’s going on when your ears aren’t doing it for you.
You get all the normal band types: high/low pass, high/low shelf, notch, peaking (bell style). The slope or Q can be changed with the mouse or on the right side of the EQ.
There’s an HQ mode to improve the high-frequency filters (particularly the low pass), which avoids that nyquist cramping that some people really dislike.
The actual filters used aren’t particularly special, and there’s no linear phase mode (which you rarely need anyway).
From a usability standpoint it’s an excellent EQ. From a features standpoint it’s rather bland, but it makes up for that in effectiveness.
Fruity Peak Controller
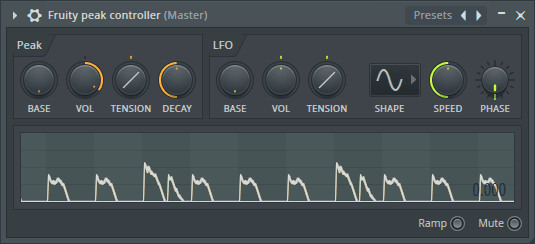
It’s awesome.
Fruity Phase Inverter
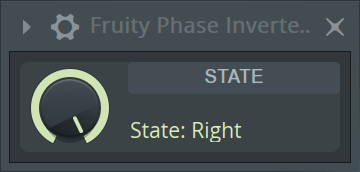
It INVERTS POLARITY. Not phase.
Ugh. Cmon guys.
Fruity Phaser
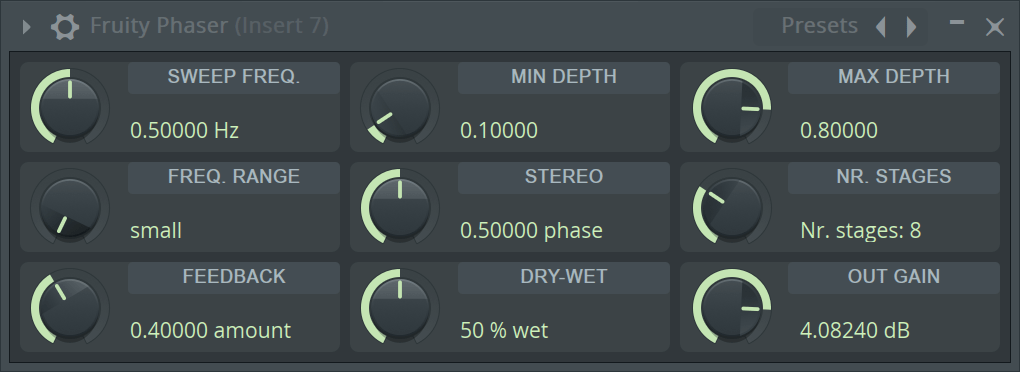
A phaser with a poor GUI, but 23 stages of gooey phaserness.
I didn’t expect to enjoy this, but it can get some nice oily sounds. Nice.
Fruity Reeverb

It just sounds bad. Metallic and clangy.
I don’t have much to say except that I can’t imagine using this reverb to make something sound bad. It’s just… it’s everything I dislike about reverbs. It sounds like you’re in a thin tin box trying to vibrate your way out of it. No. Please. No.
Fruity Reeverb 2
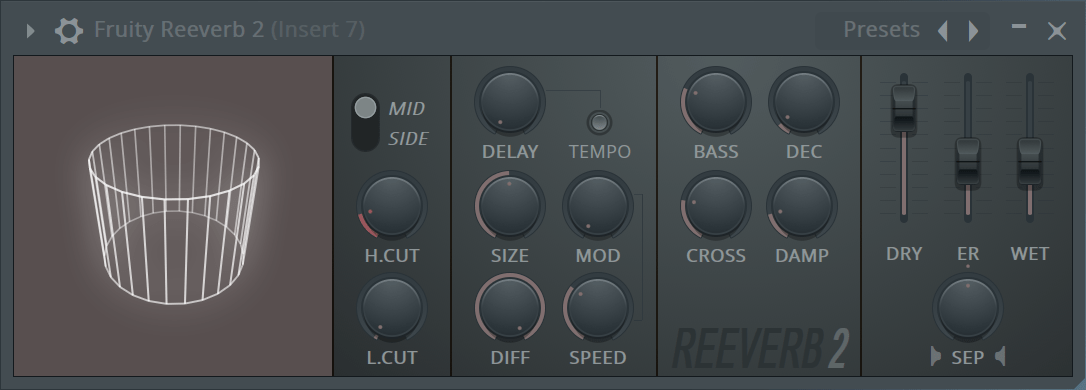
Slightly less awful. It at least has better controls.
It still has that metallic sound to it, but I’ve found that I can tame it a bit more and it’s less clangy in general.
I like that you can modulate many of the controls and get some more organic reverb sounds out of it. Particularly if you do something like setup a peak controller that turns down the decay time when the signal is high, and brings it back up on lower signals. Or just modulate the filters or decay time very lightly. You can get a more organic moving sound that way.
The M/S processing is nice. You can process only the parts of the signal that are identical (your “mid” channel) or the parts that are not identical (your “side” channel). So if you want to just add some space to a wide stereo sound without drenching it, you can process just the sides. If you want to have something pushed back in the mix you can work with the mid channel.
It’s another plugin that makes up for its general simplicity with a nice interface and use of the modulation capabilities of FL.
Fruity Scratcher
32-bit only. No review here.
Fruity Send
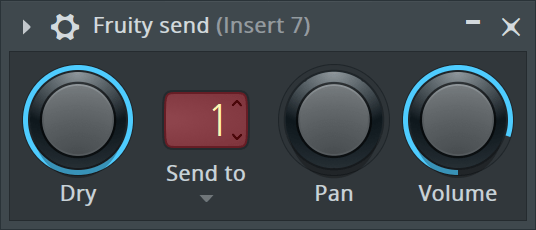
In the FL Mixer, you can link tracks, meaning you can send audio from any track to any other track.
Often you don’t want to do this as a pure clone, but instead you want to just send audio from one track to another.
Fruity send lets you route audio from your current track to any linked track, but there’s a kicker. Since Fruity Send is a plugin, it can ‘tap’ in to your signal anywhere you want (except post fader, but sends are normally post-fader so that’s not a big deal).
Fruity Send is fantastic. This is another feature that every DAW should have, but few have it. Being able to send your track out to another track from any point in your processing allows creative freedom that any engineer in an analog studio has had for decades. Why shouldn’t you be able to do this in your DAW? FL can.
Fruity Soft Clipper
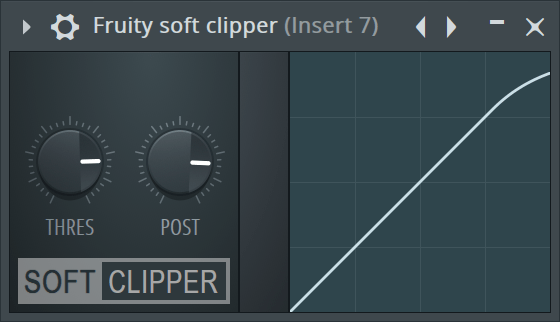
A plugin that clips very lightly, but has no oversampling?
No thank you. Moving on.
Fruity Spectroman
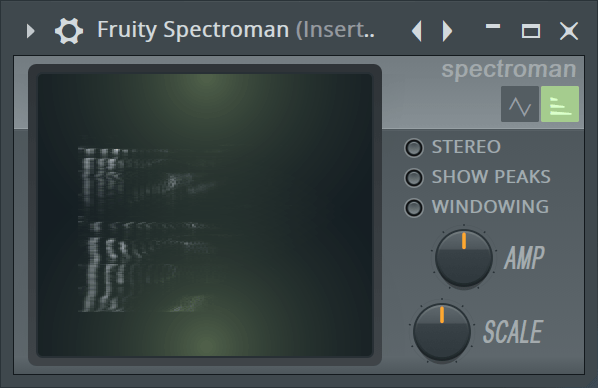
Spectroman is an audio visualizer that’s just kinda… fun? It’s not useful, but it looks kinda fun.
Wavecandy is just better in every way. Unless you need something to throw on a second screen for fun, or use live, I guess?
Fruity Squeeze
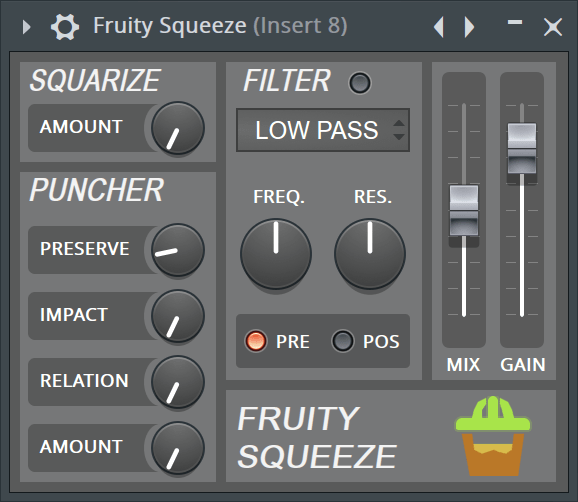
Squeeze is a relatively unique distortion. It’s kind of like a clipper, but with an attack section similar to a compressor. There’s also a filter tacked on to the end to help relieve some of the harshness it can add.
I was unable to find use for this. It’s a neat idea, but I’m not sure where it fits in.
Fruity Stereo Enhancer
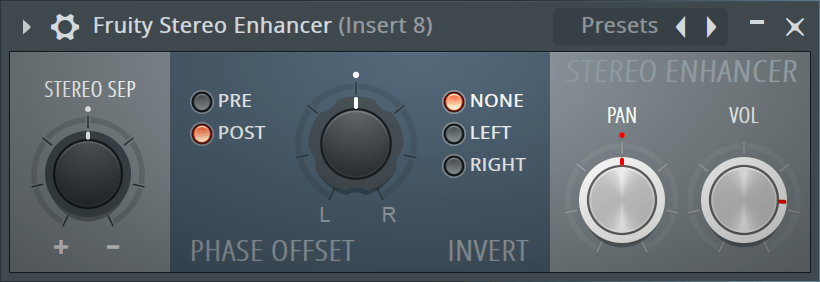
This processes the side channels and gives you a phase rotation on the L or R channels to emulate stereo on mono signals.
Simple. Useful.
Fruity Stereo Shaper
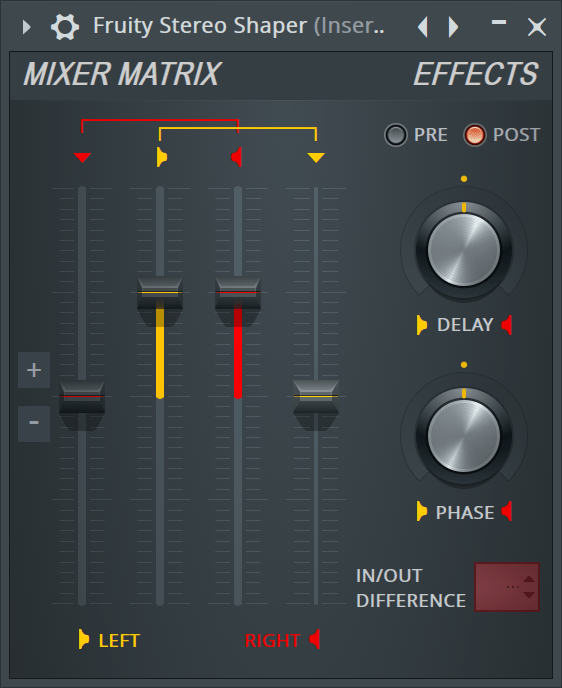
Another stereo effect that allows you to phase rotate AND mix the result to the opposing channel. There’s also a left and right channel delay.
The phase knob is fairly interesting since it can add some really unique stereo sounds (especially when modulated) that won’t ruin your mix in mono. It’s just an allpass filter that sweeps across the left or right channel depending on how you turn it.
Simple and useful, again.
Fruity Vocoder
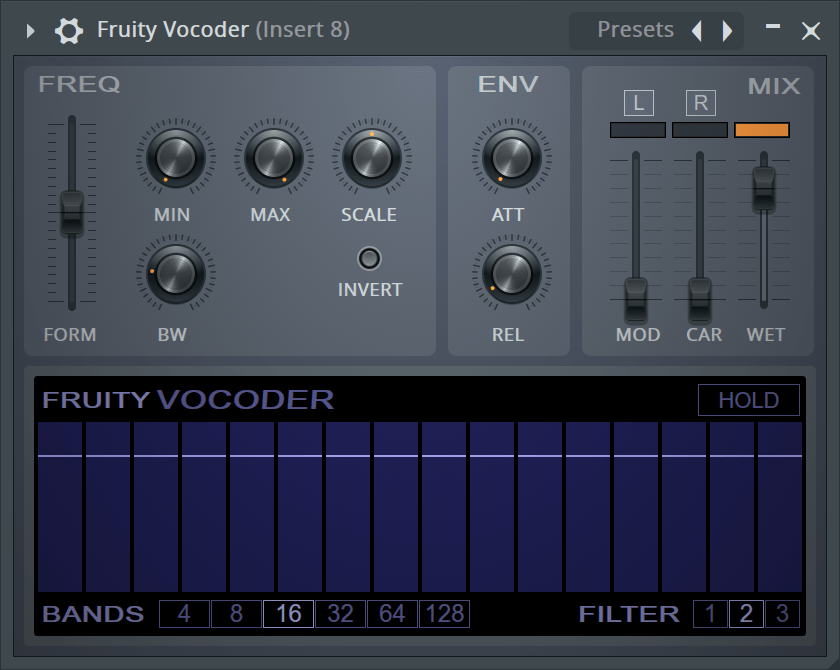
Fruity Vocoder takes the left channel and right channel, then applying the spectral envelope (think like an analyzer) of the left channel to the right channel.
It requires some extra routing, and doesn’t do stereo vocoding which is unfortunate. There’s sufficient control for the filters to allow you to get a smooth or extreme sound, and the envelopes that control the filter response work nicely. The filter window also allows drawing of straight lines with right drag, which is useful.
I’d really wish it had a proper sidechain input rather than using the left/right channels. That’s a downer and makes it a lot of extra work.
You could make your own vocoder fairly easily in FLStudio that’s nicer than this and save it as a Patcher Preset. I’m not really a big fan of this guy.
Fruity WaveShaper
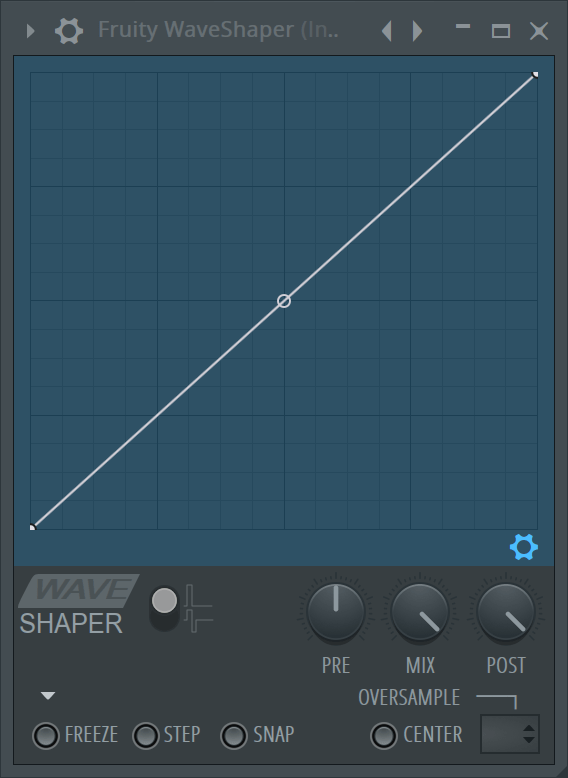
Fruity Waveshaper is great.
It’s a simple waveshaper with bezier curves and asymmetrical response (along with symmetrical).
The graph editor is fantastic. It has features for normalizing the curve, adjusting curves, analyzing audio, scaling, flipping and more. This graph is used in a number of places around FLStudio, but it’s at home here.
There’s up to 16x oversampling (very important for distortions to avoid aliasing) and a DC offset removal. DC offset can appear quite easily with some waveshaper curves so this is a necessary addition.
It’s worth spending some time with it Fruity Waveshaper and using it on some more subtle settings. You can achieve some nice results. Utilizing peak controller to modulate the pre knob can give you a dynamic distortion that responds to the input in a pleasant way.
Fruity X-Y Controller
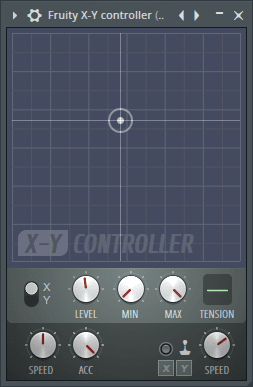
Described here. It’s Awesome.
Fruity X-Y-Z Controller
Described here. Also Awesome.
Patcher
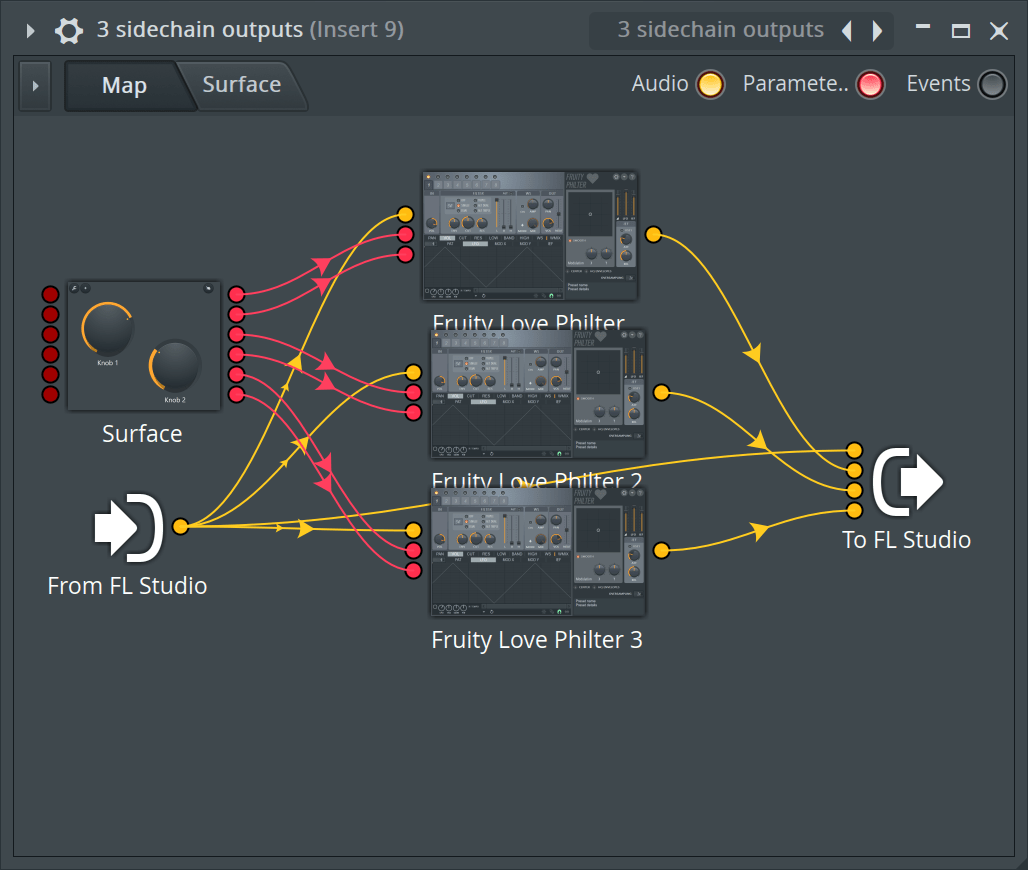
Ever had this awesome idea for creating a multiband compressor or a Vocoder on your own? Routing gets crazy if you try to do that with tracks/effects slots…
Patcher comes to the rescue! You get modular routing of MIDI, Control data and Audio. You can easily do something like create a fully parallel 24 filter patch like I have in the image above.
Patcher integrates with control surface to help you simplify the UI to your beautiful patcher creation.
It can be a bit time consuming to create patcher patches, but once you do it you can save it as a preset and load it easily. Take a moment to create your ultimate multiband compressor with your favorite compressors and then add some controls that let you use it exactly how you want to use it. Now you have your own custom plugin ready to go.
Patcher is also an instrument, which means you can use it to create layered sounds or adjust your MIDI data as you desire and send it where you want inside patcher.
Patcher also lets you do some interesting routing things with the VFX controllers.
Patcher is just awesome.
VFX Color Mapper

This is what lets you split MIDI Channels (called colors or voices in FLStudio) out to different things that accept MIDI (instruments mostly).
It also lets you route channels to other channels.
That’s it.
I wish they’d not call them ‘colors’ though. Just call them MIDI Channels.
VFX Key Mapper
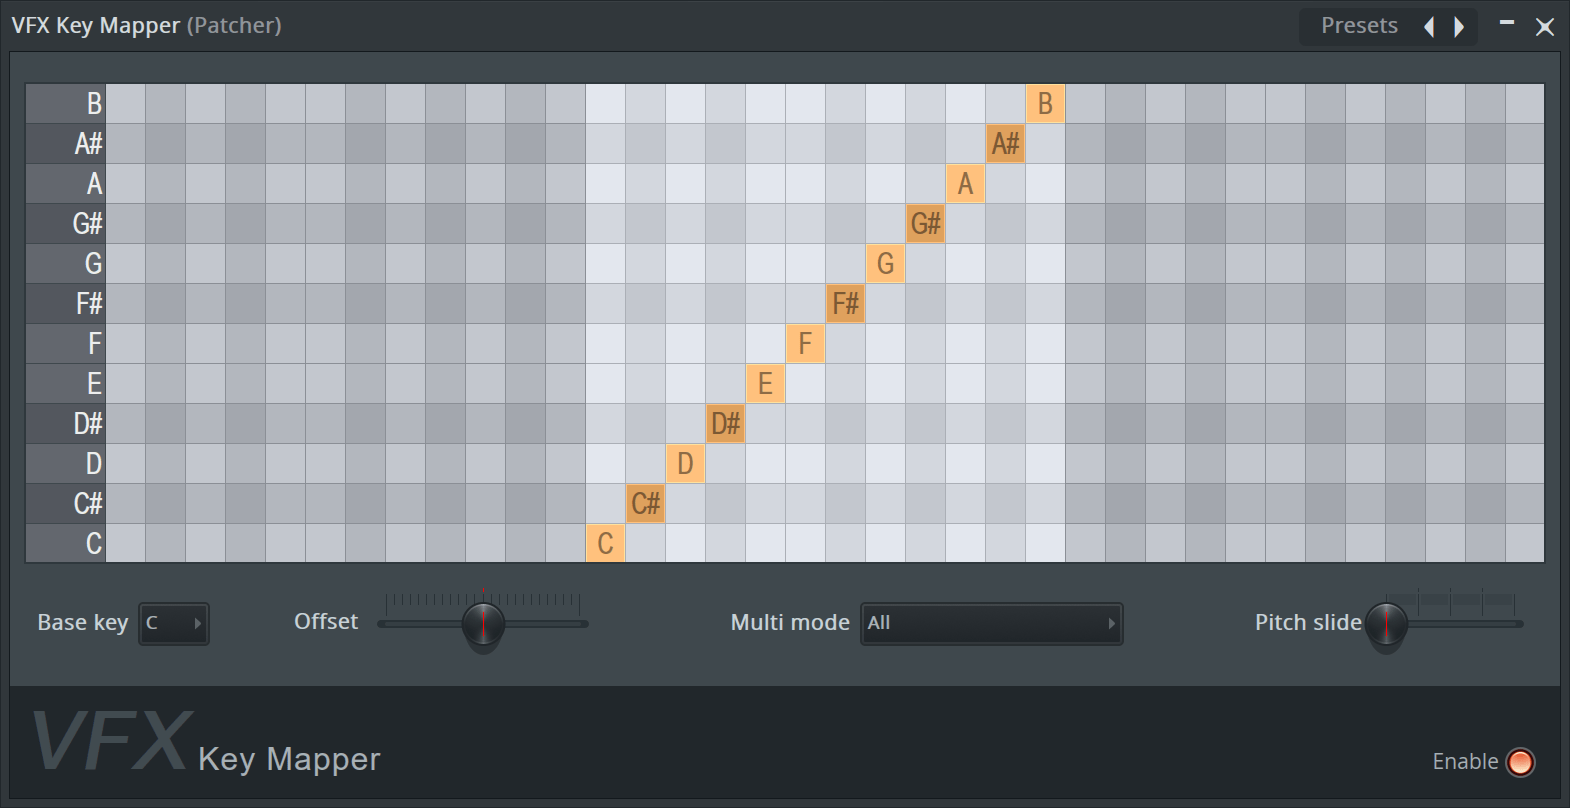
This is a transposer. You can transpose specific MIDI notes to other notes.
The main cool thing here is that you can have multiple assignments per note. So you could assign C to D E and G, then set it up so each subsequent press selects in a specific way (cycle, random, play all, gain compensated (average of notes to velocities)).
That can make for some really interesting chord progressions, or outright be a chord progression machine.
VFX Keyboard Splitter
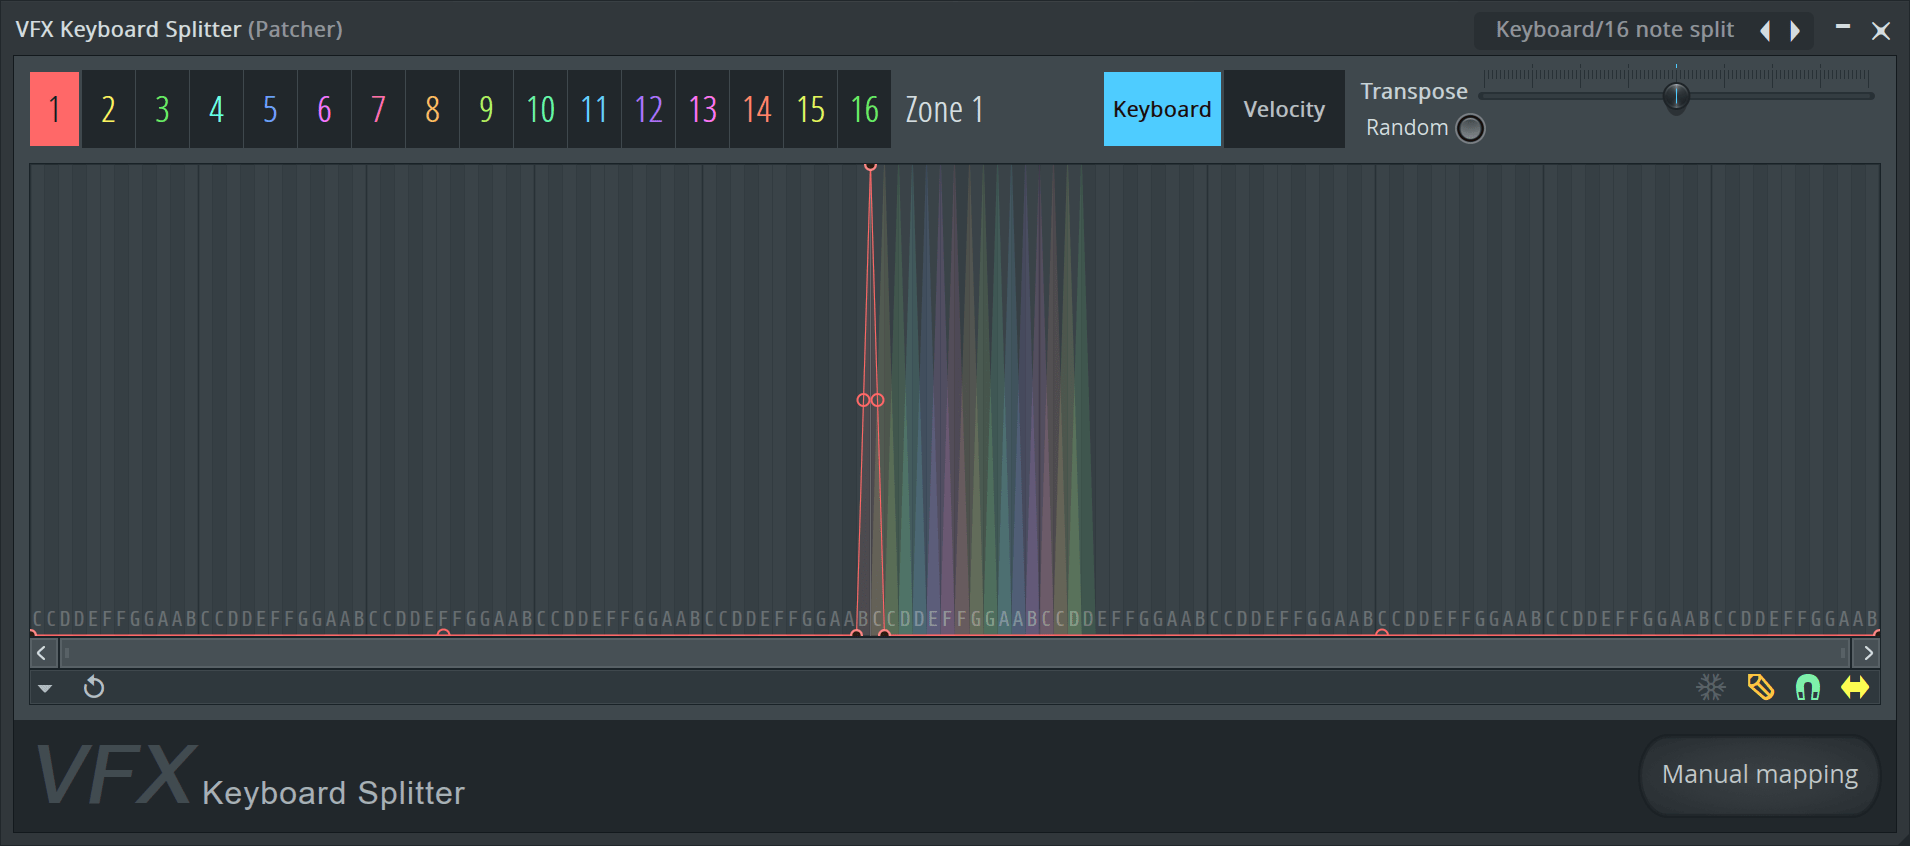
Here is where you can create splits. You can map specific keys or ranges of keys to different outputs.
The unique thing here is that it’s not a pure ‘this note is this, and that note is that’ type mapping. You can have overlapping ranges where the velocities passed through. So C5 could be on all of the layers, but pass with different velocity for each if yo want.
You also have transpose per zone.
Each zone has its own velocity mapping curve.
The downside here is that I found it rather difficult to edit in the graph. (EDIT: This is because it defaults to snap mode. Turn off snap mode, and the pencil, for a better editing experience). Editing the Keyboard map is confusing how it adds/removes nodes. Moving nodes is difficult as well.
However there is a “manual mapping” mode that selects each zone one after the other. You press the highest key that you want in that zone and it creates the zone for you automatically. That aids the mapping a bit.
Once again, this has the cool graph editor.
VFX Level Scaler
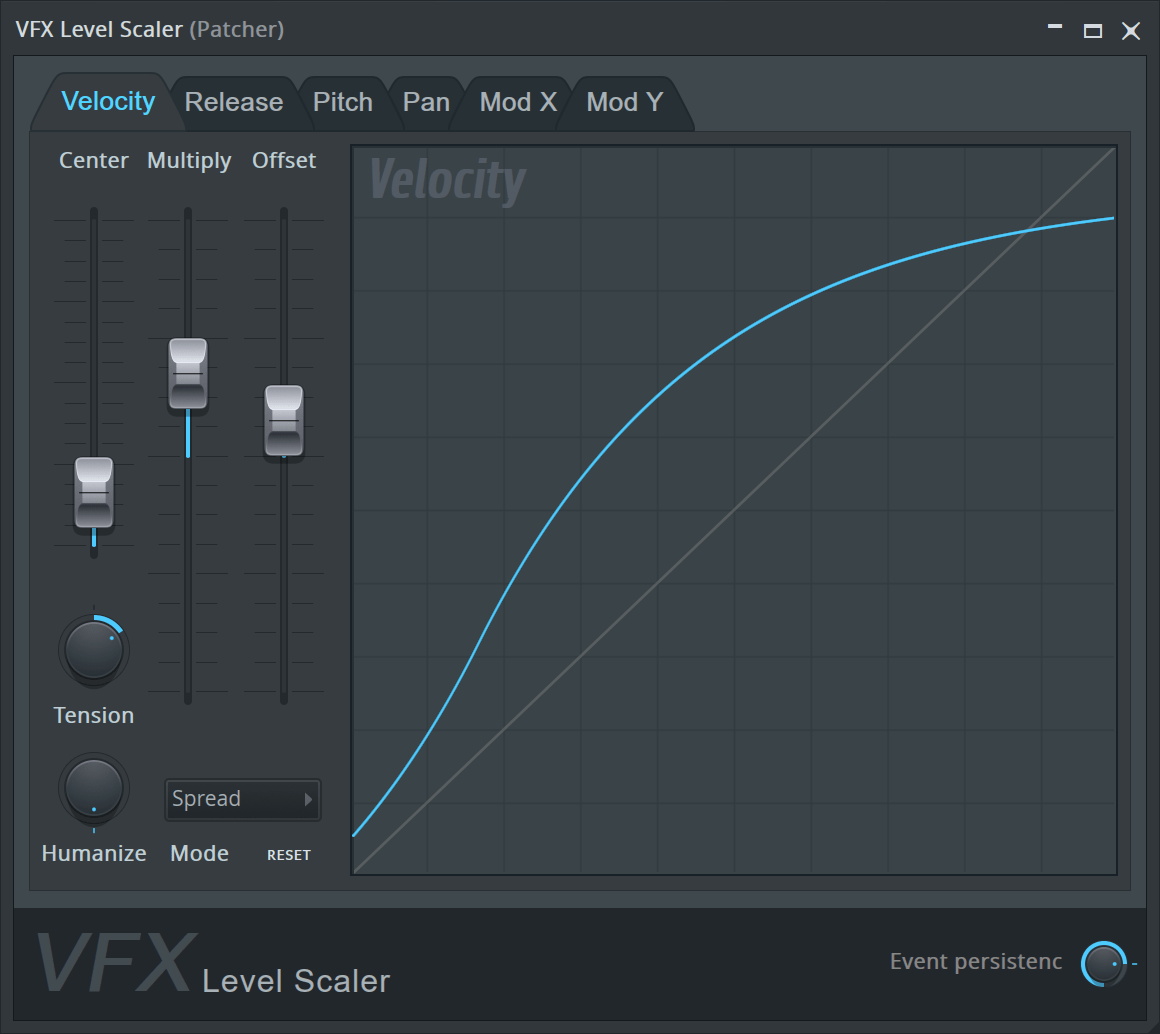
This scales the velocity, release, pitch, pan and mod X/Y values for the input. You can create a mapping curve, multiply, offset or adjust the center value.
It also can ‘humanize’ (randomize centered around the input value).
It’d be neat if there was a way to split different velocities out to different outputs, but nope.
Razer Chroma
32-bit only. No review here.
Soundgoodizer
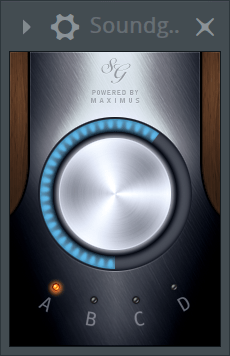
Maximus presets.
Alright. Well… maximus doesn’t suck, so this doesn’t suck by the commutative property.
Wave Candy
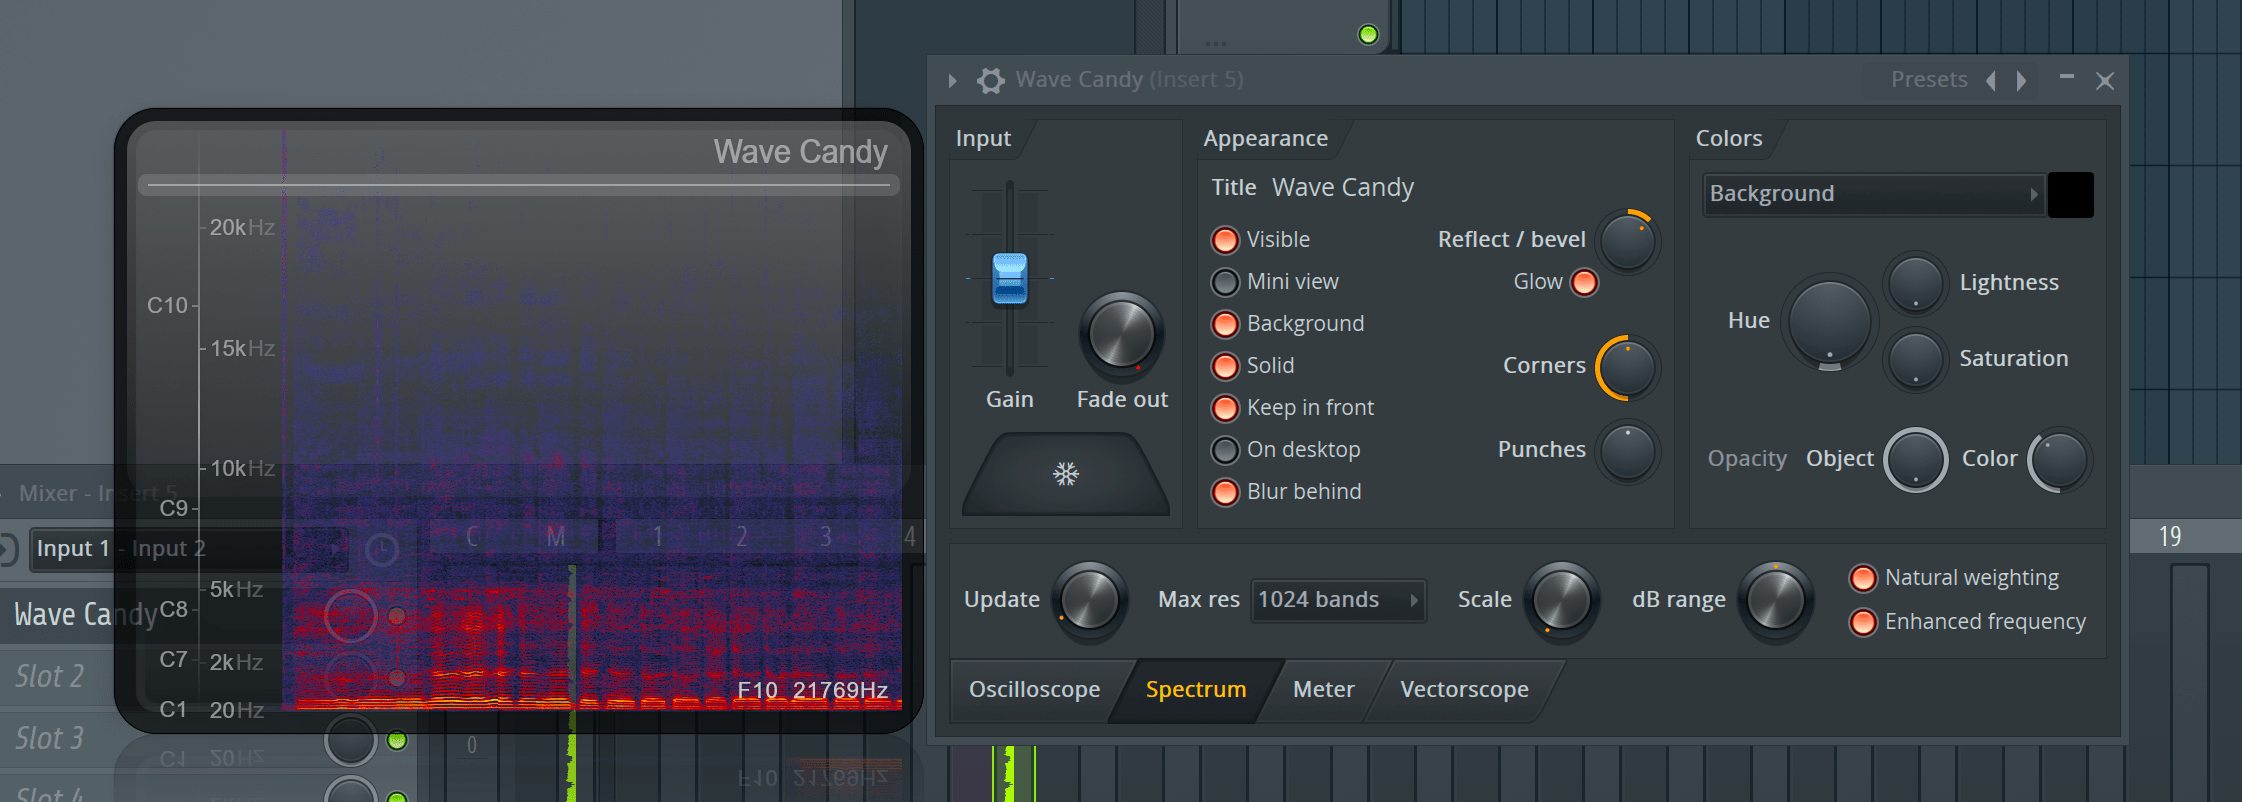
Visualization, but prettier. You get 4 modes
- Oscilloscope - your waveform.
- Spectrum - A spectrogram (like I’ve used already in this post.
- Meter - simple meter.
- Vectorscope - stereo visualization.
Wave candy is pretty fantastic.
The Meter mode has PPM, VU and Leq(a) and ITU-R BS.1770 modes which are exceptionally important for certain production modes. It happily can sit ‘on top’ of everything and you have a lot of control over how it looks. The VU and PPM modes appear to work correctly much to my surprise.
The Spectrum mode has a scale option (which should almost always be maxxed) with FFT resolution up to 8192 and proper pating (the dB range knob). It also has a piano roll on the left to help you identify notes. You can mouseover to see what note a frequency corresponds to in realtime too. Awesome.
The oscilloscope mode has proper interpolation, but it is missing parameters for adjusting triggering. Sometimes the sound you want to watch flies by too fast and you want it to align the center on some specific data.
The window seems to reset to ‘oscilloscope’ for me when I resize it. What a downer.
There’s plenty of options for colouring things and presets for that.
FANTASTIC. Good Job IL.
ZGameEditor Visualizer
It’s awesome for some folks.
Producer Only
These plugins are only available in the Producer edition.
Edison
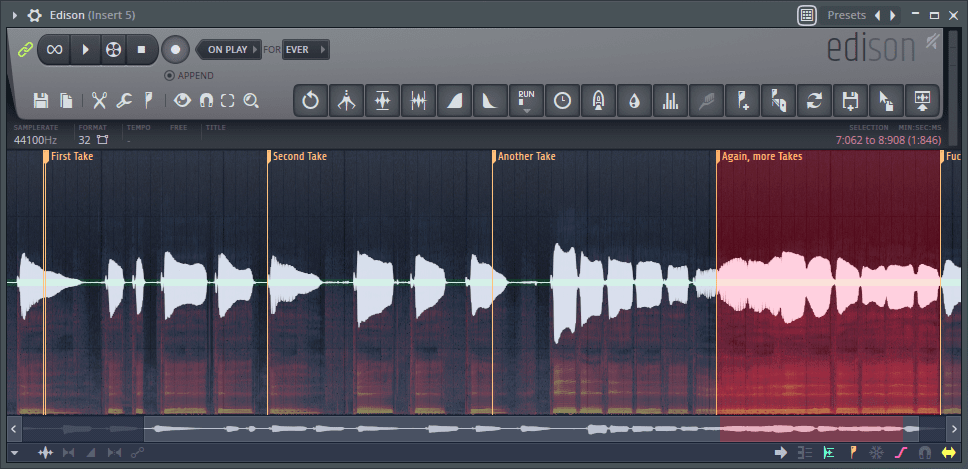
I’m not a fan of Edison really. Especially the whole bit where edits end up causing your project to be filled with random audio clips all over from the ‘make unique’ hell.
Edison doesn’t edit the clip directly. To use what you did, you need to add it to your channel rack. Do this a few times and you’ll have plenty of verions cluttering up your channel rack.
Plus, it’s not nearly as fast or capable as other DAW’s editing capabilities.
EQUO
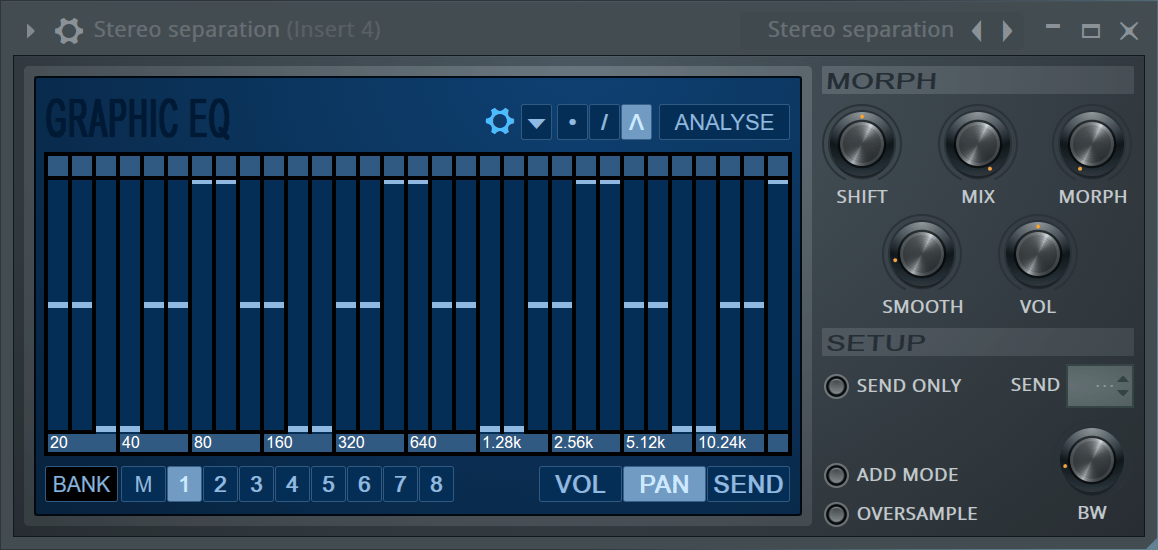
Not just a graphic equalizer, but a morphing one. You have 8 banks which you can have curves that shift between.
There’s also an analyse mode that will create the inverse spectral shape of the incoming signal, which you can use in a bank as desired.
It’s difficult to explain this one, so you’d have to try it out. It’s a rather unique effect to be able to morph and shift (from high->low or low->high) between multiple EQ curves easily. EQUO’s method of band splitting also adds something to the sound (which you can avoid with the ‘add’ button).
You can individually pan bands, and send specific bands to another track. The per-band panning along with the morph and shift functions can make some subtle but interesting panning effects that collapse nicely to mono.
I do wish there was a way to invert the curve shape easily, especially given how analyse works. It’s my only complaint really. Don’t sleep on EQUO.
Fruity Convolver
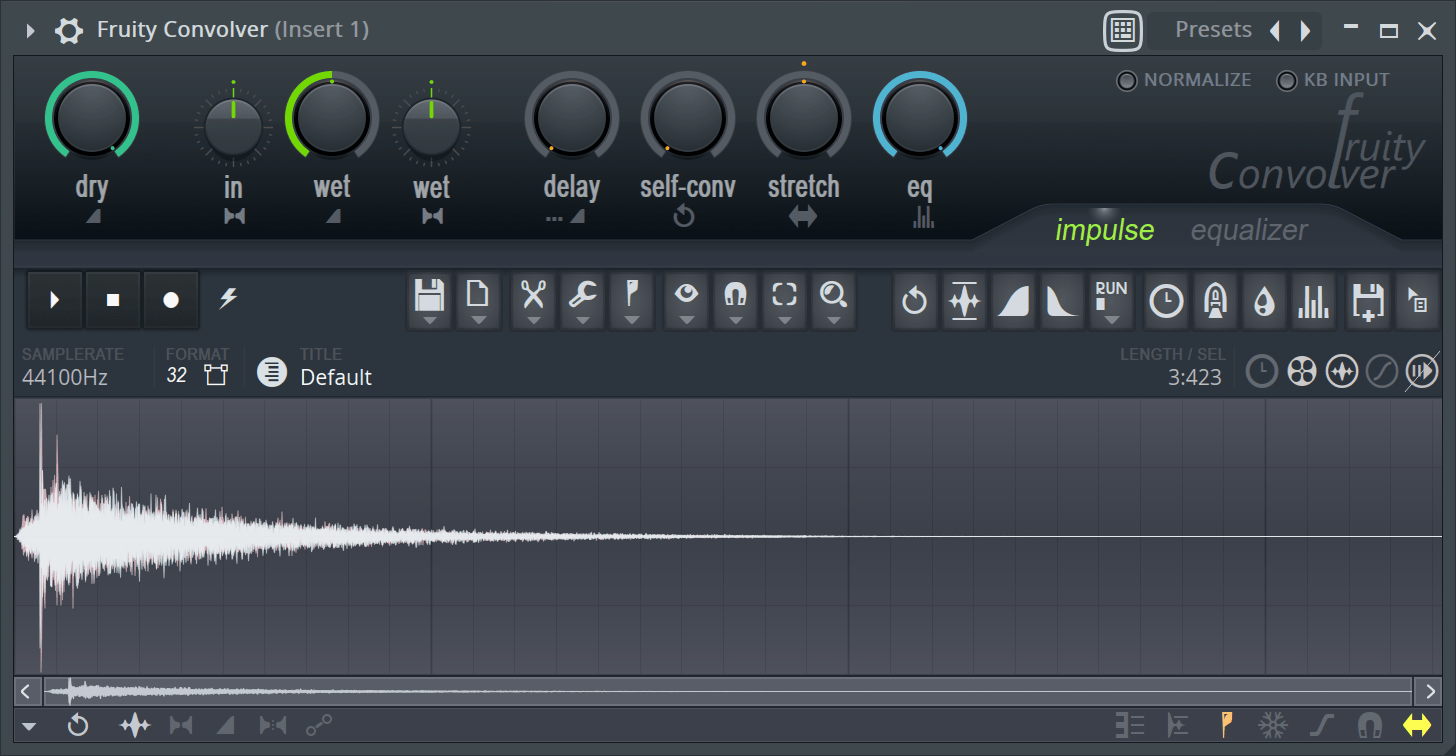
Convolution Reverb, but wow. What a nice one.
You can load any audio file in to it, but you generally will want to use impulses created for the purpose. Don’t let that stop you from experimenting though.
FL Convolver has an audio editor built in that’s very similar to Edison, except it’s way cooler in this instance. You can make all sorts of adjustments to your reverb sound from time stretching, fades, cut/paste, adding noise, equalization, blur (cool effect), reverse, etc…
Once you start exploring, a single reverb impulse can be almost anything you want. You can even make cool delays by chopping up your reverb.
There’s an EQ for the impulse, as well as a stretch knob, pre-delay and self-convolution. Self-convolution convolves the impulse on itself to create a really diffuse sound that can be amazing on large reverbs.
You get pan, volume and stereo envelopes along with a general purpose envelope that can be used for ducking and some other things (apparently, I can’t figure out how to use it?)
The built in spectrogram and dual views are helpful for imagining what the sound will be like.
Fun. Experimental. Solid.
I don’t think there’s any DAW convolver I have had as much fun with as Fruity Convolver.
BUT WAIT! THERE’S MORE!
There’s 2 presets that turn it in to a linear phase EQ. It loads up an impulse that does this, and you just use the equalize window to have a linear phase EQ with nice bezier curve based filter envelopes. Awesome.
What a cool plugin. I haven’t even covered everything it can do, like make up for Hardcore’s anemic cab section.
Maximus
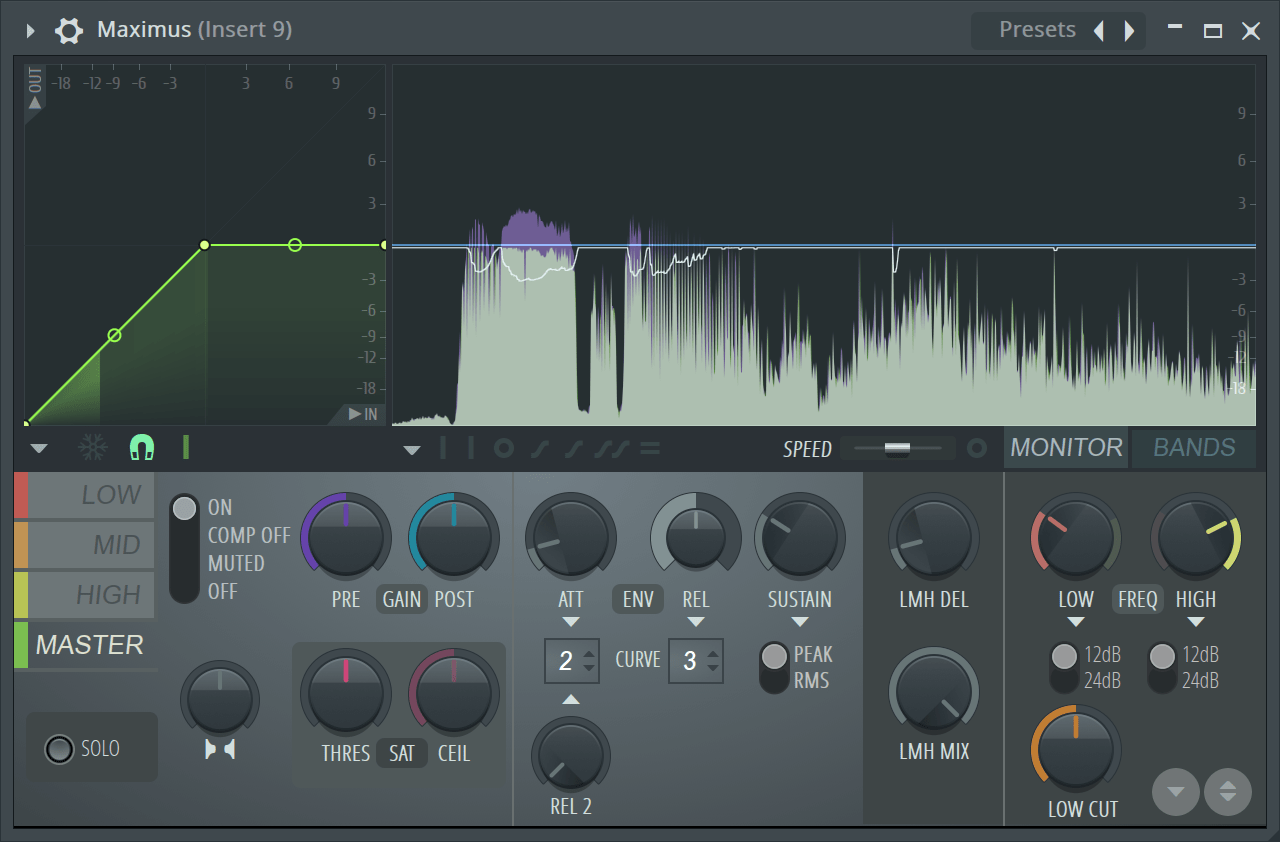
Oh hey there. It’s the multiband limiter/maximizer/compressor that should be here.
3 bands of Fruity Limiter like limiters. Except you also get:
- A nice knee/ratio/threshold graph with bezier curve for the knees.
- A fantastic display with multiple envelope options
- This allows expansion, gating and some really cool compression curves
- Band Level display (click that circle next to it for the spectrogram display)
- Secondary release (smooths out the release to make things sound less dirty/pumpy sometimes)
- Mix control for parallel compression
- linear phase and IIR band splits
- Oversampling (to help deal with intersample peaks and aliasing)
- Per-band stereo separation controls
- A ‘Master’ band with all of these capabilities
- Optionally the master band can be controlled by the mid band, rather than the output of the full MB compressor
I’m not big in to multi-band compressors for a variety of reasons, but if I was… this one is fantastic. Nothing in any other DAW comes close.
It’s worth making sure you get Maximus in your FLStudio purchase, if you do buy it. I’m somewhat hoping the Mac standalone version comes out soon so I can try it out with some other projects not in FLStudio.
I suspect that many people just grab various presets, but if you want to dig deeper you can do some great things with Maximus.
Vocodex
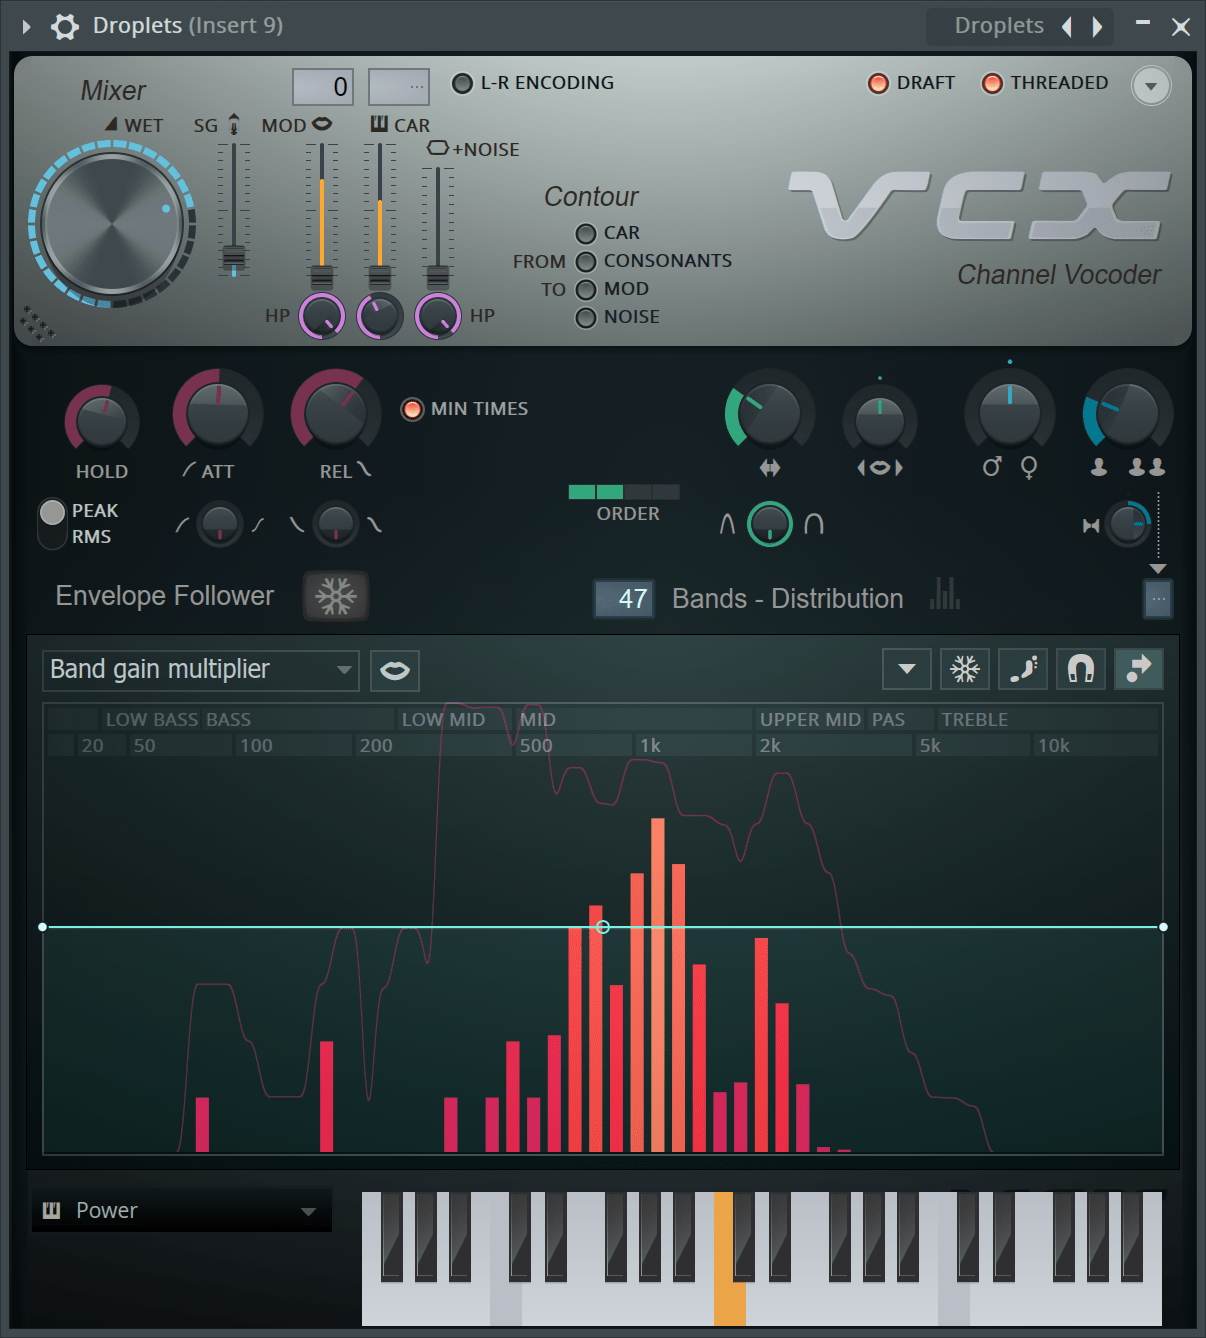
The easy vocoder, but also the more complex vocoder.
It includes multiple carriers, in case you don’t want to setup routing. If you do want to go in to routing you can do stereo unlike with fruity vocoder.
The envelope follower which controls the band change rate offers peak/rms modes with varying attack/release curves and times. There’s also a hold, which I enjoy having to give the changes a slurred feel.
You can have up to 100 bands with varying width and control the shape of the filter. It would be nice if this had some visualization just for fun, but it’s easy enough to set while auditioning.
There’s a really, really cool modulation section that can give you up to 5 detuned voices stacked on each other. Simple phrases can become monsterous sounds or light leads. The unison capability is super cool. I would like if you could control the formant morphing per unison to create a more ‘real person’ like chorus.
Various parameters have an envelope graph that let you adjust their level relative to the filter band displayed. Band panning, gain, envelope settings, modulator settings etc…
The main takeaway is how easy it is to get a cool vocoded sound by just selecting a built-in carrier and keyboard. If you just want that neat vocal sound, but you dont want to mess with routing a synth in, you can be up and going in seconds.
If you want to dig deep in to the vocoding and create a massive vocal sound. One of the best Vocoders on the market.
Signature only
These plugins are only available in the Signature edition
Hardcore
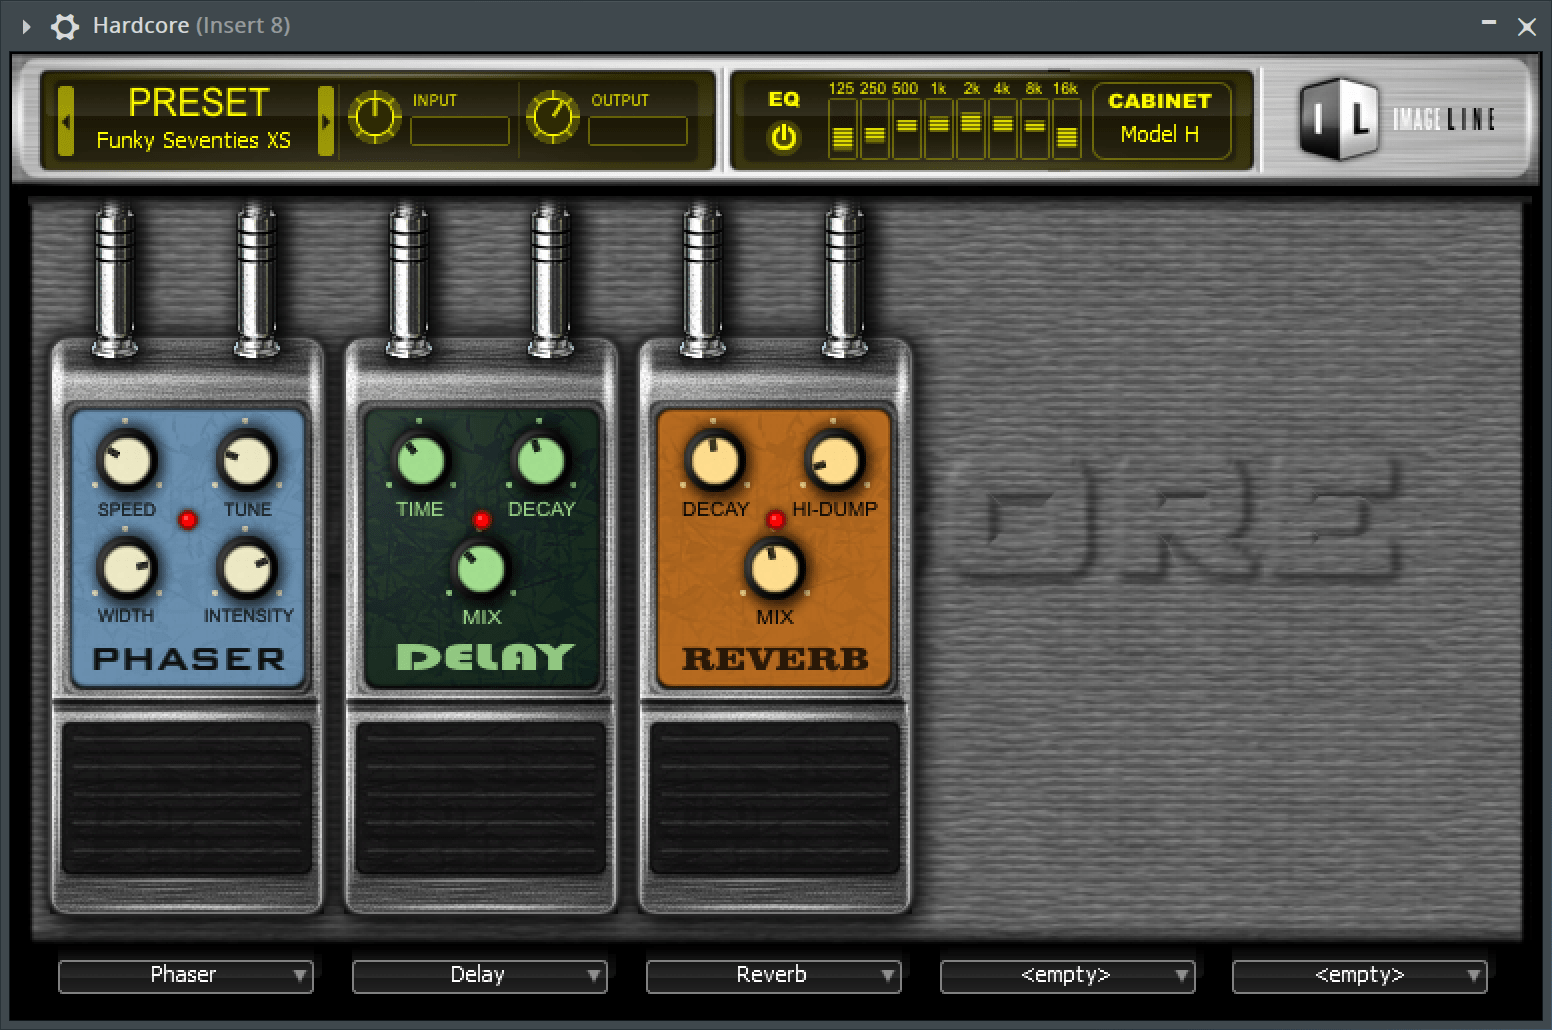
Alright. This is FLStudio’s amp simulator.
You get a bunch of pedal slots and… uh… hmmm. No amps?
There’s some cabinet models, but it really seems like you’re better off using fruity convolver to load up free cabinet impulses that you can find online.
I’m not going to go through all the effects, because no matter what I did I was unable to get a good sound of this. It sounds exactly like what most people would consider a ’90s amp sim’. It aliases, it has that fizzy sound, it has that weird high-end sheen.
For trying to use it on non-guitar tracks it still imparts this odd sound. I can’t pinpoint it, but it’s an audible high-end weirdness.
I’m sorry to the author (Maxx Claster), but I dislike Hardcore more than any other FLStudio plugin.
Pitcher
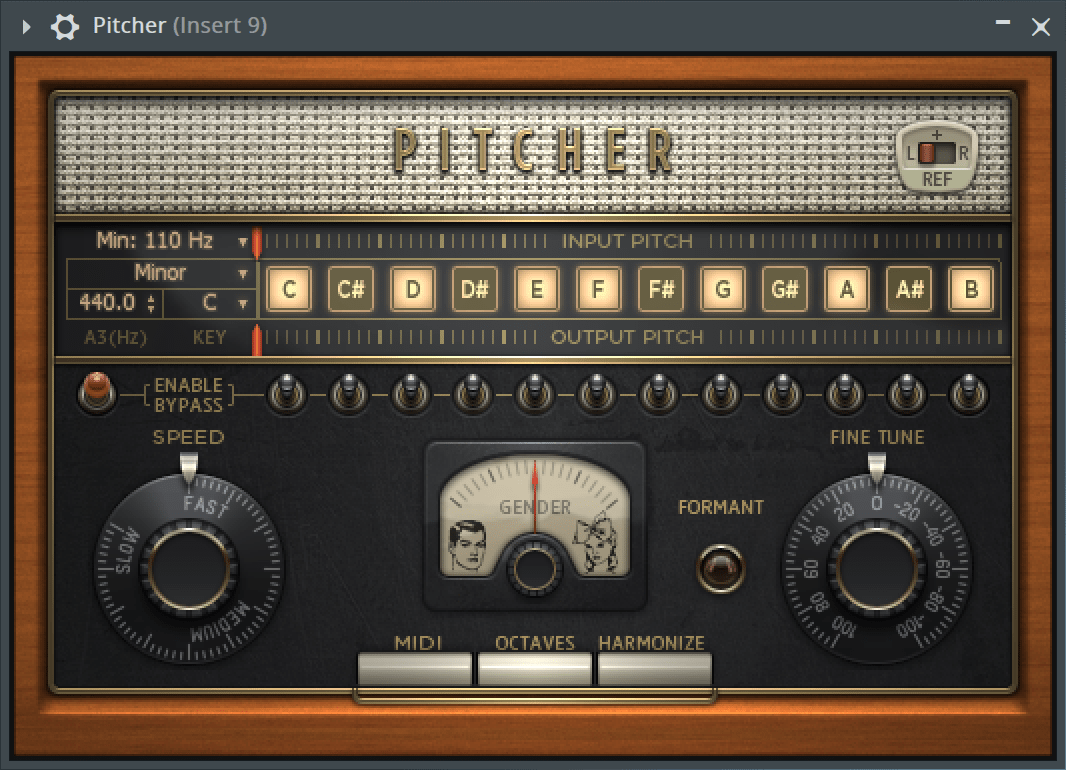
Autotuning and harmonizing.
This does your basic realtime auto tuning of input. You have easy controls for what notes it snaps to, how fast it snaps to them, how it detects them, and the formant shifting.
It also receives MIDI input and will pitch the live input based on that with up to four voices.
It doesn’t sound amazing, but it does work. The harmonizing and MIDI input is a useful addition that is an easy way out on leads and other non-vocal sources.
This is really more of an ‘effect’. If you want pitch correction then you’re better off with Newtone. I can’t really say that pitcher is worth the ‘signature’ upgrade price though.
Gross Beat
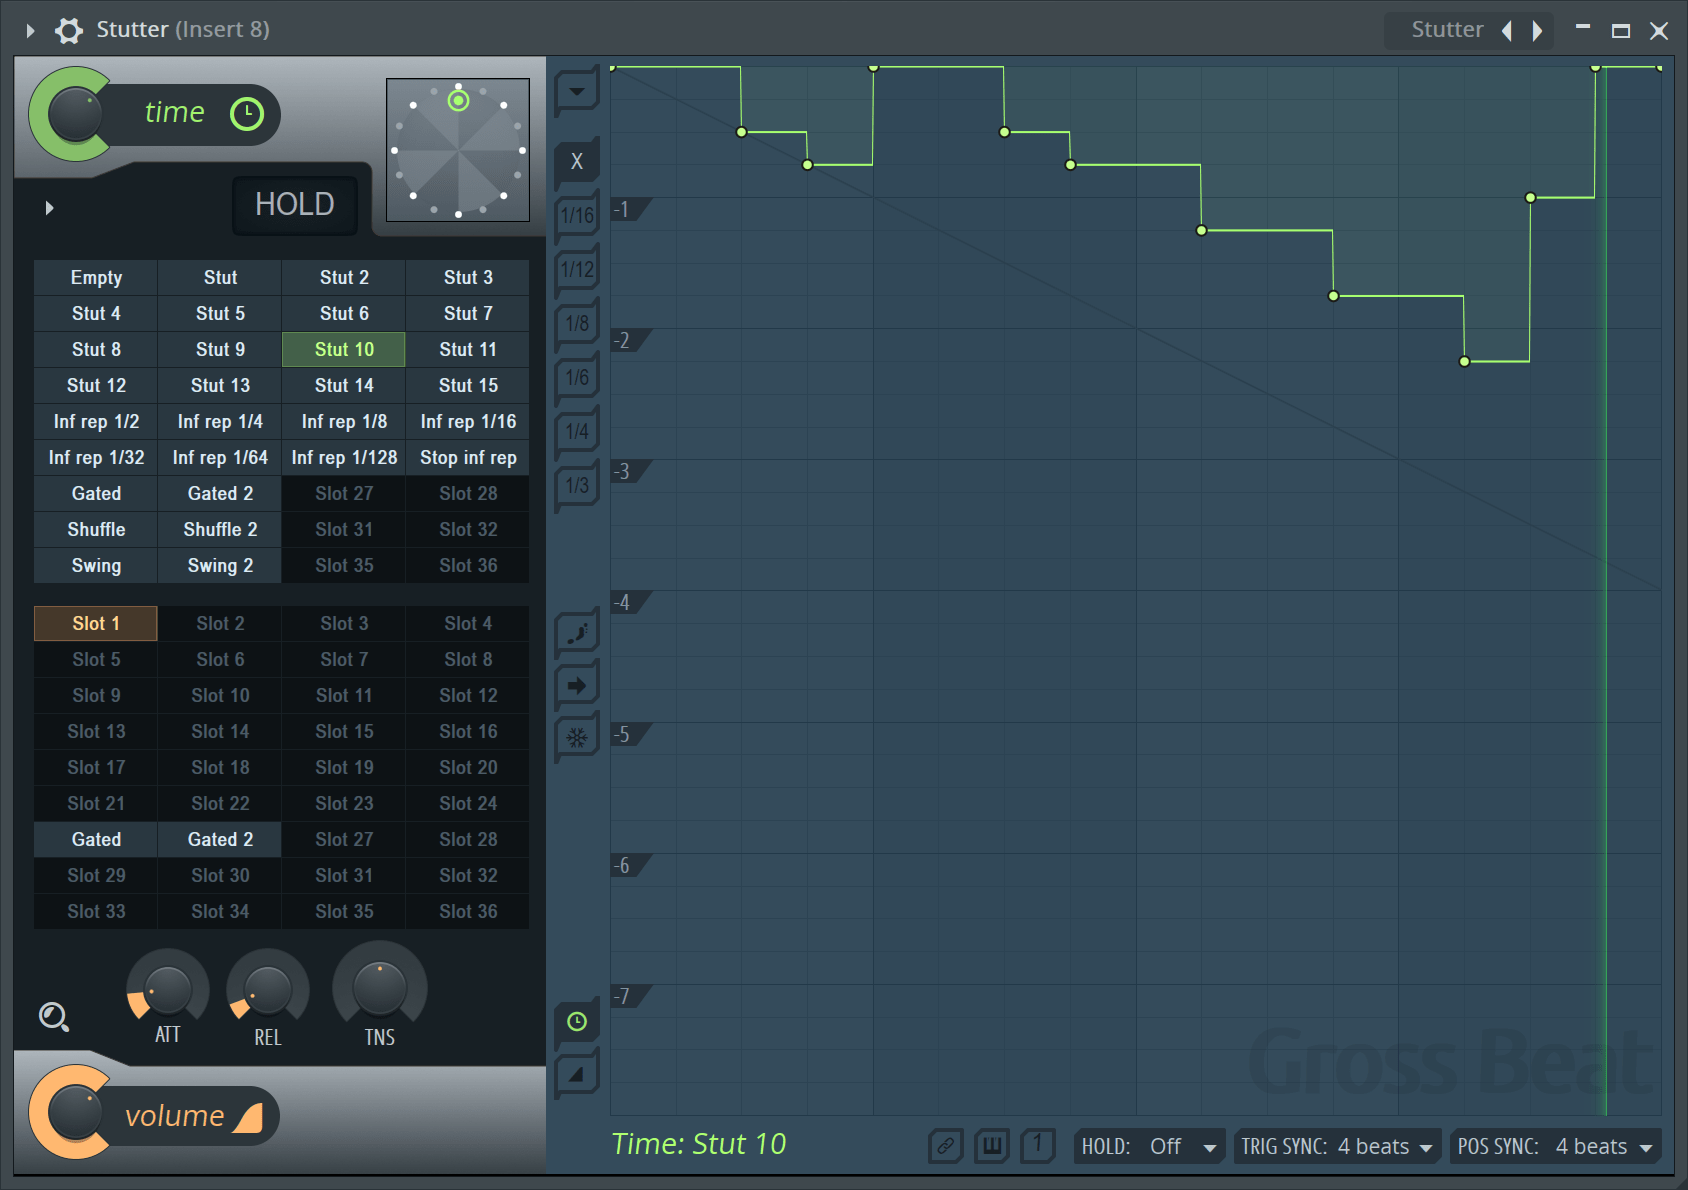
Gross beat is a unique ‘beat slicing’ plugin. I’ve tried to find things that can replicate what it does, but I’m unable to. There’s lots of glitcher plugins and beat slicers, but nothing quite like Gross Beat.
Gross beat takes 2 bars of audio and slices it in to 36 time slices and envelopes. From there you can use the graphs to reorganize the slices in realtime. On the graph you re-organize the captured buffer’s playback, and you can do so based on specific snap settings as shown on the left of the graph.
The way the graph works is explained well in the manual, but essentially you’re using it to either jump forward or back in time (or stop!) rather than playing the current buffer slice. The volume envelope controls the volume of those slices (along with an envelope that adjusts how quickly that happens).
The graph has many types of curves and quick shapes you can use. Creating neat buffer shifting and FSU sounds comes quickly and easily. Fine-grained control is available as well, especially with the ‘step mode’
There’s a bunch of presets for the volume and time envelopes that you can setup for MIDI control. There’s also ‘hold’ functions and a scratching clock. Great for live performers.
That scratching clock is important. You can rewind or fastforward the captured buffer in realtime to create scratch-like sounds. It can also be modulated (or linked to a MIDI controller as you desire).
You may not be in to all this buffer fun, but this can also be used as an effect. There’s some ‘flanging’ presets that show how you can use the time envelope to modulate things like a flanger. It can be used to add subtle character to chords as well, especially when used with patcher.
Great plugin.
Newtone
All Plugins only
These plugins are only available in the All Plugins Bundle
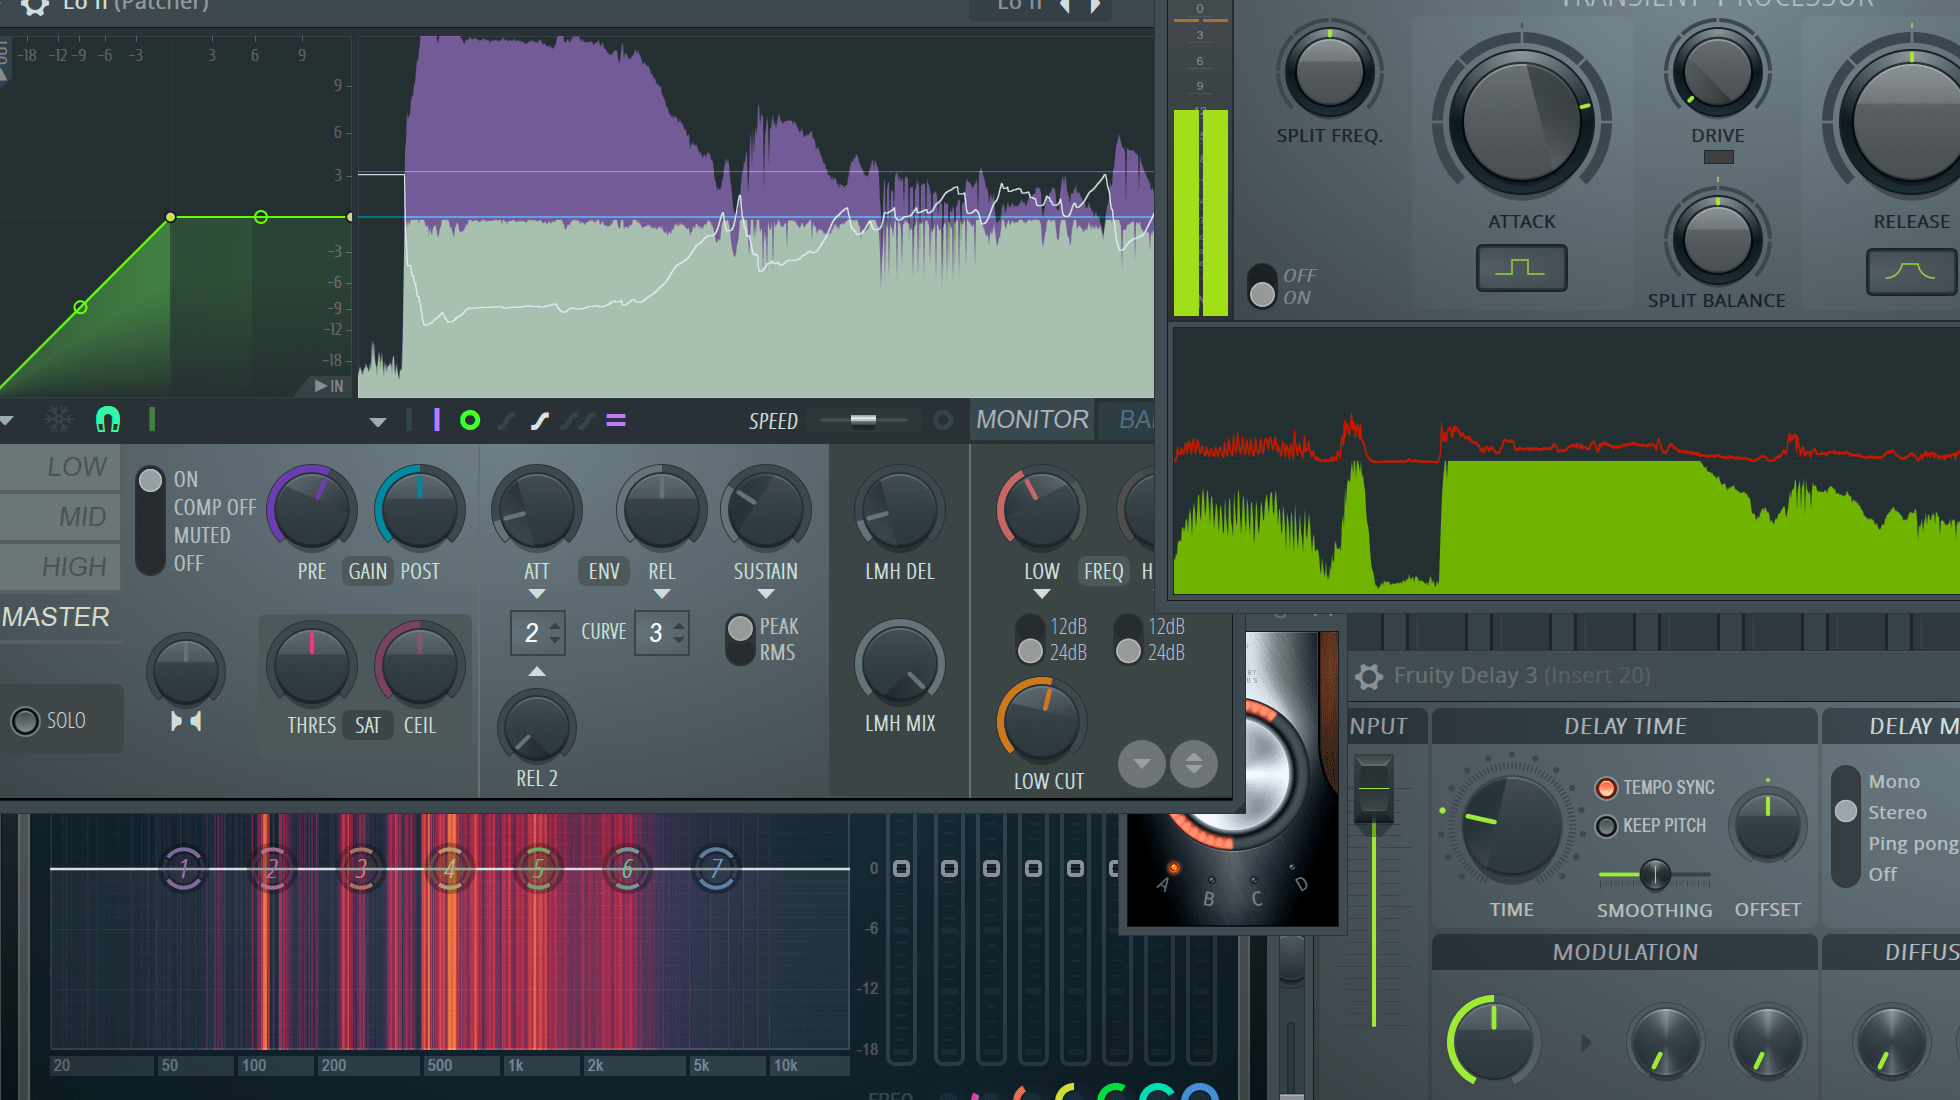
Transient Processor
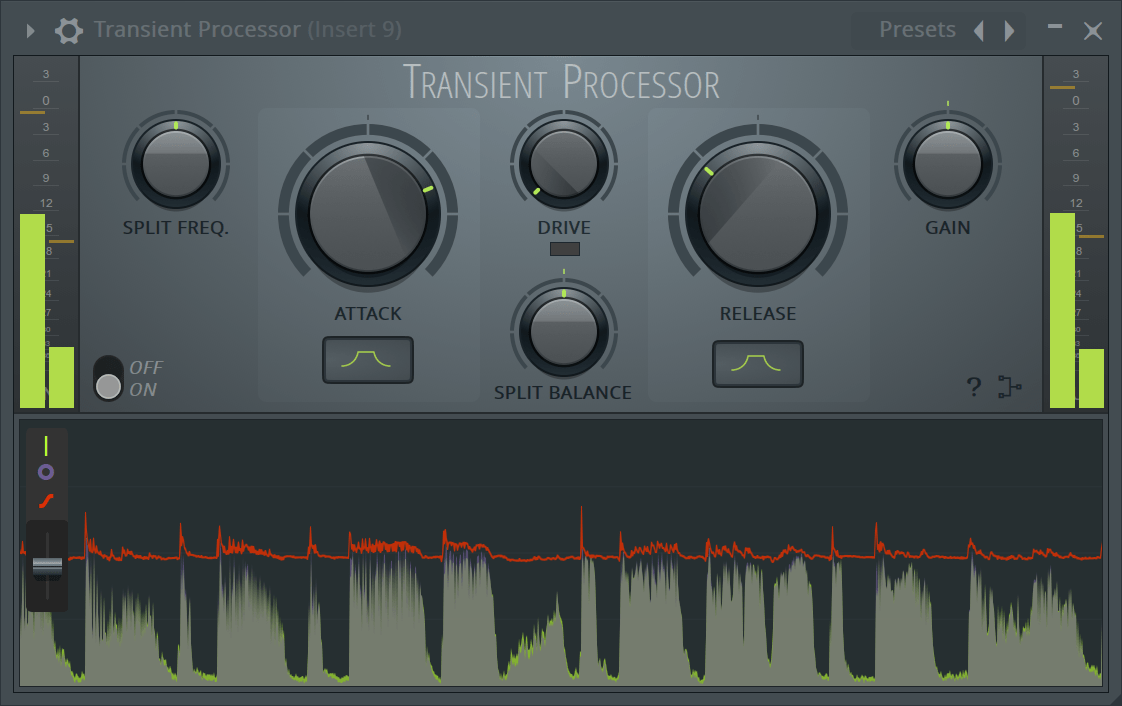
Transient processor does what it says on the tin. It helps you control transients and sustain of sounds.
There’s a nice graph that shows you what’s happening and 3 modes for attack and release. The transient processing goes through an adjustable high/low pass split, which makes it much easier to target transients.
One of the more interesting things you can do is turn the split freq down so you have a lot of low-end passing through. Now you can add some thickness to your sounds by using the release knob heavily, along with the drive control.
Transient Processor is fairly simple, but it is a competent transient processor. It looks clean too.
Conclusion
Overall rating:
Didier Dambrin is a genius. He’s the author of most (but not all) of these plugins. The feel of a single designer flows through these products. At no point did I ever feel like I needed to switch around how I expected things to work. All of the plugins feel like they are part of the same product line.
Yes, I rated this higher than Logic. I don’t think that FLStudio has the most amazing plugins in terms of adding ‘vibe’ or similar, but the workflow is superb. Getting things done in FL with the included plugins is easy. The GUIs all use similar widgets, graphs and displays. There’s rarely a time where you need to rethink how to use something. If you know how to use one, then you can use them all.
There are some holes in the offerings though. Hardcore sucks. FL could do with a better guitar and bass plugin suite. There’s no emulations or anything that adds that warm vibey sound out of the box. You can create it with the included products, but you’re in for some work. If FL had tried to add some analog emulations, but not added enough or were poor, I’d have rated it much lower. Their current offering shows what their focus and design goals are, and I respect that. I’ve rated it based on that context.
I would like a better algorithmic reverb option as well, but Fruity Convolver makes up for it.
On that note, Reeverb 2 is a good example of why I’ve rated FL’s effects so highly. It’s not a good reverb on its own, but it’s easy to use and with FL’s other capabilities it can be used to create something special. It’s just an integrated experience.
I REALLY like Wave Candy, particularly when put on the ‘current track’ (which follows your currently selected track). It makes metering easy and it has the necessary standards available to create deliverables that are expected in 2018+. It would be nice if the Wave Candy functionality was built in to every meter, but I can forgive it due to FL’s current track.
I won’t say that FL has the most amazing collection of effects, it doesn’t. I actually think that belongs to another DAW, but I do think that FLStudio has the most comprehensive experience. In the end that’s what matters. What gets you making music.
Support Me!
This post took 26 hours to research, screenshot, write and edit. Yes, it’s A LOT of work. If you appreciate the information presented then please consider joining patreon or donating!