
I have nowhere in my studio to properly put headphones. It’s rather annoying.
So today I decided to make some simple hooks to screw on to my desk. I used a small port of a pine 2x4. The amount of wood used is about $0.56usd of wood.
The total cost of tools used was about $4,000usd. You could easily do this with a chisel, a $10 saw, a drill and some drill bits. Maybe I’ll do something like that next time.
Now let’s get on to it!
Contents
- Lumber
- Mark the cutoff
- Cut it off
- Workpiece
- Split the workpiece
- Cut the split
- Square the end grain
- Ohhh Shavings!
- Square the faces
- Shiny faces
- Center
- Center of the center
- Hole Mark
- Hole Drill
- Mortise setup
- Marked mortise
- Pre-cut the mortise
- Remove the waste
- Hand route the remaining
- Trimming the mortise edges
- Mortise test
- A look inside the mortise and drilling again
- Round the edges
- Split in twain
- Glue
- Dowels
- Dowels made
- Prep
- Rounding everything
- Filing because I’m an idiot
- Finished!
- Install
- Installed
- Support Me!
Lumber
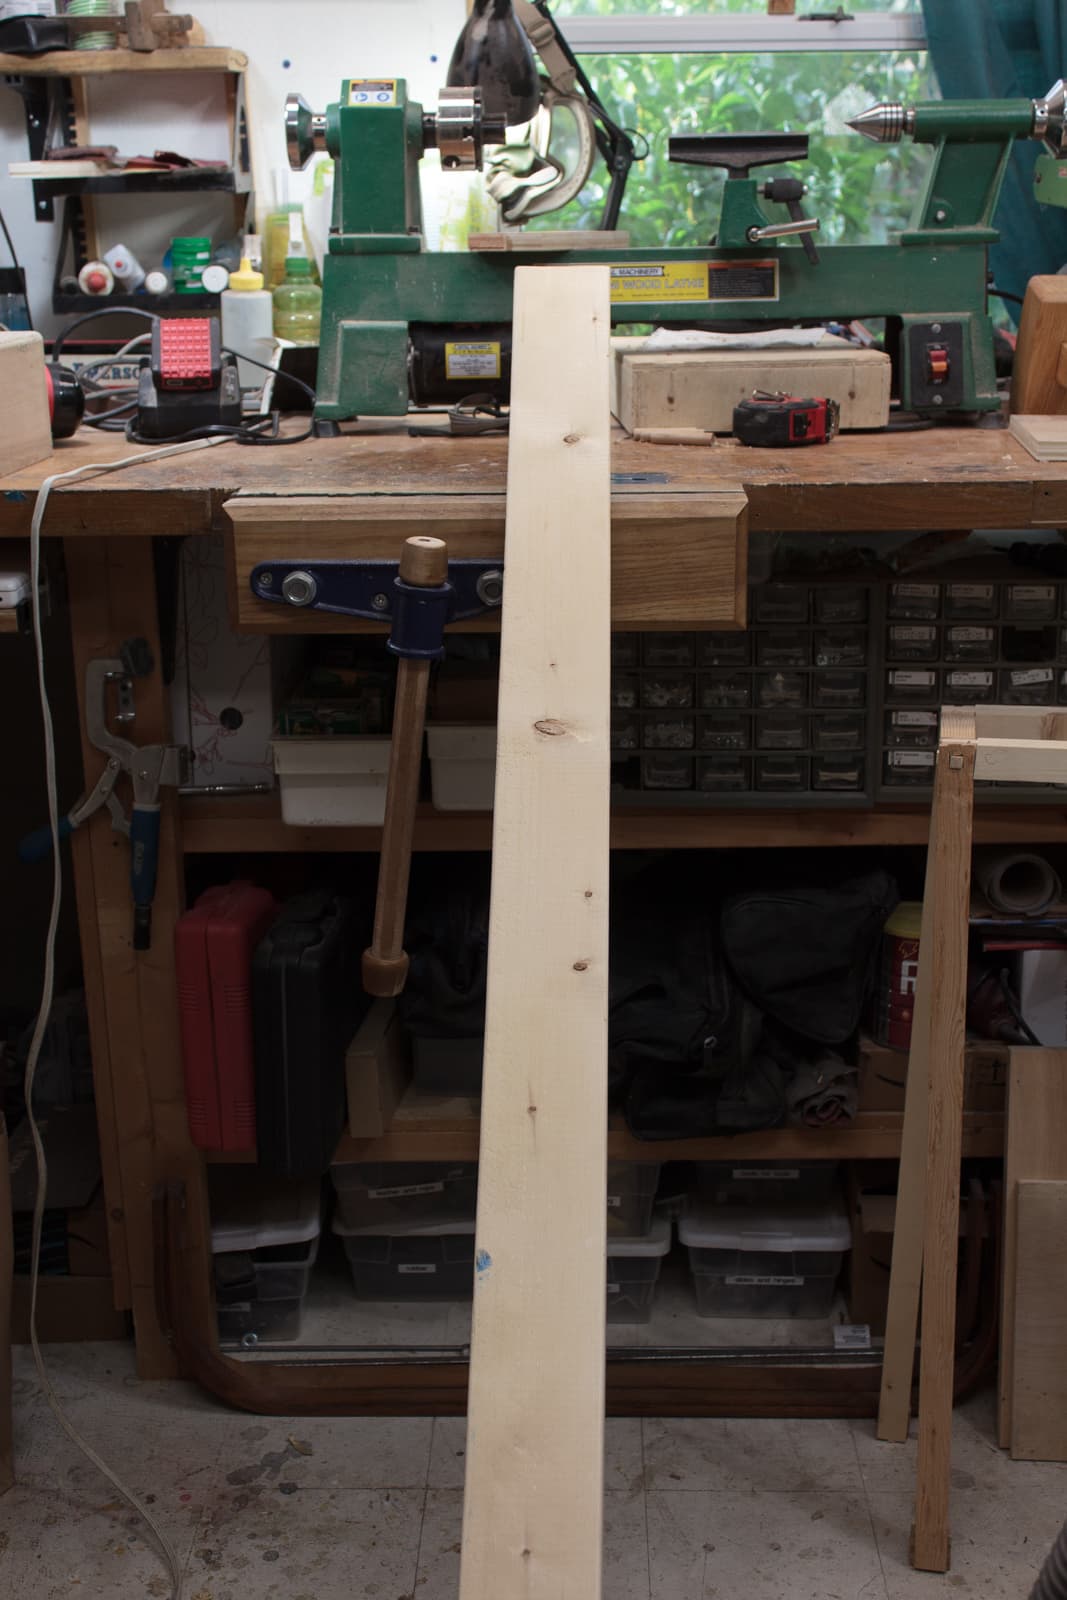
This is the piece of pine that I’m starting with.
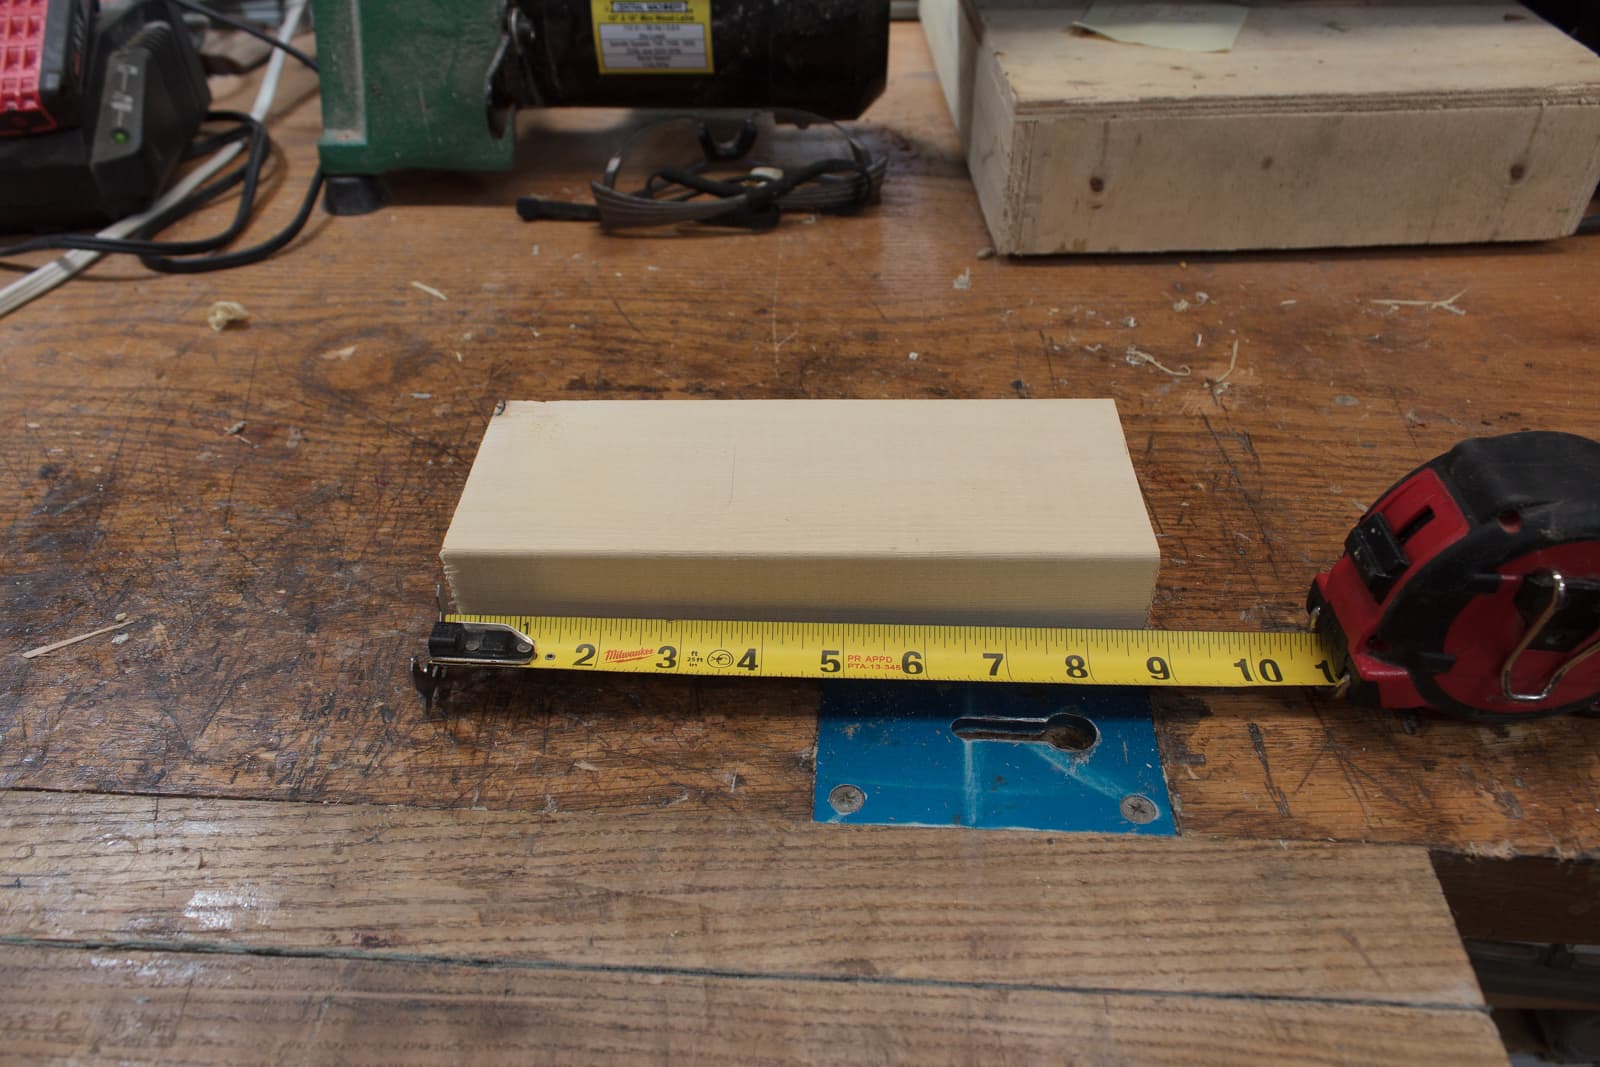
Mark the cutoff

First thing that I need to do is mark the piece I’ll be using. It’s 9”/23cm of wood. I use a combination square to mark it along with a pencil.
Cut it off

Here I’m using a Ryoba to cut off the piece that I need. Specifically I’m using a Gyokucho 240mm no.610 Ryoba.
A ryoba has 2 cutting sides. One for crosscuts (perpendicular to the grain) and one for rip cuts (parallel to the grain). I am using the crosscut side here since I’m cutting perpendicular to the grain.
Workpiece
The workpiece length was determined to be about 1”/2.5cm + the width of the wood + half the width of my largest headphones.
This comes out to about 8.5”/22cm
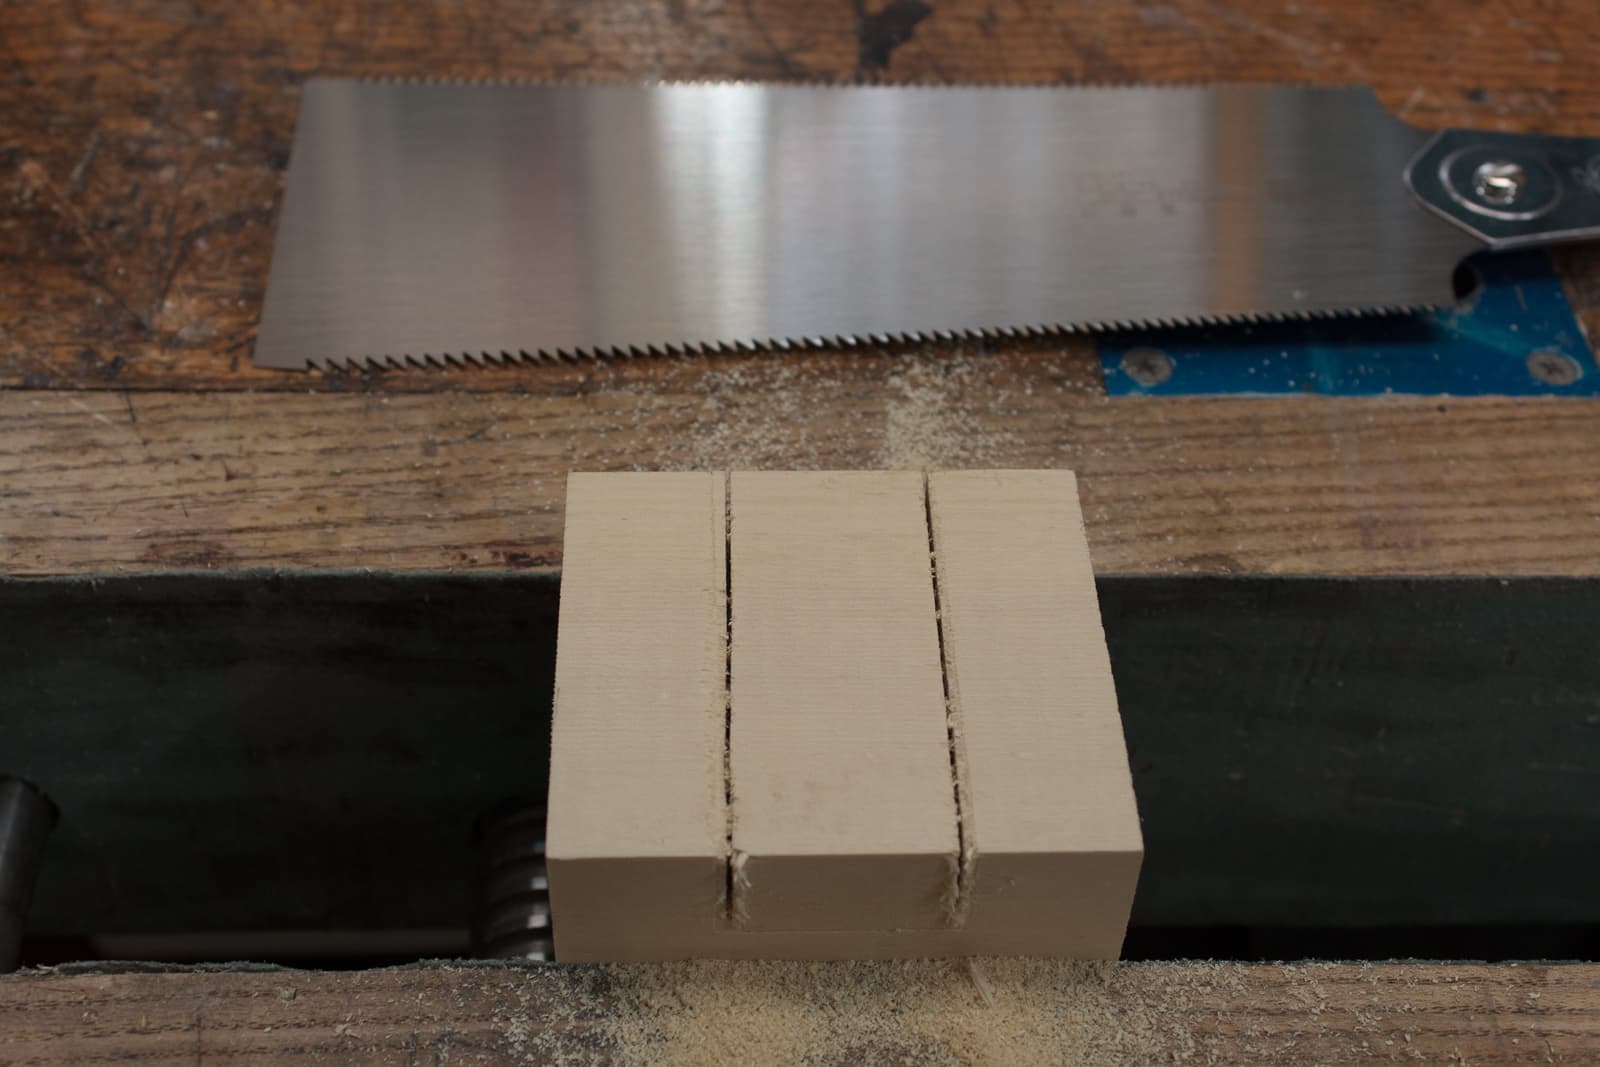
Split the workpiece
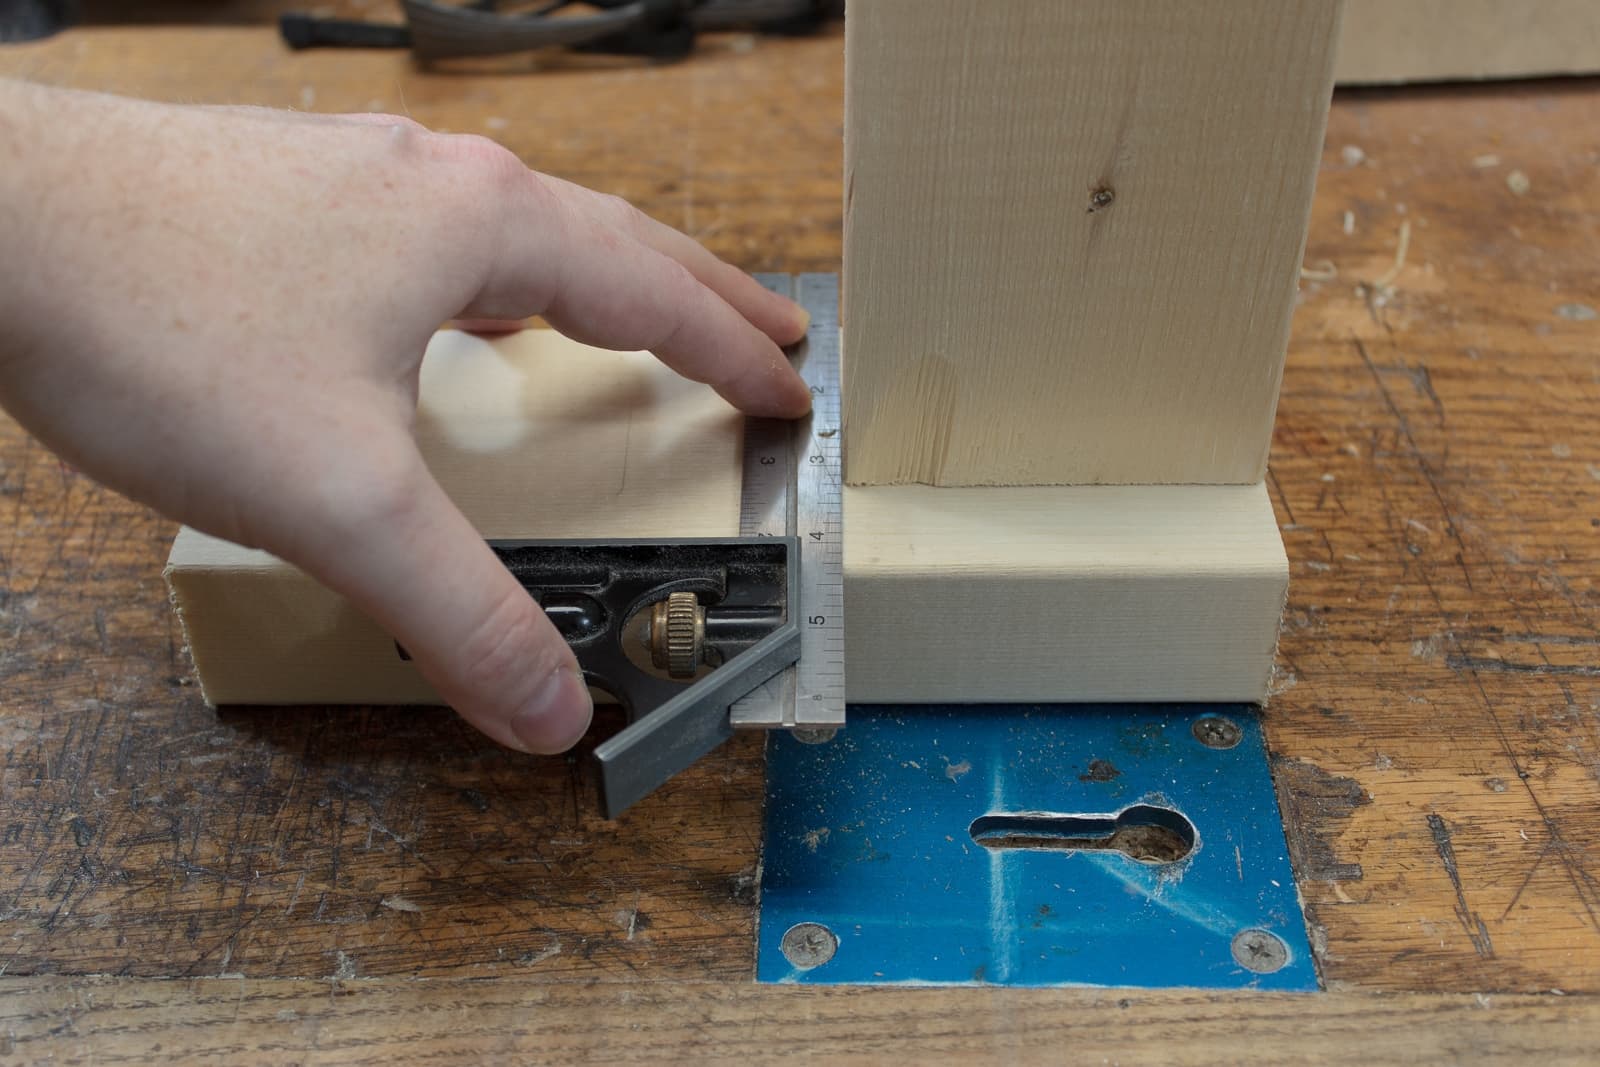
I need to create the part that gets screwed in, and the part that the dowel goes through.
I take a spare piece of wood and set it up as in the picture, remove the wood and mark it.
Cut the split
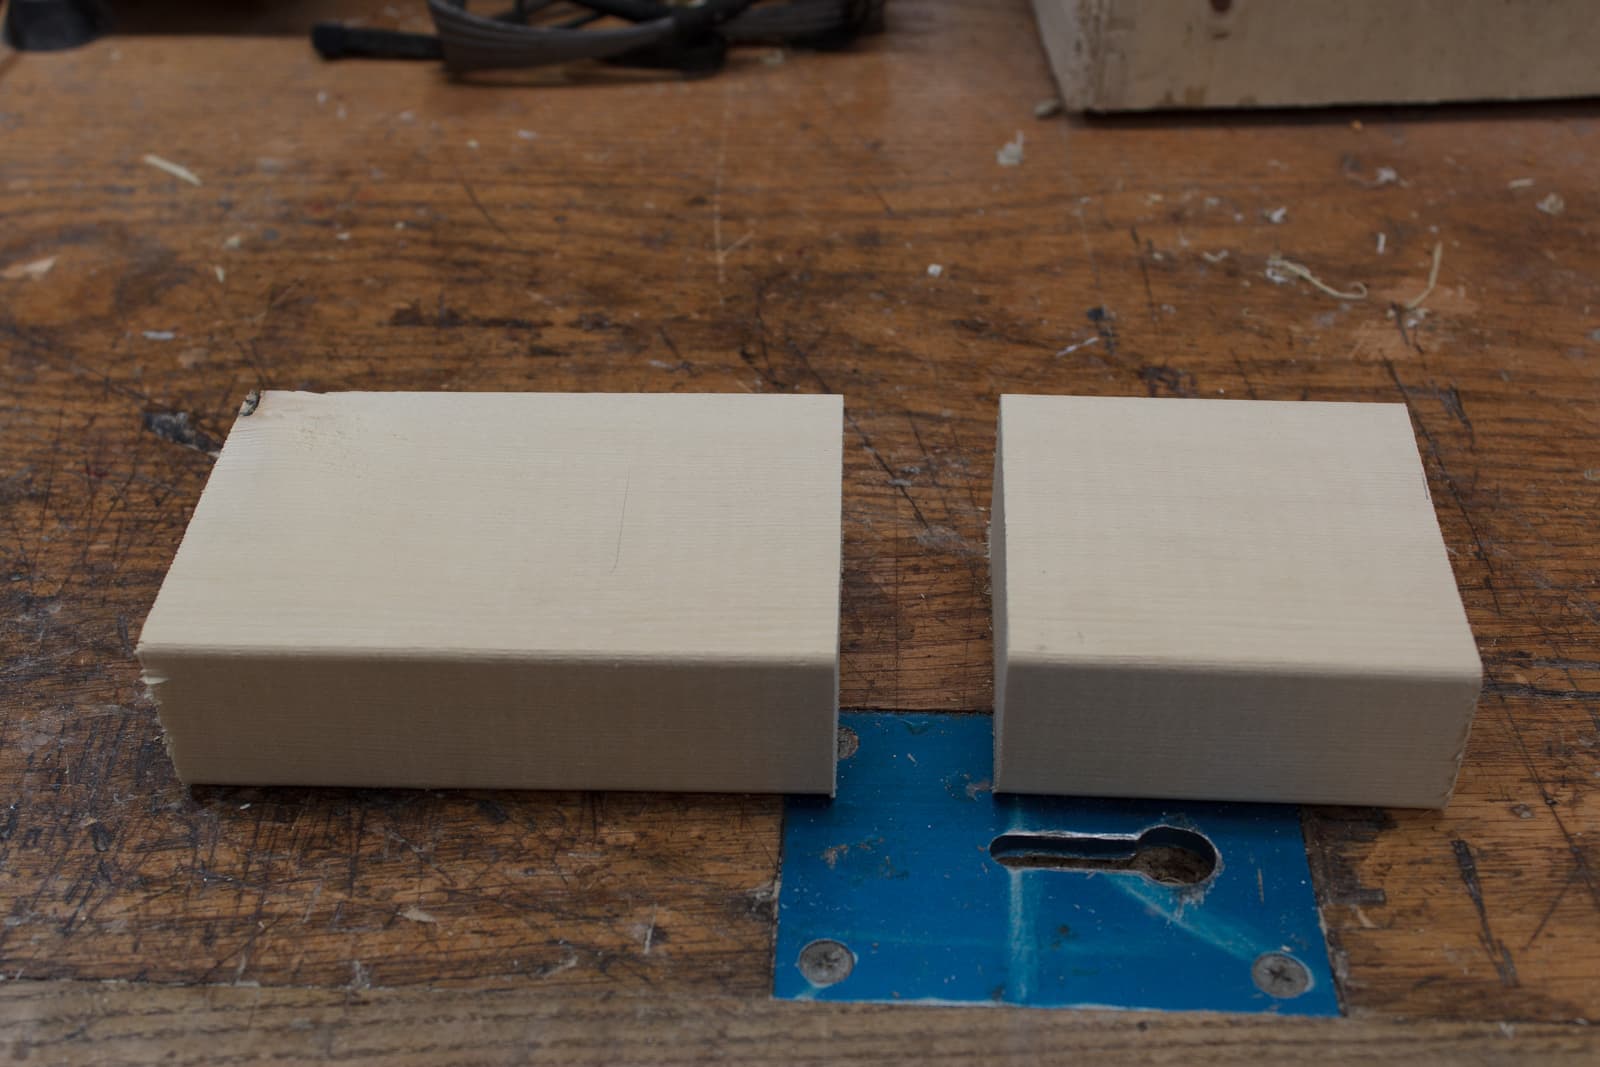
Now our workpiece is 2 workpieces!
Square the end grain
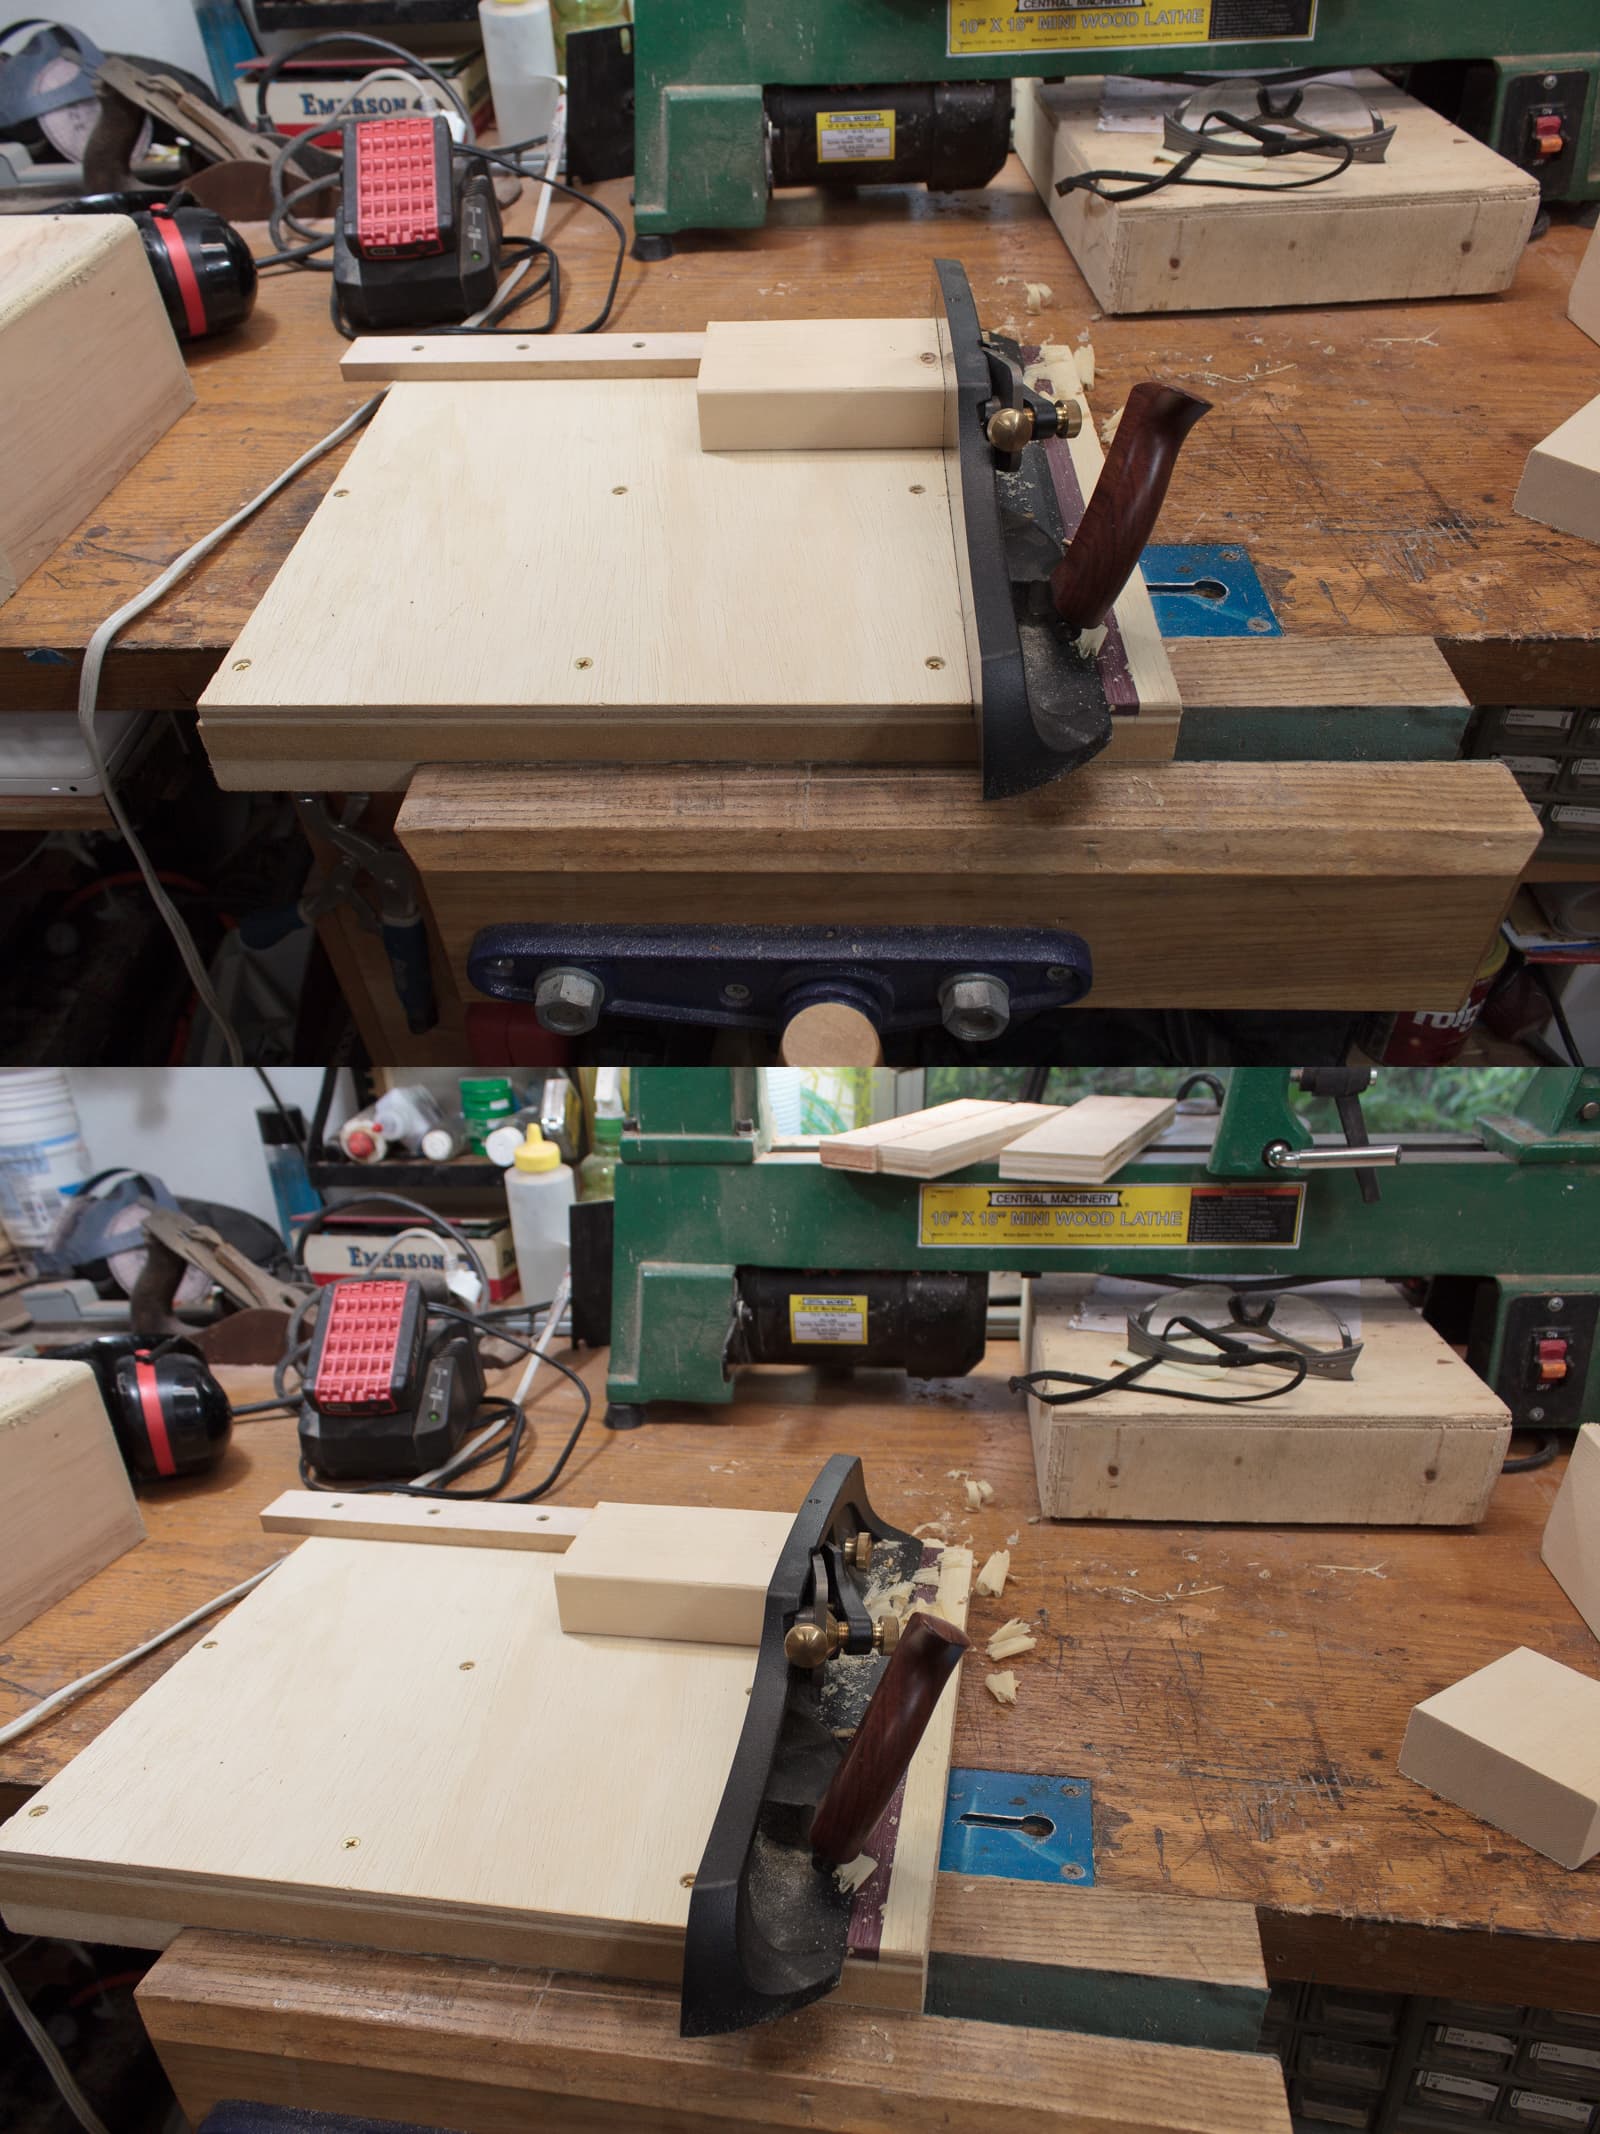
I use the Veritas Shooting Plane on a homemade shooting board to square the edges after the cut.
This hand plane has the blade at a 90° angle to the surface it sits on. You then make a board with a track that holds the plane. Then you can place the wood against a fence, at any angle you wish, and press the wood in to the plane blade to trim it.
This setup allows me to easily create edges that are perfect right angles to the adjacent faces.
Ohhh Shavings!
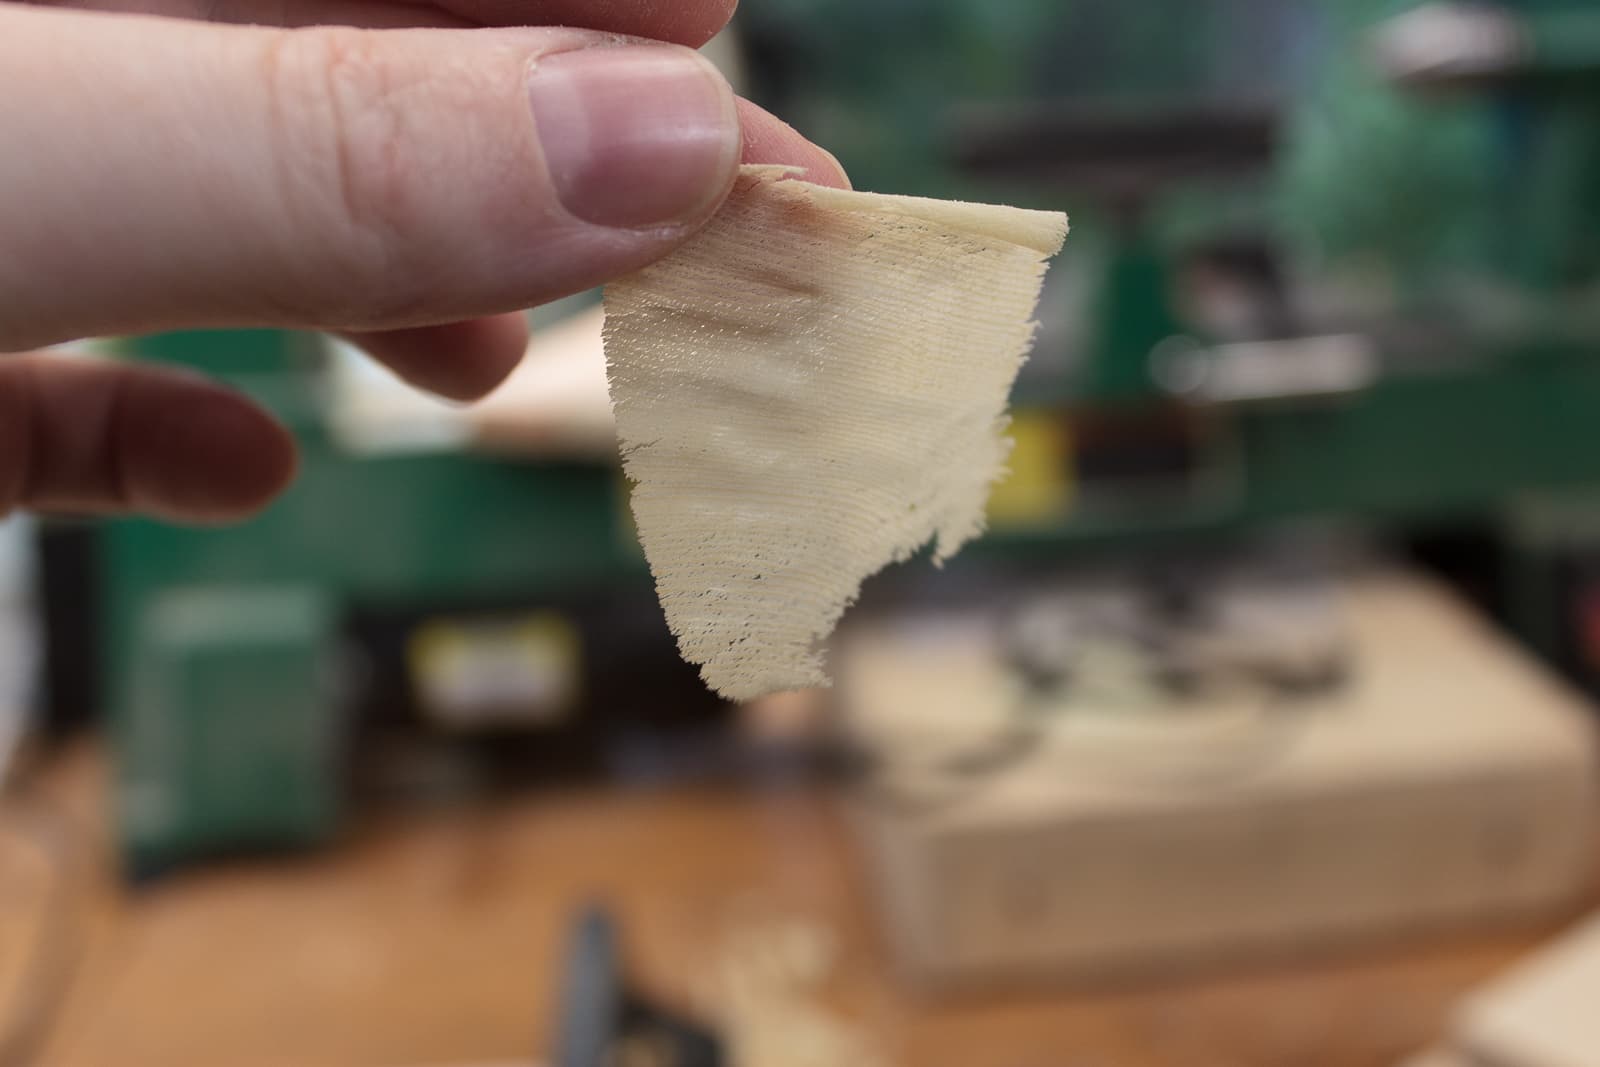
End grain shavings are super fun. It’s like dust. Blow on it and it falls apart.
You do need a very sharp blade to do that though.
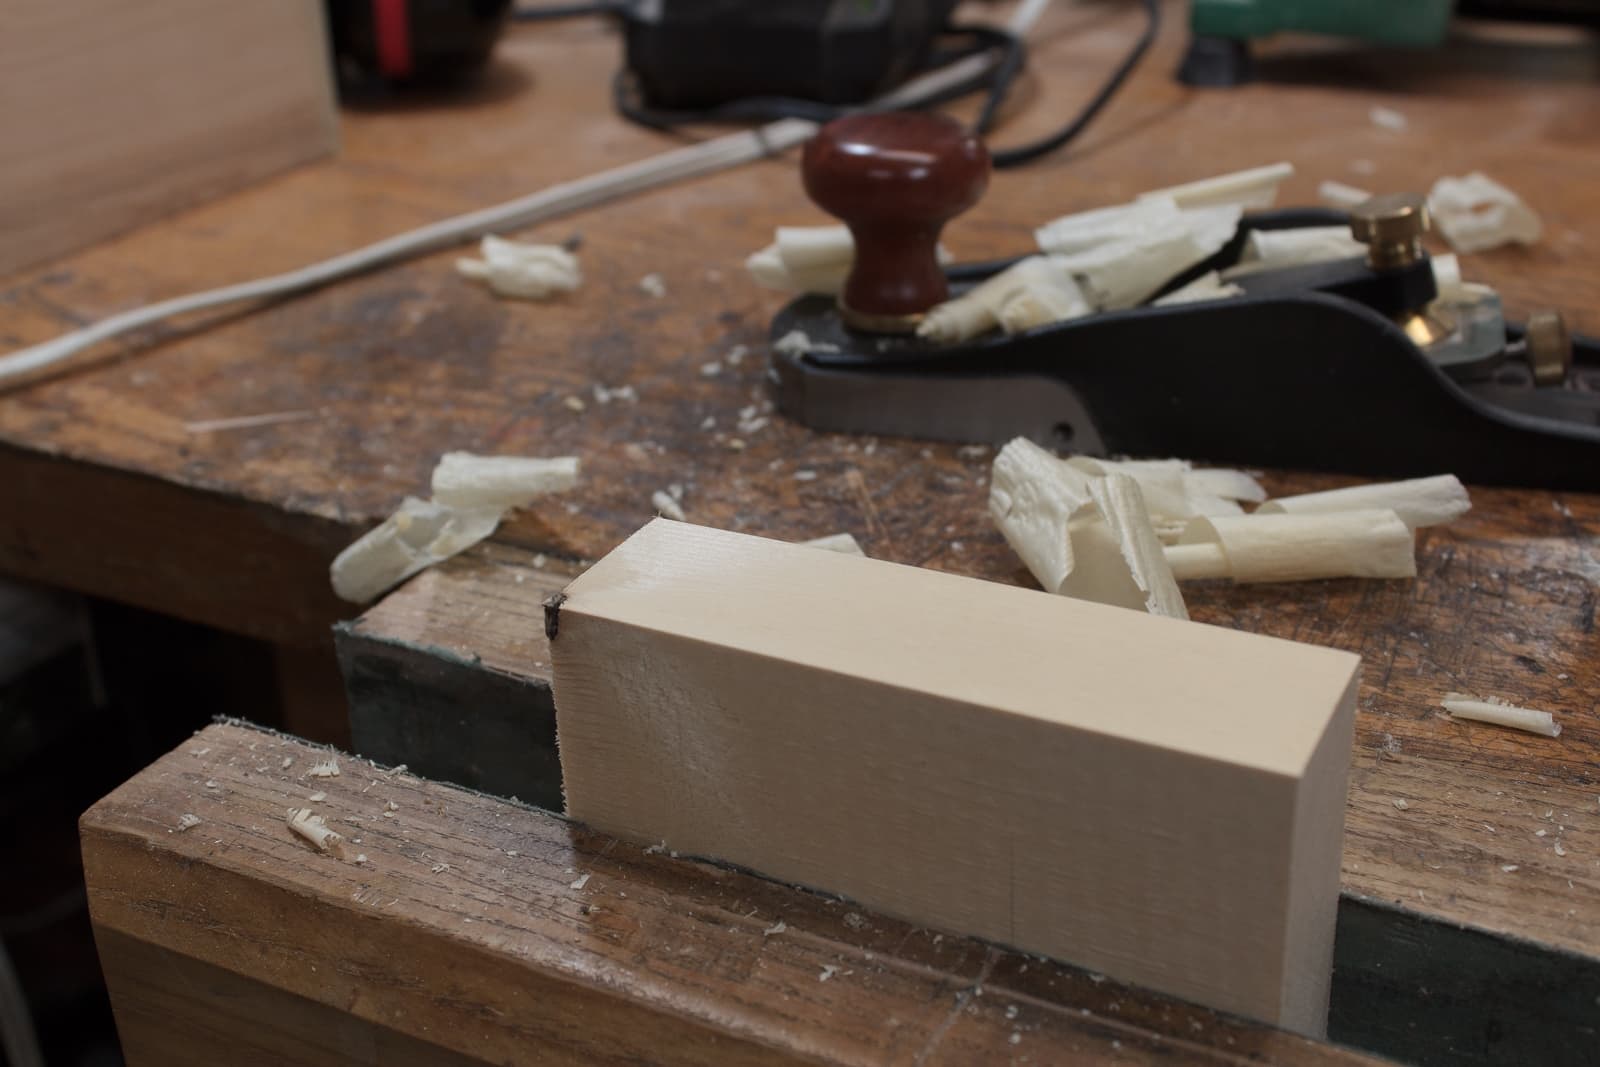
Square the faces
After the end grain is squared, I then plane down the other edges. The pine that I am using has rounded edges, so I plane down till they are gone.
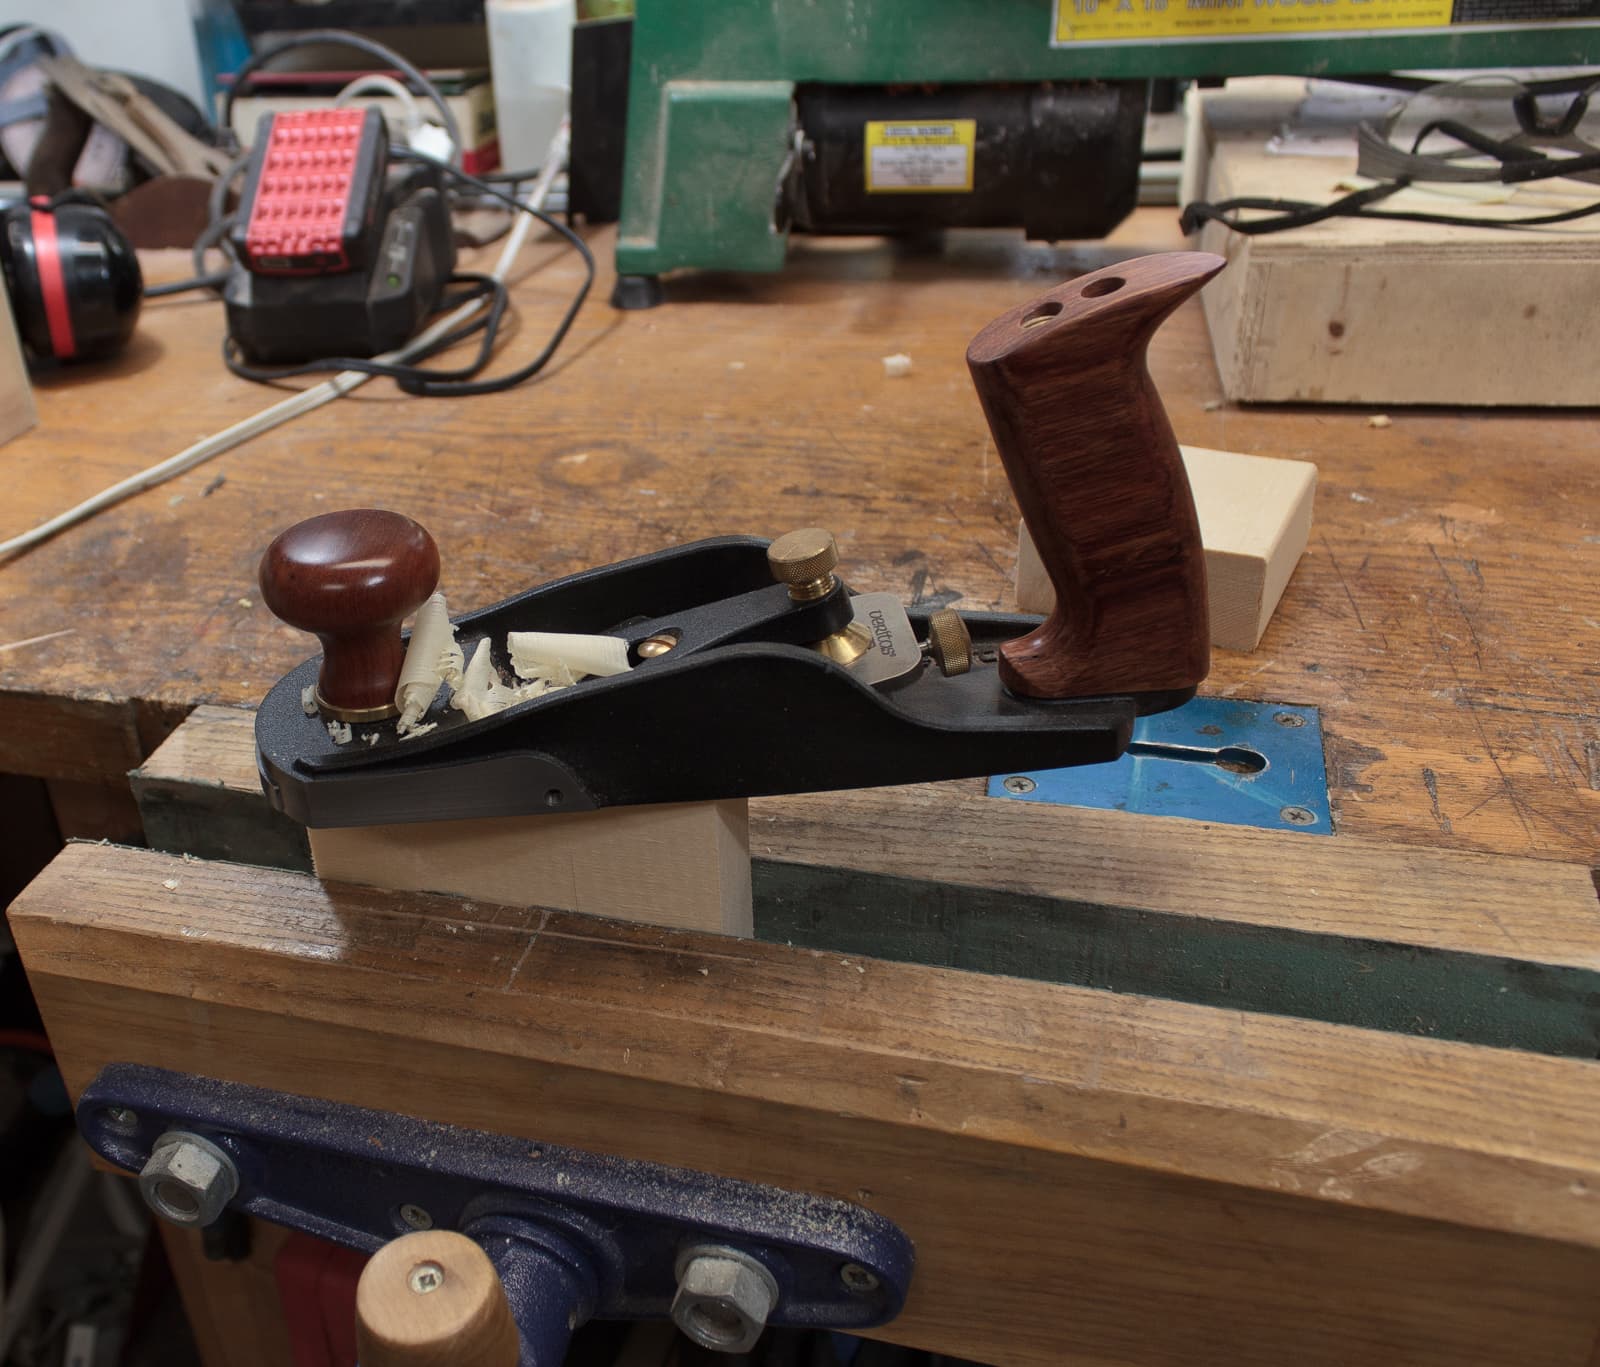
Shiny faces
With the proper blade angle, which I can change via blades selection in my Veritas BU Smoother, the resulting surface of the wood is shiny.
MMMM. Shiny.
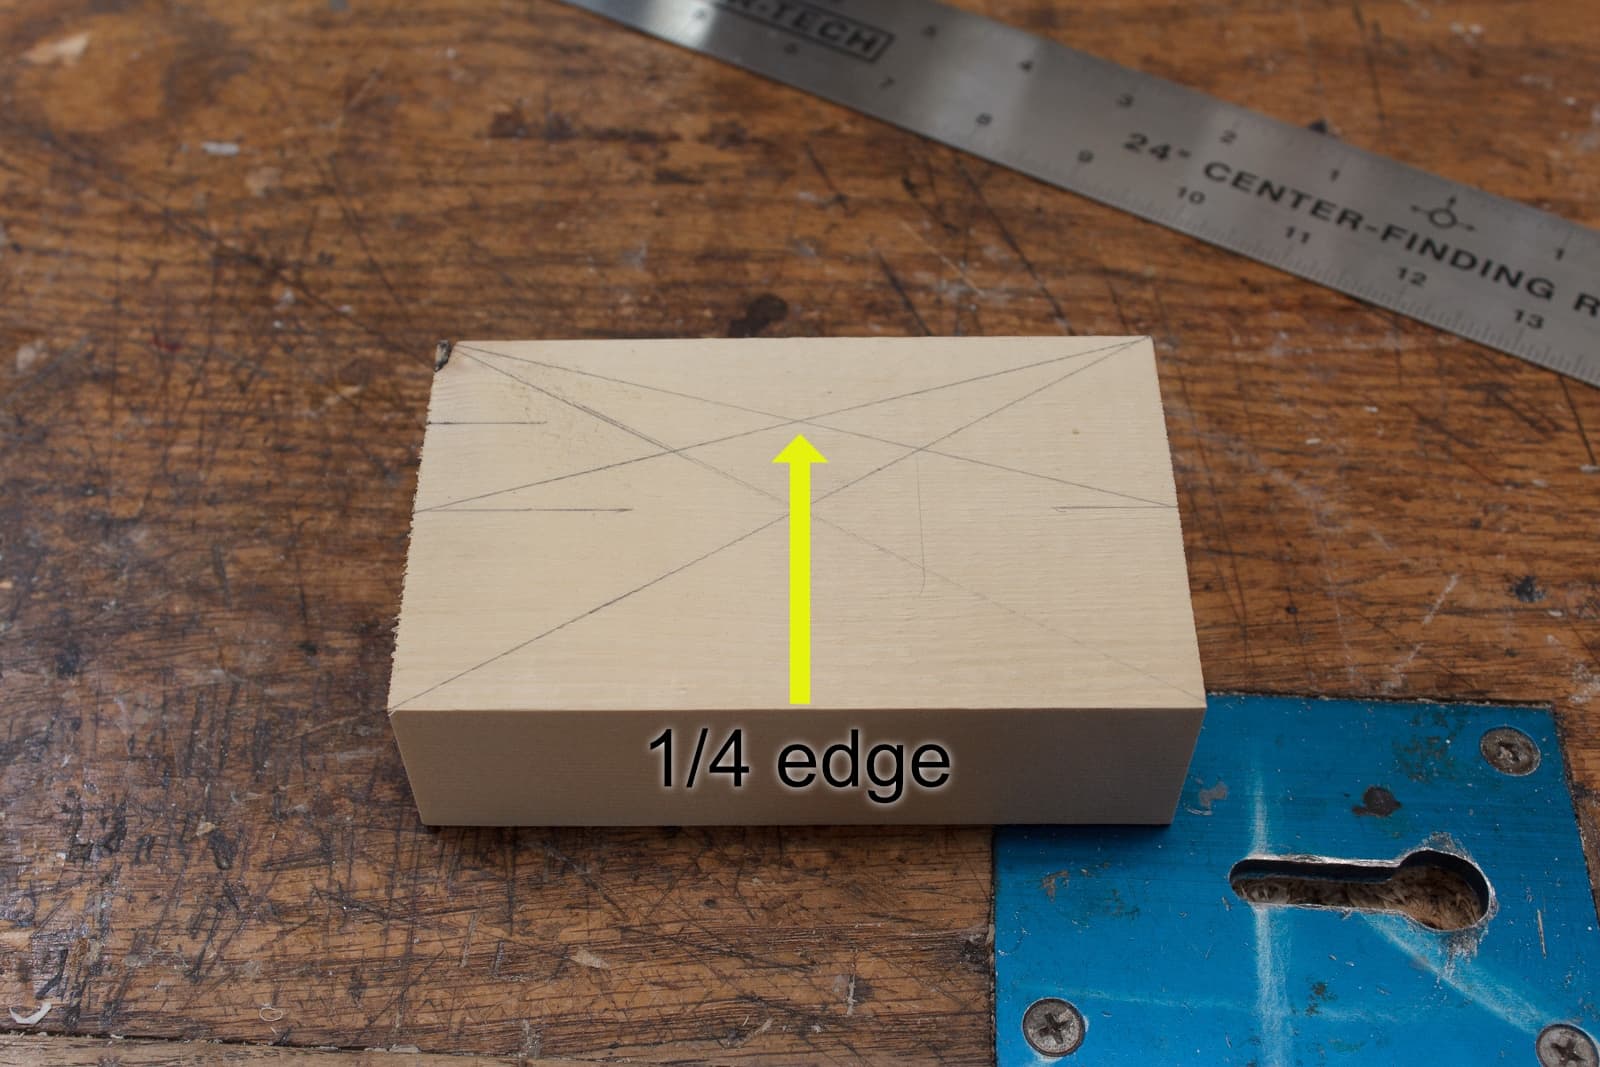
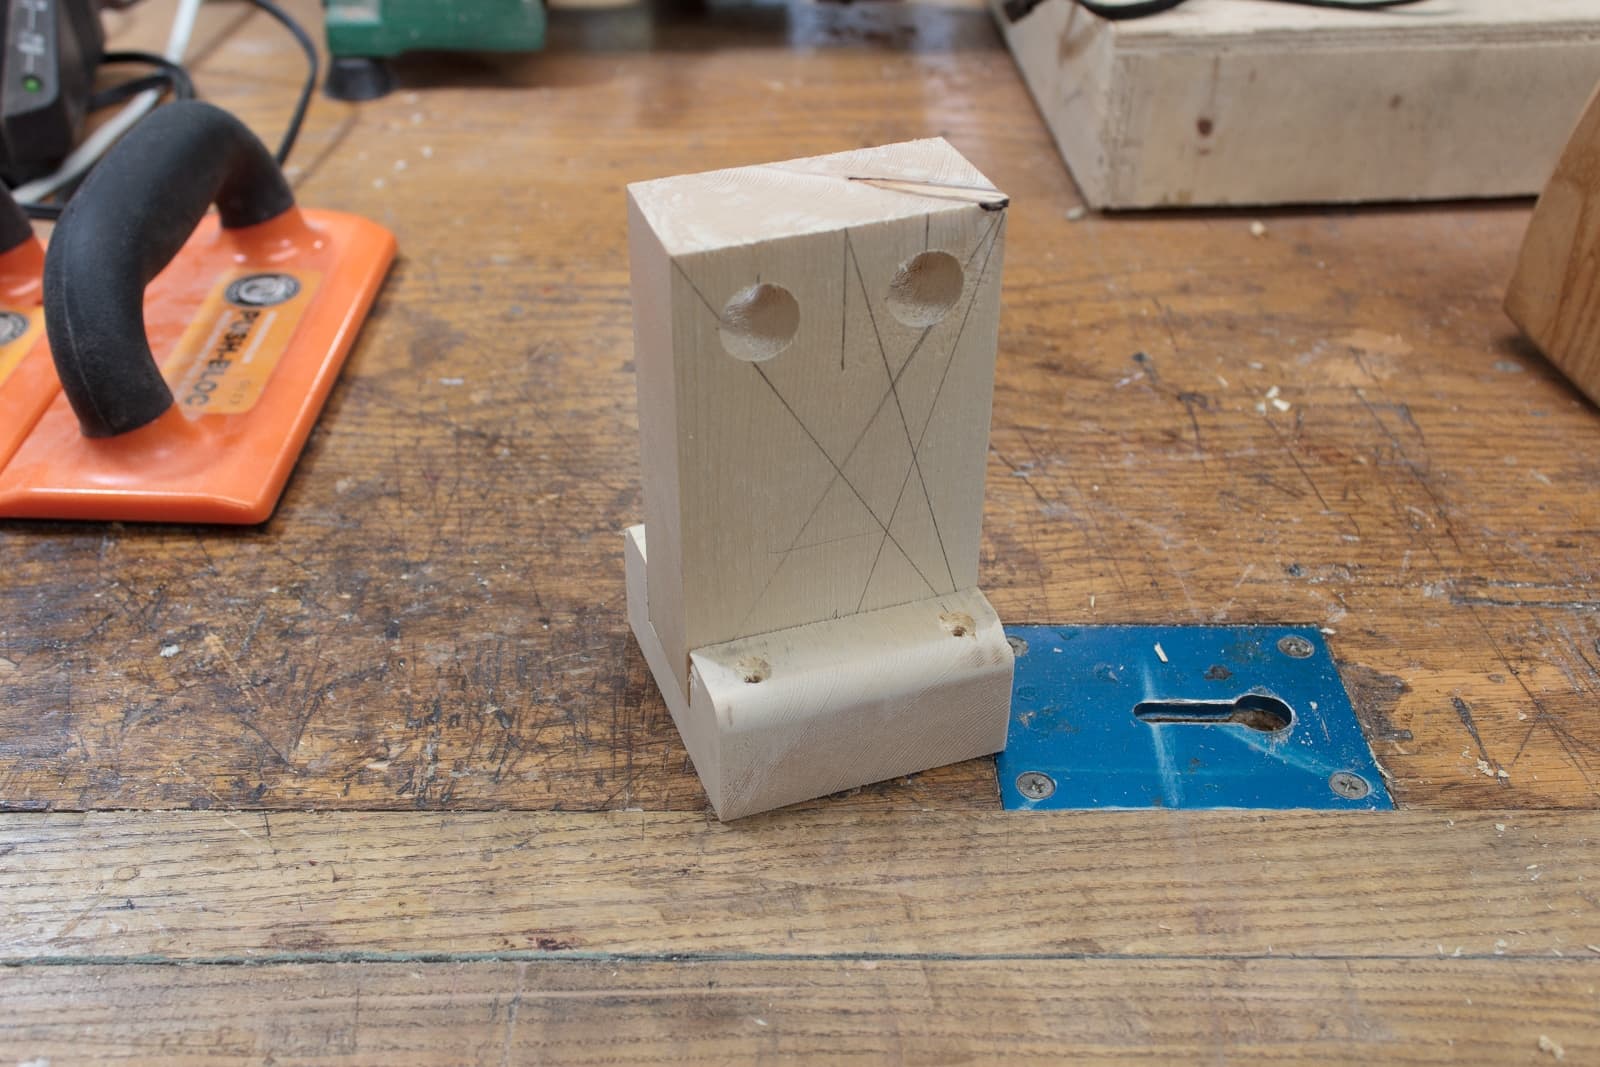
Center

I’m going to make most of this as one piece, then cut it in half. First I want to drill the holes for the dowels to go through.
To do this I need to visually split the workpiece in half. I draw an X from corner to corner, and where the lines cross is the center.
Then I set my combination square to that length and draw a line at each edge.
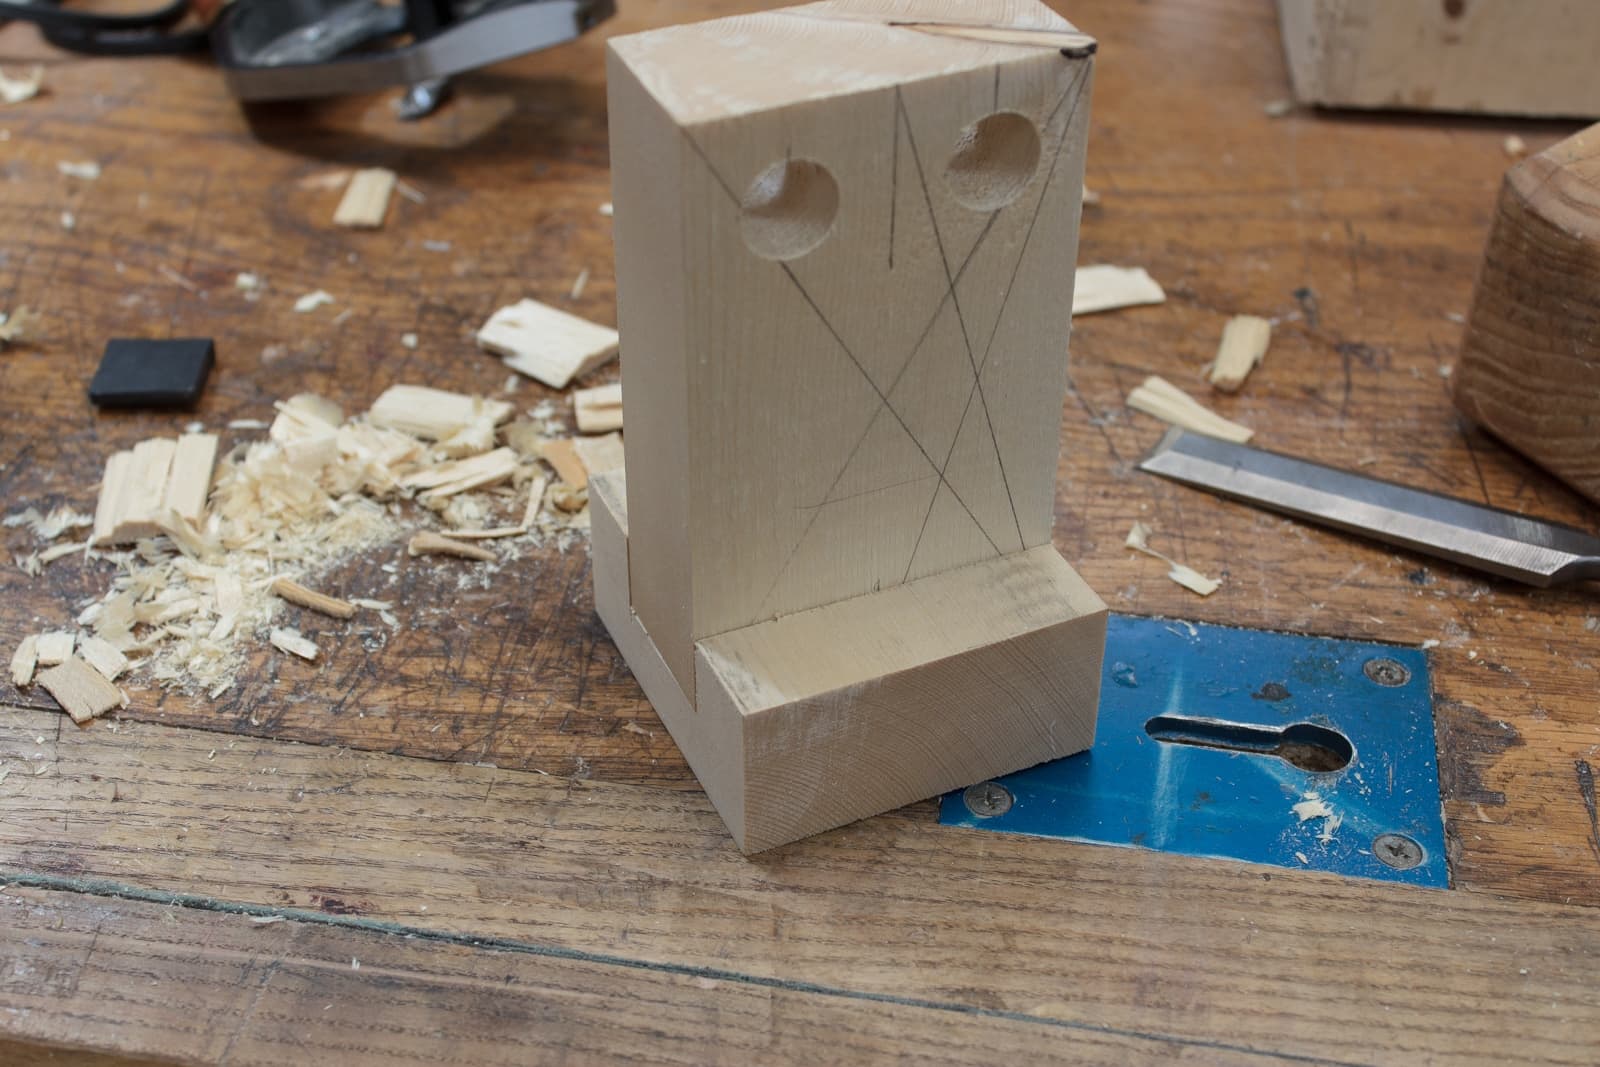
Center of the center
Now I need to find the center of each half. I repeat the X procedure, but instead I work from corner of the wood to the center mark I made before.
Hole Mark
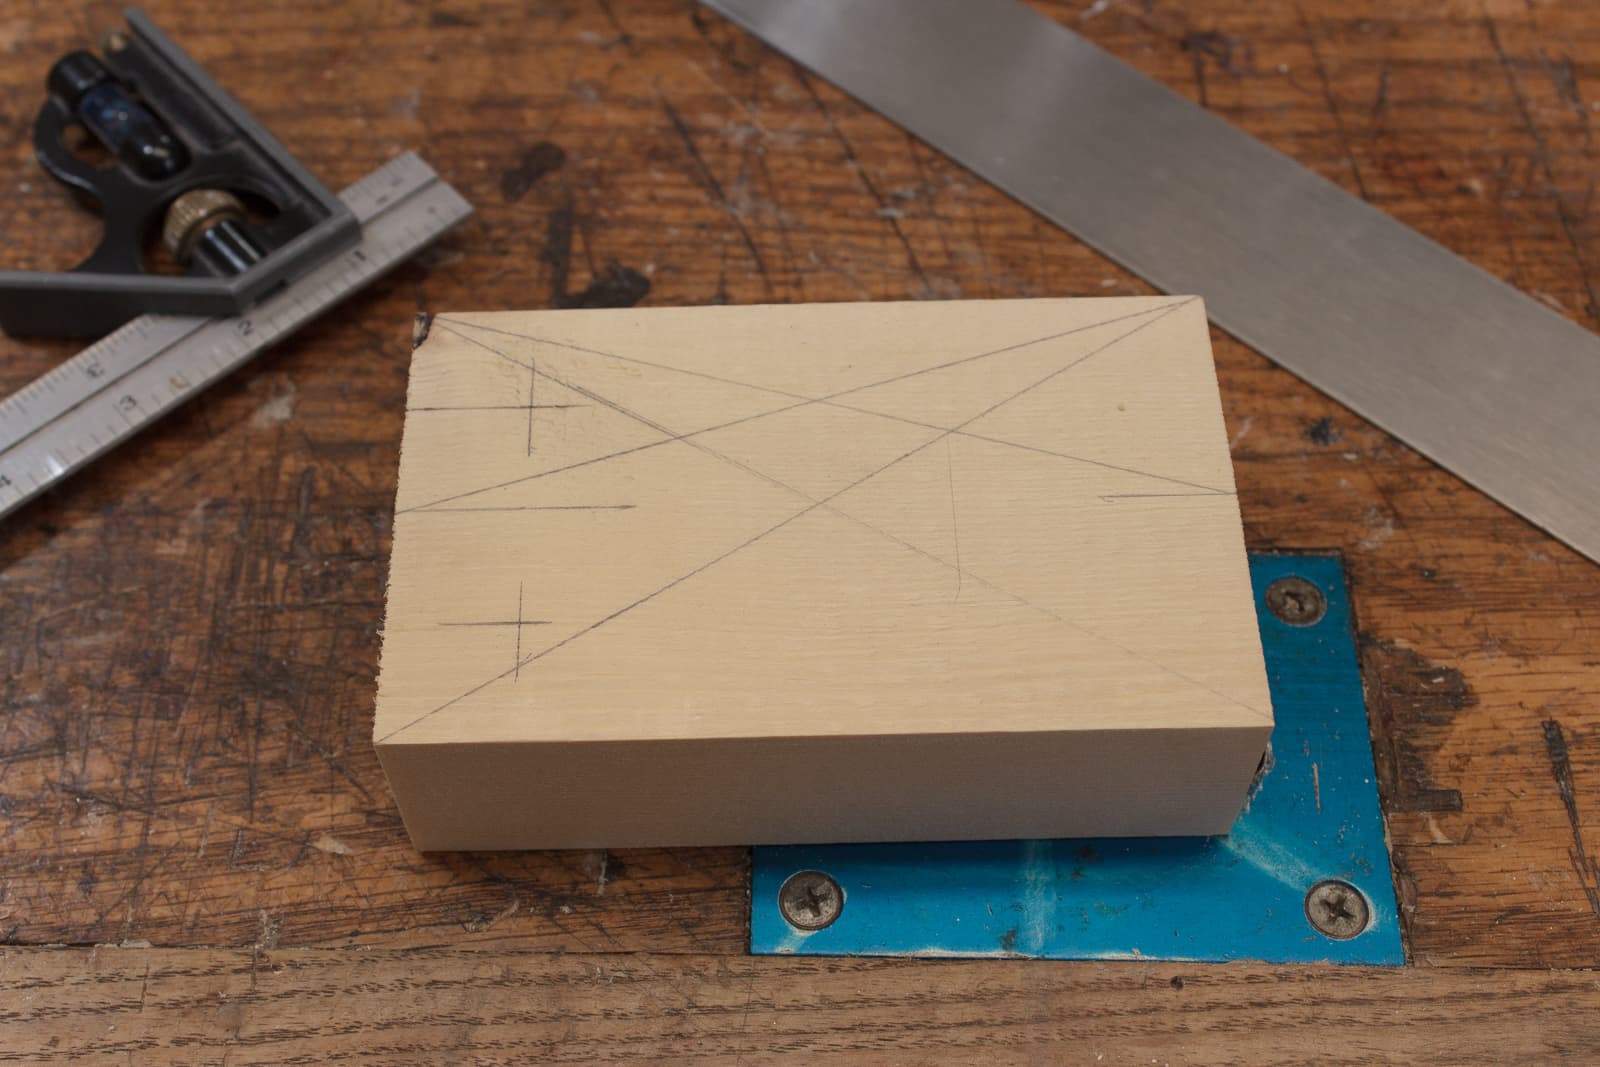
Now I take that center point and mark a location for the dowel hole. The dowel hole is the same distance from both edges.
Hole Drill

I drill the holes with a 3/4”/2cm Forstner bit. These bits allow you to drill large holes with excellent results.
As you’ll see though, pine isn’t the nicest of woods sometimes. I get some light tearout despite using a sacrificial backer in my drill press table.
Mortise setup
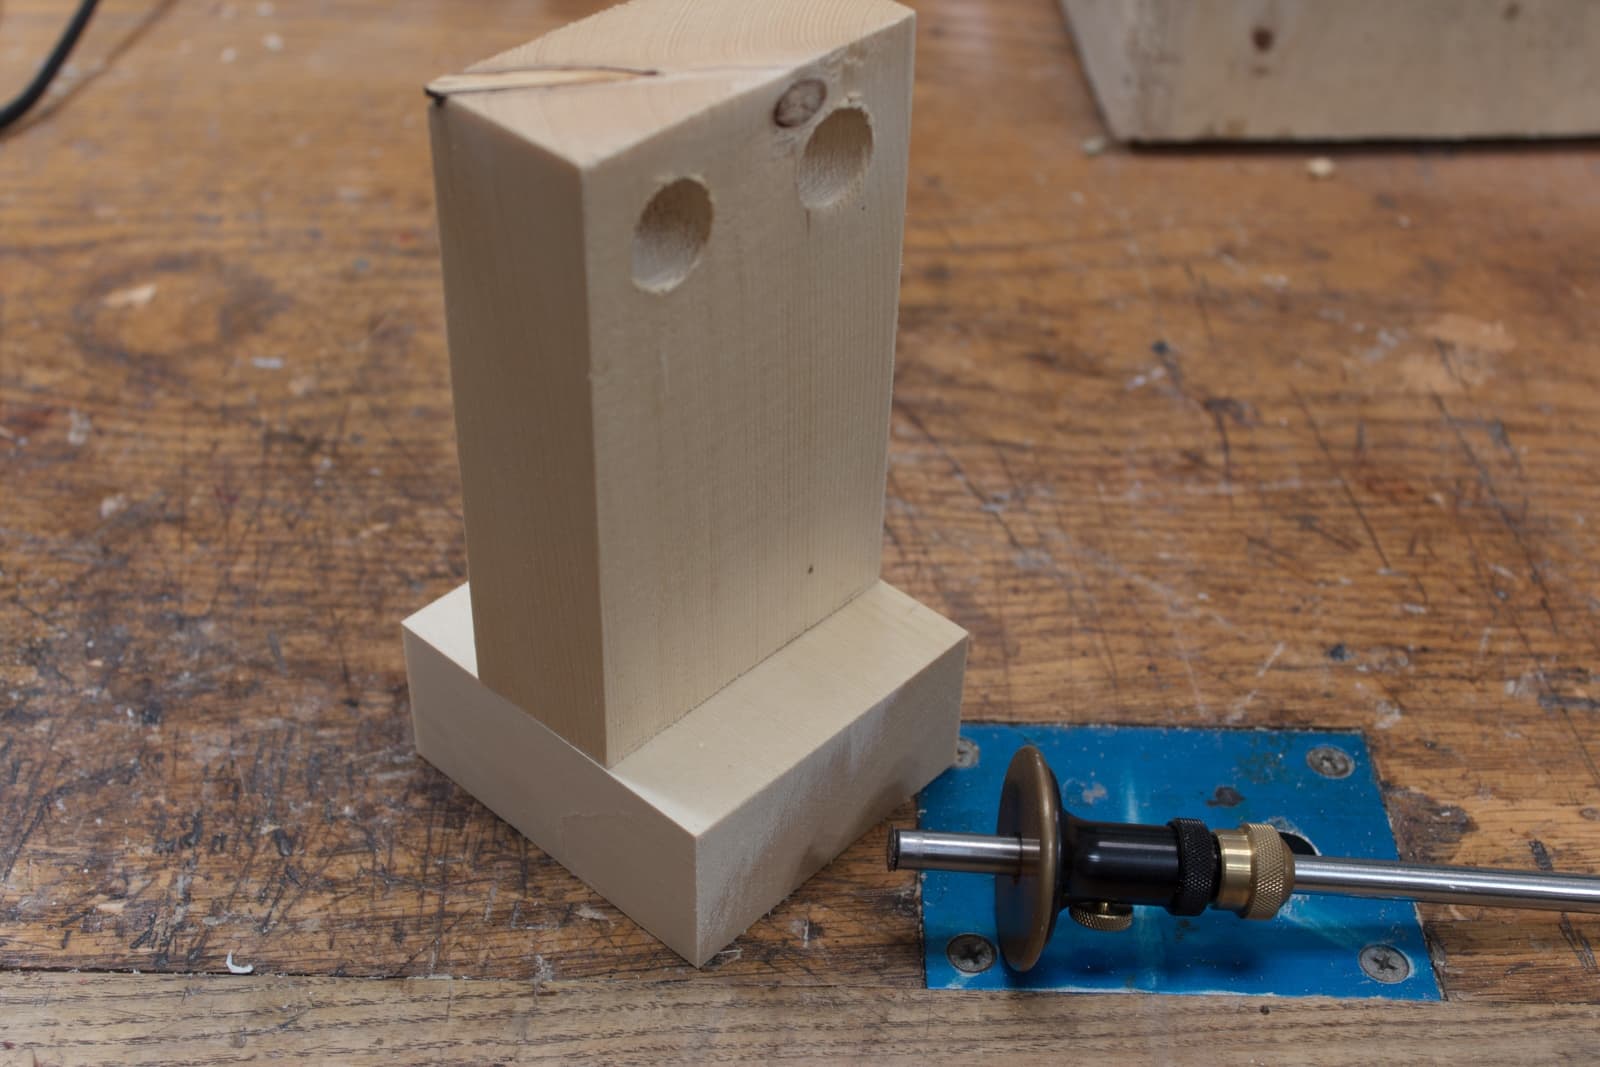
I am going to cut a joint called a mortise and tenon.
To set this up I put my pieces in a T shape. I carefully center them by measuring each side until the measurements are the same. It takes about 30 second to do. The human eye is a pretty good judge of what’s centered most of the time.
I then use my marking guage to cut the marks. I do not mark this with a pencil. Cutting the mark pre-severs the grain and leaves a place to register my chisel later.
Marked mortise
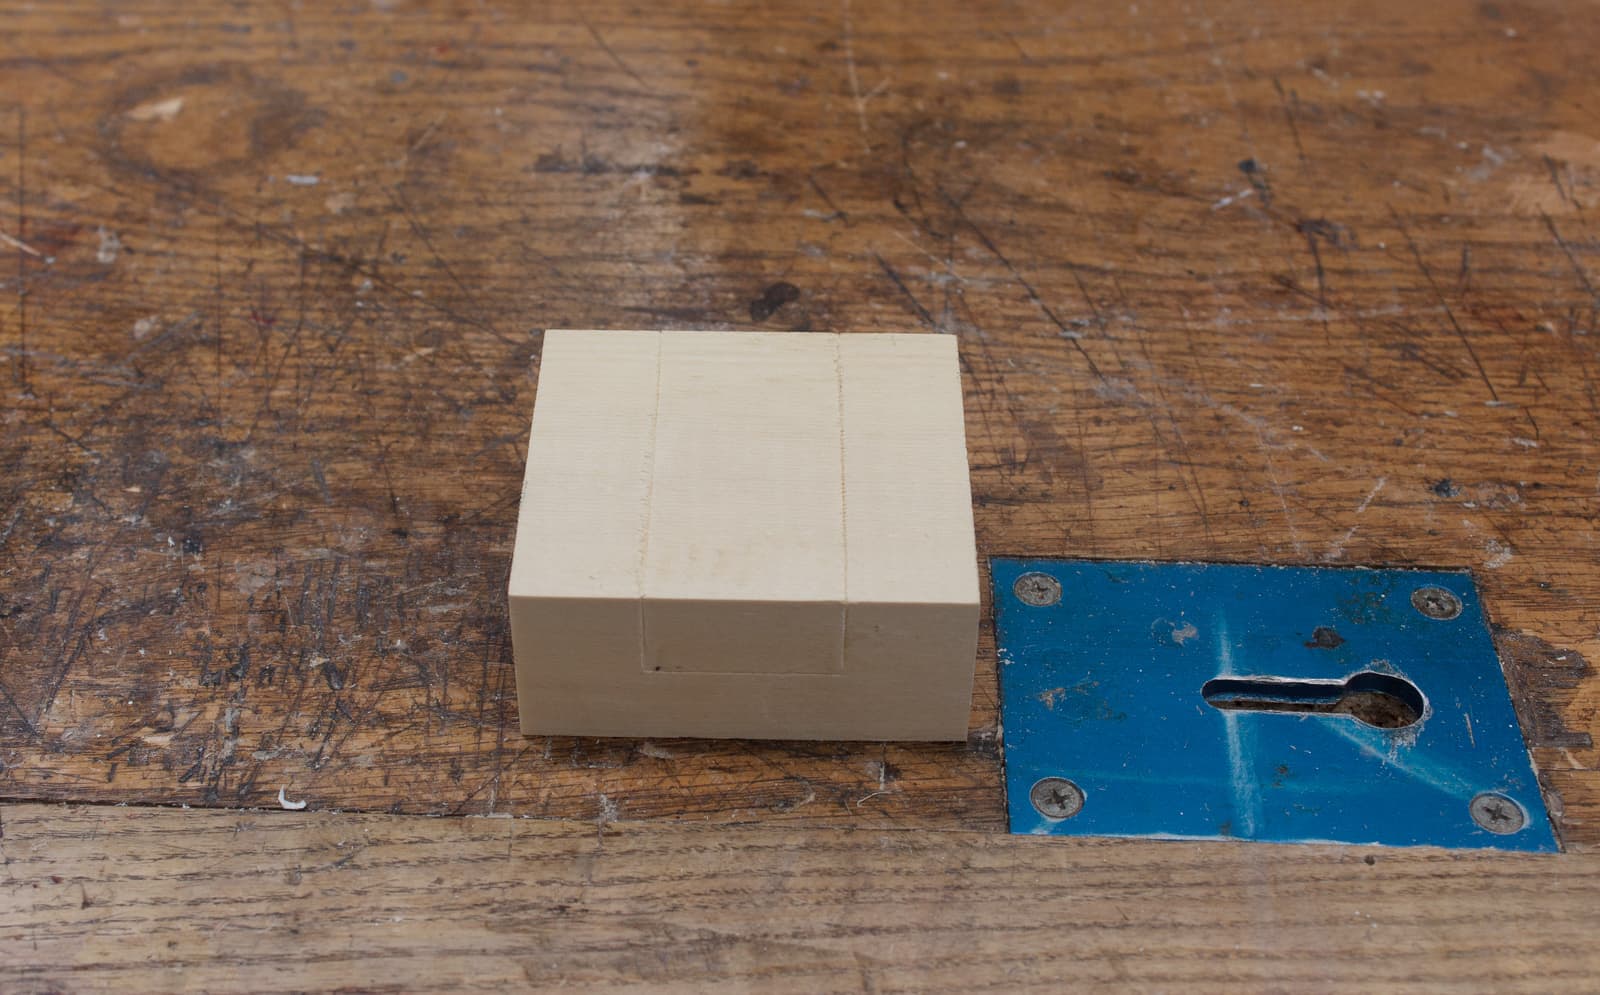
This is the result of the marking gauge marks.
I did this somewhat poorly. You can see that the grain was crushed slightly instead of being cut. I should have used a marking knife instead. I underestimated how soft this wood is.
Pre-cut the mortise
I now use my ryoba to cut slightly inside the lines of the mortise. The edges will be trimmed later with a chisel. I just want to get the grain severed so that when I chisel it out next there won’t be any massive tearout.
Remove the waste
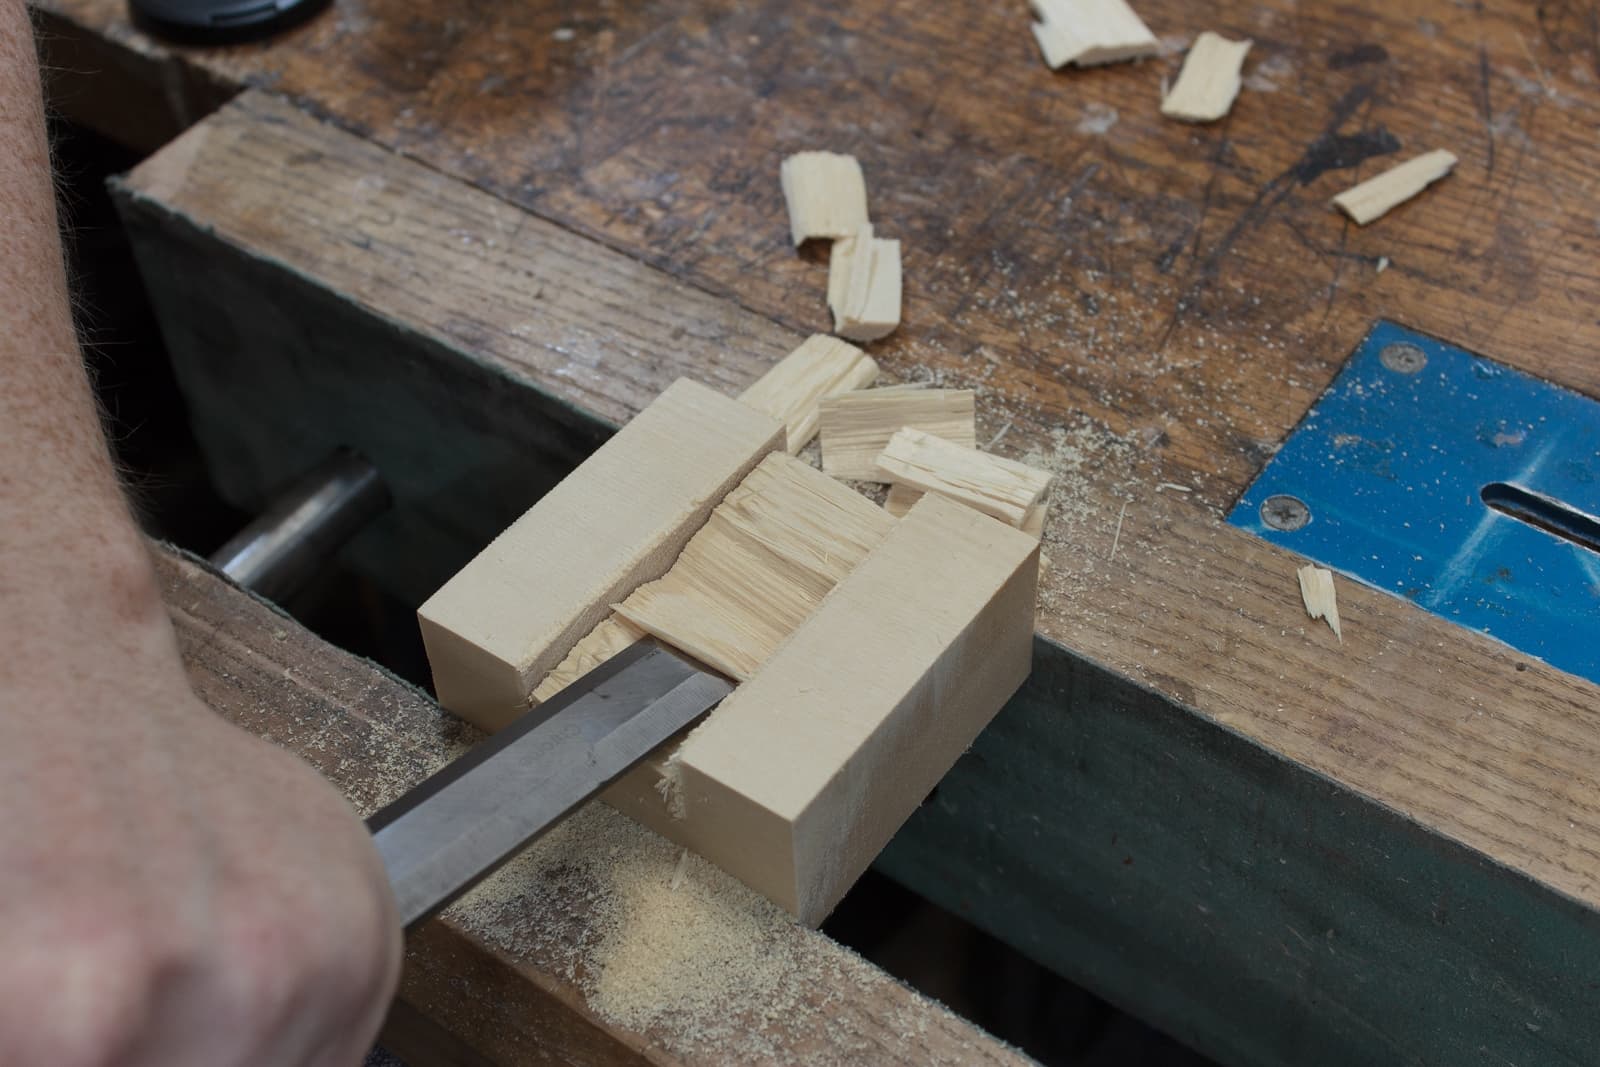
I now grab a sharp chisel and just hack out most of the waste. I stay away from the lines mostly and just bring it down to about 1/8”/3mm away from my lines.
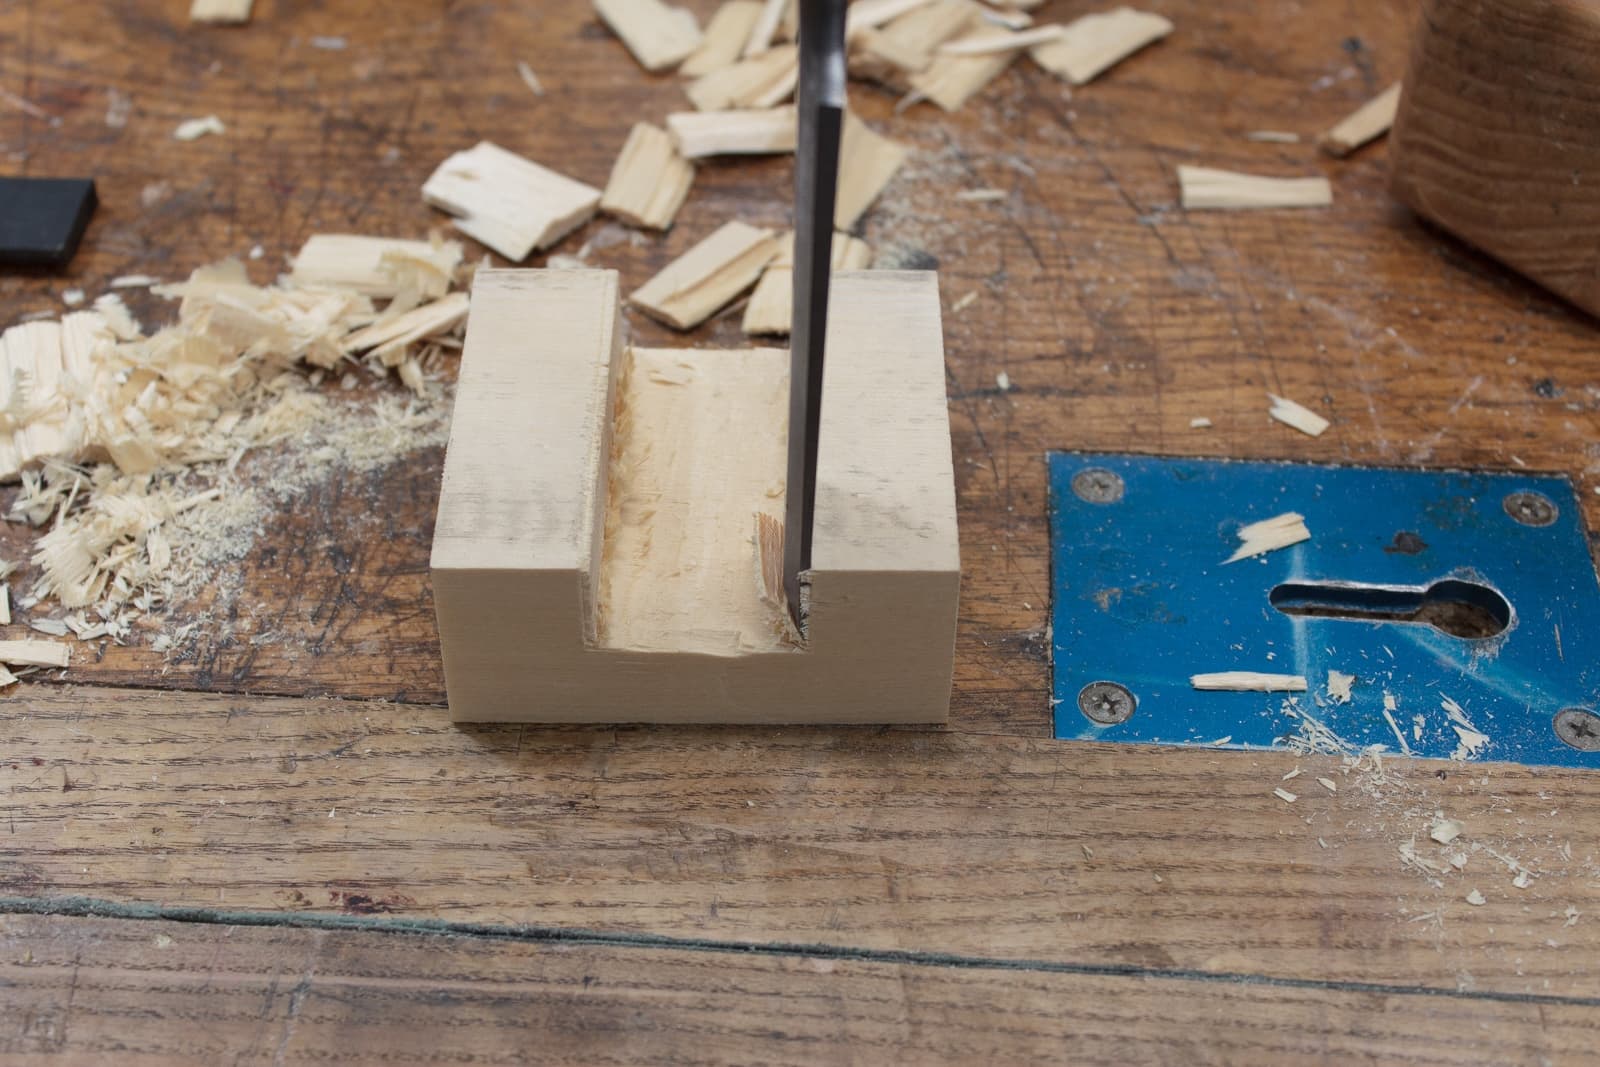
Hand route the remaining

I use a Veritas Router Plane to carefully remove the remaining waste in the bottom of the mortise.
This tool is nothing more than a blade held parallel to the base, but it’s extended out. There is a screw mechanism that lets you adjust the depth of cut.
I remove about 1/32”/1mm of material at a time. There ends up being some blow out because pine just likes to randomly fall apart. I was careful to always cut “in” to the wood, but the grain still just wants to go sometimes.
Trimming the mortise edges
I now use a sharp chisel and a mallet to trim the edges of the mortise. Previously when I used a marking gauge to cut the lines, that left me with nice lines in the wood where my chisel locks in nicely.
It’s simply a matter of putting your chisel in the cut and hammering it down straight. With a very sharp chisel this is easy work.
Mortise test
Fits perfect. Loose enough to put together with a pound of a fist, but you can’t shake it off.
Using the proper tools and methods makes this very simple. The mortise took me about 6 minutes to cut in total.
A look inside the mortise and drilling again
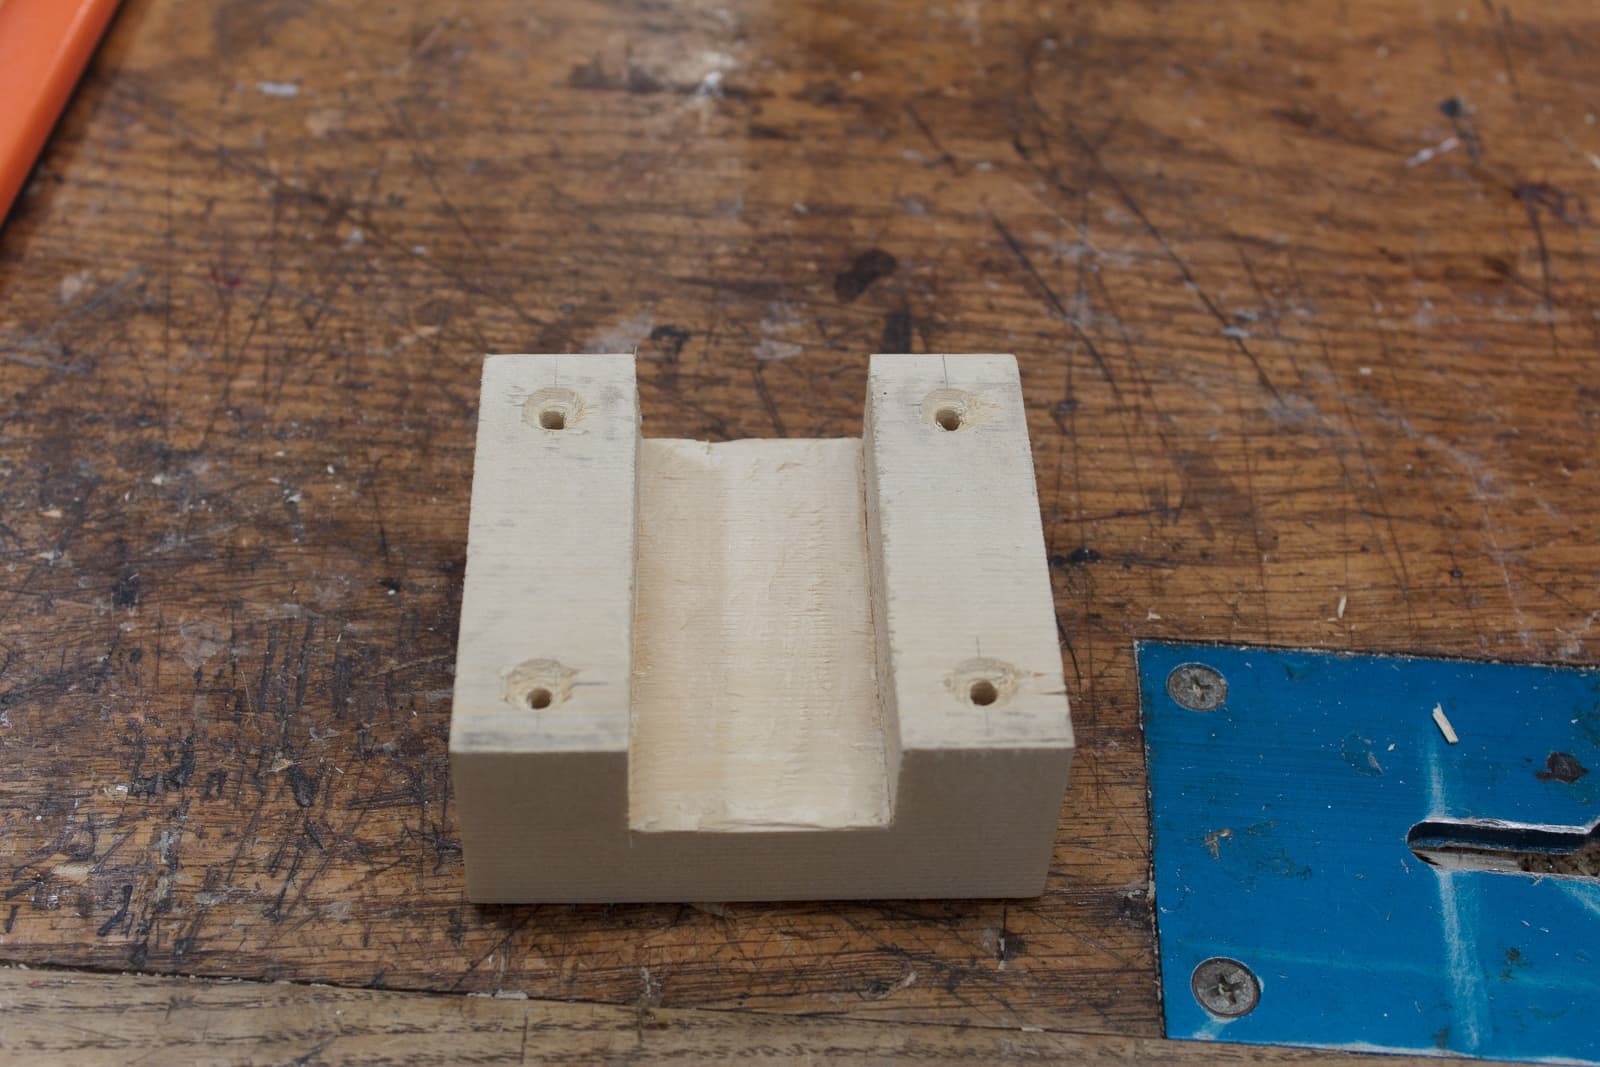
Even though the fit is perfect, it’s not pretty inside!
I prefer this surface to a router cut mortise. I’ve found that these bits of grain help hold a slightly sloppy mortise tight and allow for a much better glue joint.
When everything is pounded together, it looks great.
I also pre-drilled some holes in this piece. This is where the screws will go to screw the whole thing to the desk. I did an awful job. I needed to properly hone my countersink bit before doing this. It still looks fine after everything is said and done.
Round the edges
Now I run the edges of the holder through a router with a roundover bit. After the parts are glued, I won’t be able to reach this anymore because of the T-shape.
Split in twain

Now I split the 2 parts in half. This is done with the rip side of the ryoba.
It’s starting to look like I have 2 headphone holders now! (it’s also starting to look a bit phallic…)
Glue
I now glue the 2 parts. Any glue is fine. Even white elmers glue is fine… even cooked rice is fine. Just use plenty and get all of the surfaces sufficiently wet.
Dowels
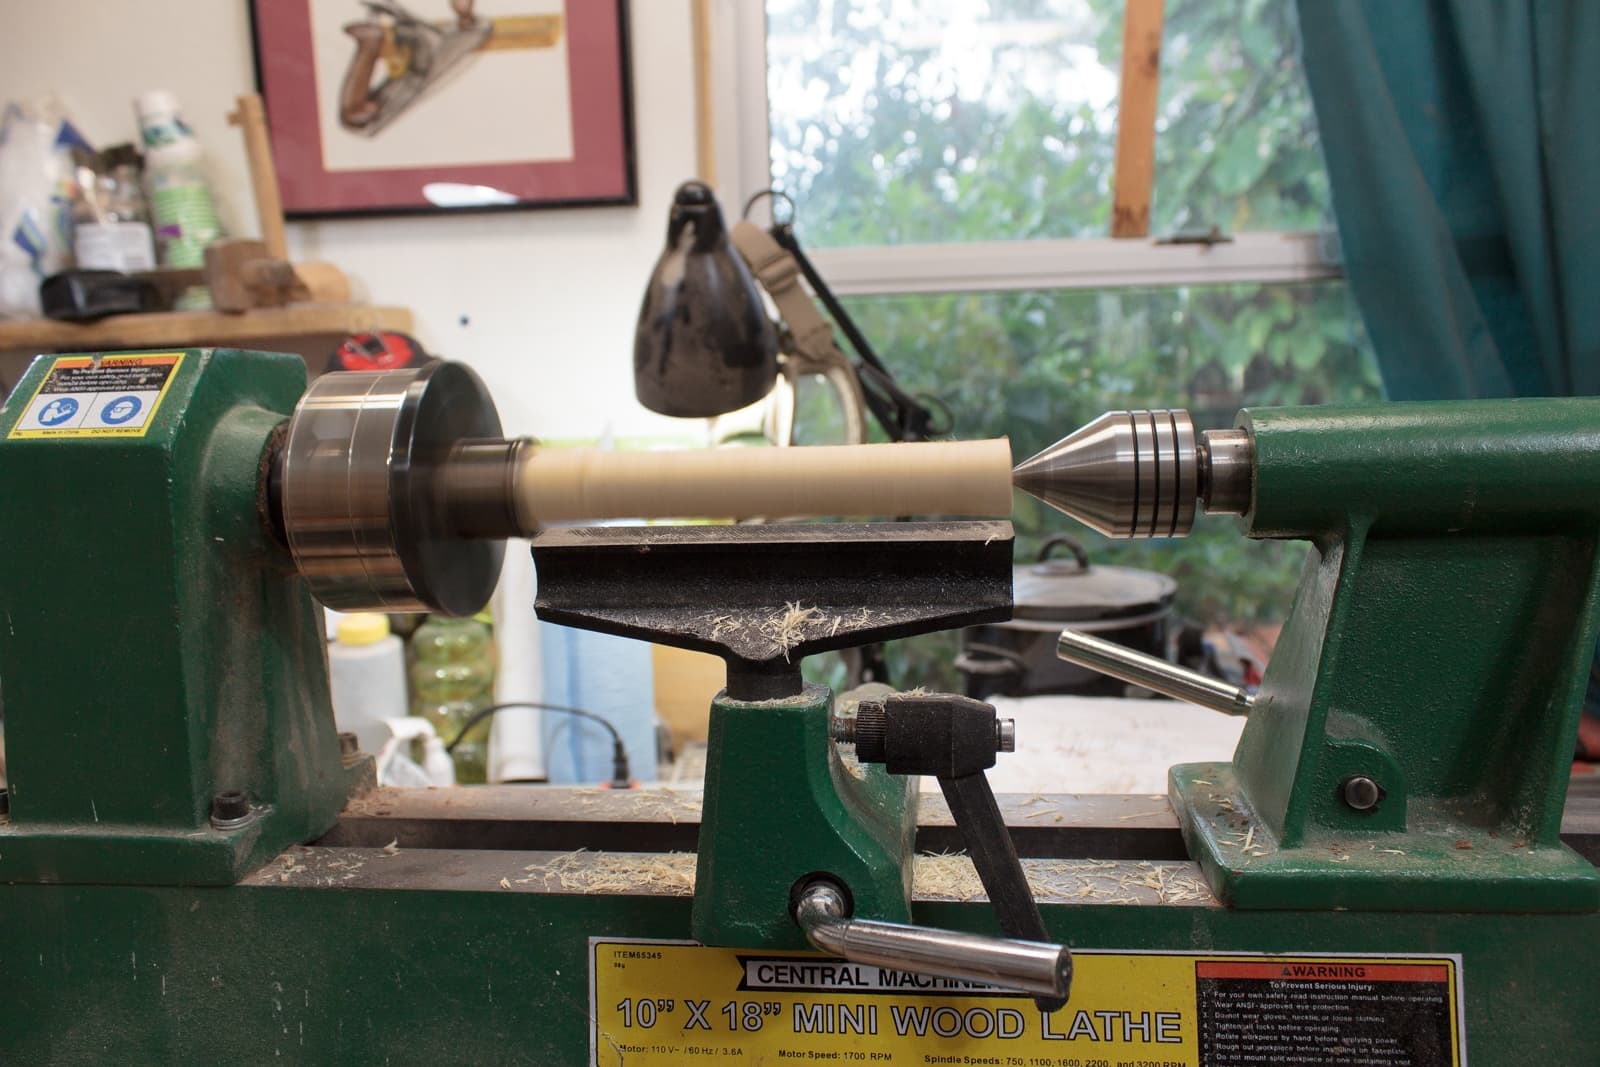
I now need some 3/4”/2cm dowels. I just make this on my lathe while the glue is drying.
You could buy them at your hardware store. I have a lathe though and these only took me 5 minutes.
Dowels made
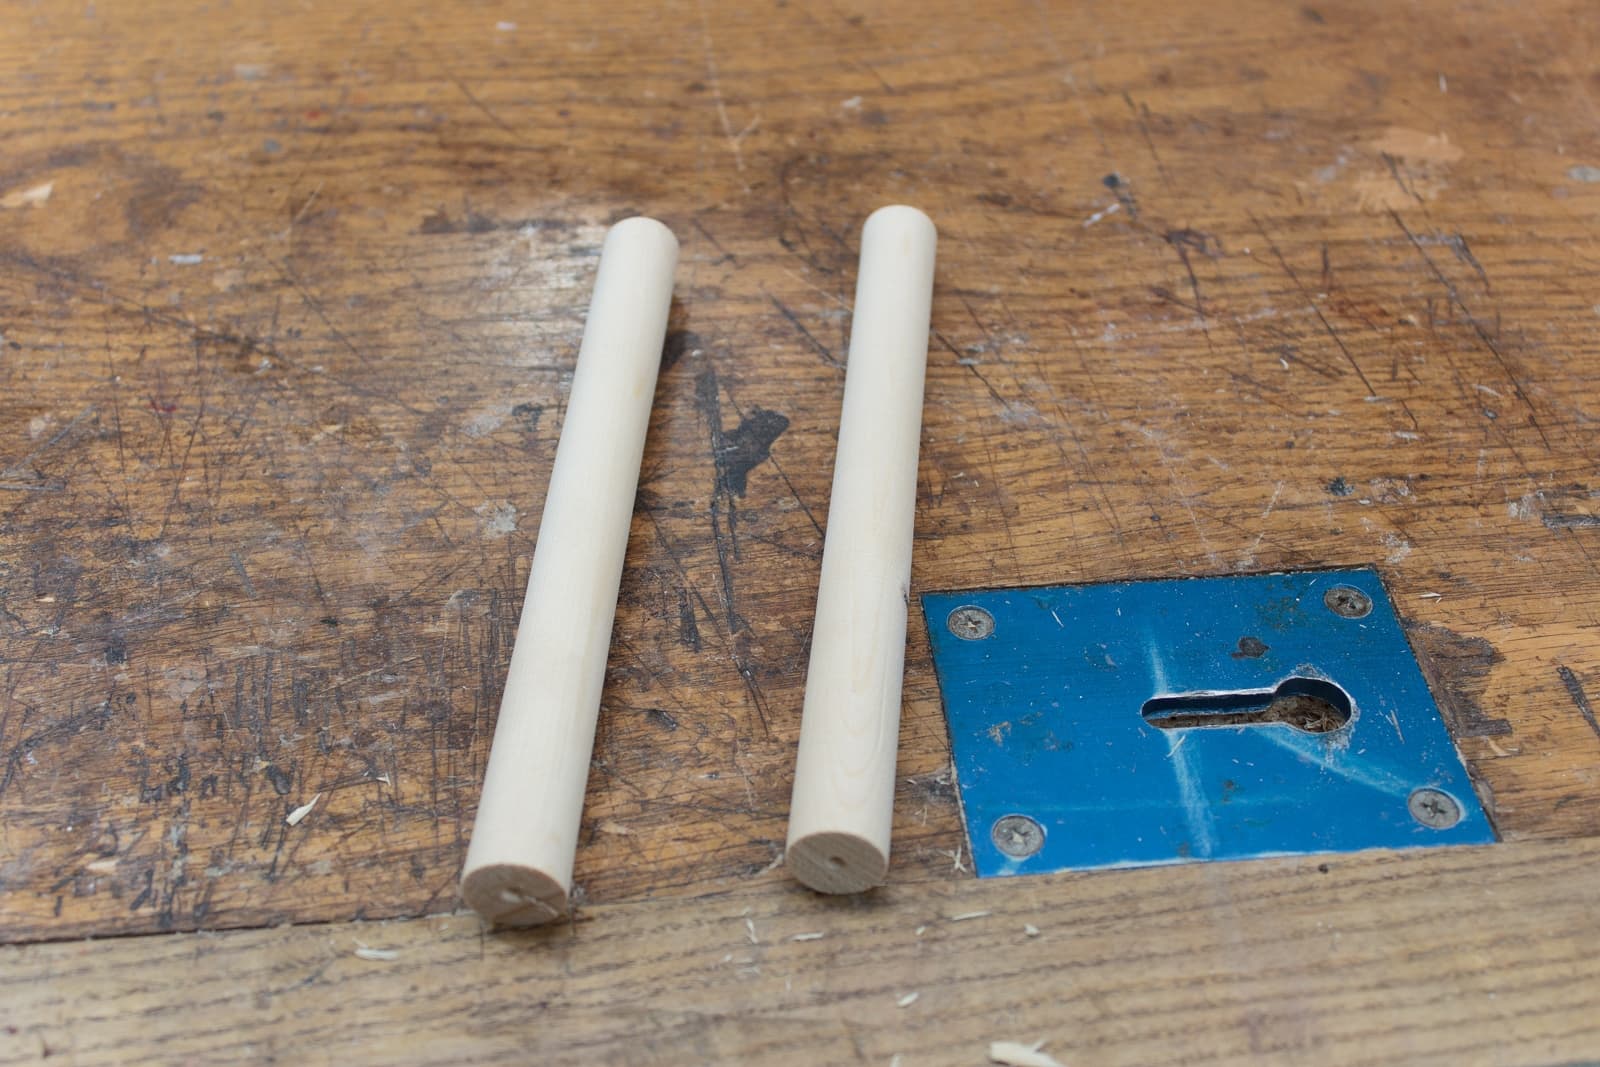
The finished dowels. Better than storebought.
Prep

This is what we have so far. I sand off the glue and make everything look nice.
Rounding everything
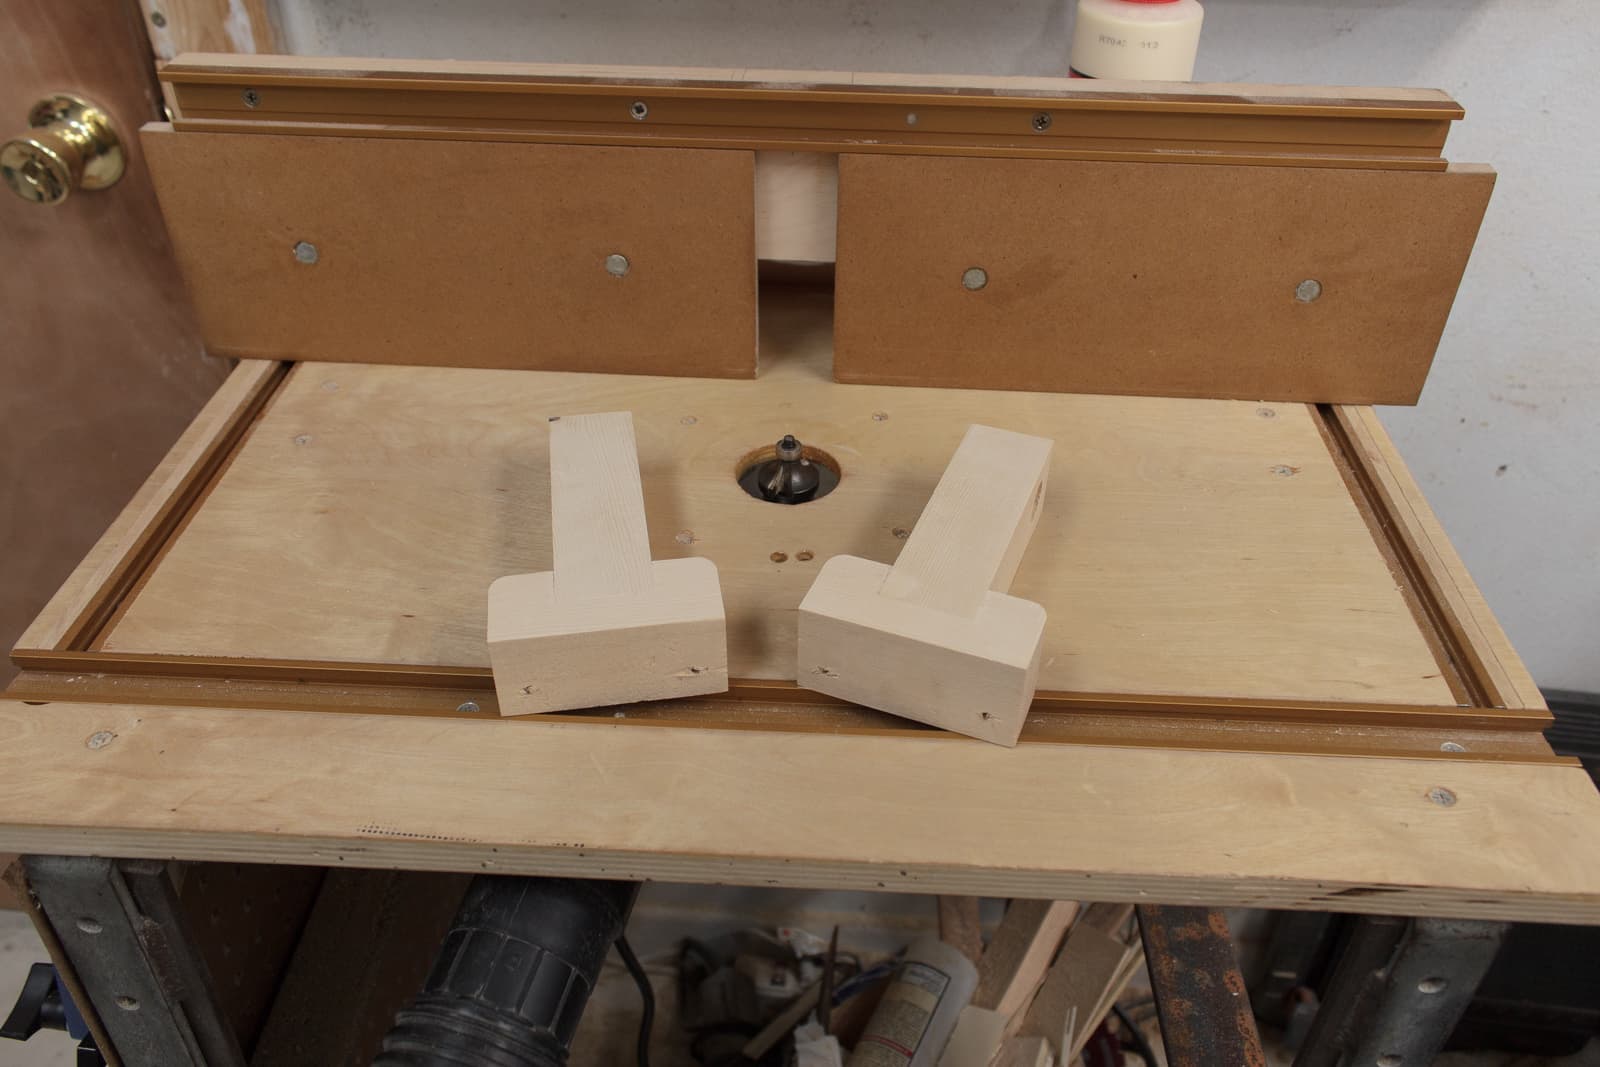
I now run these through my router again. All of the appropriate edges are rounded that I can reach.
Filing because I’m an idiot
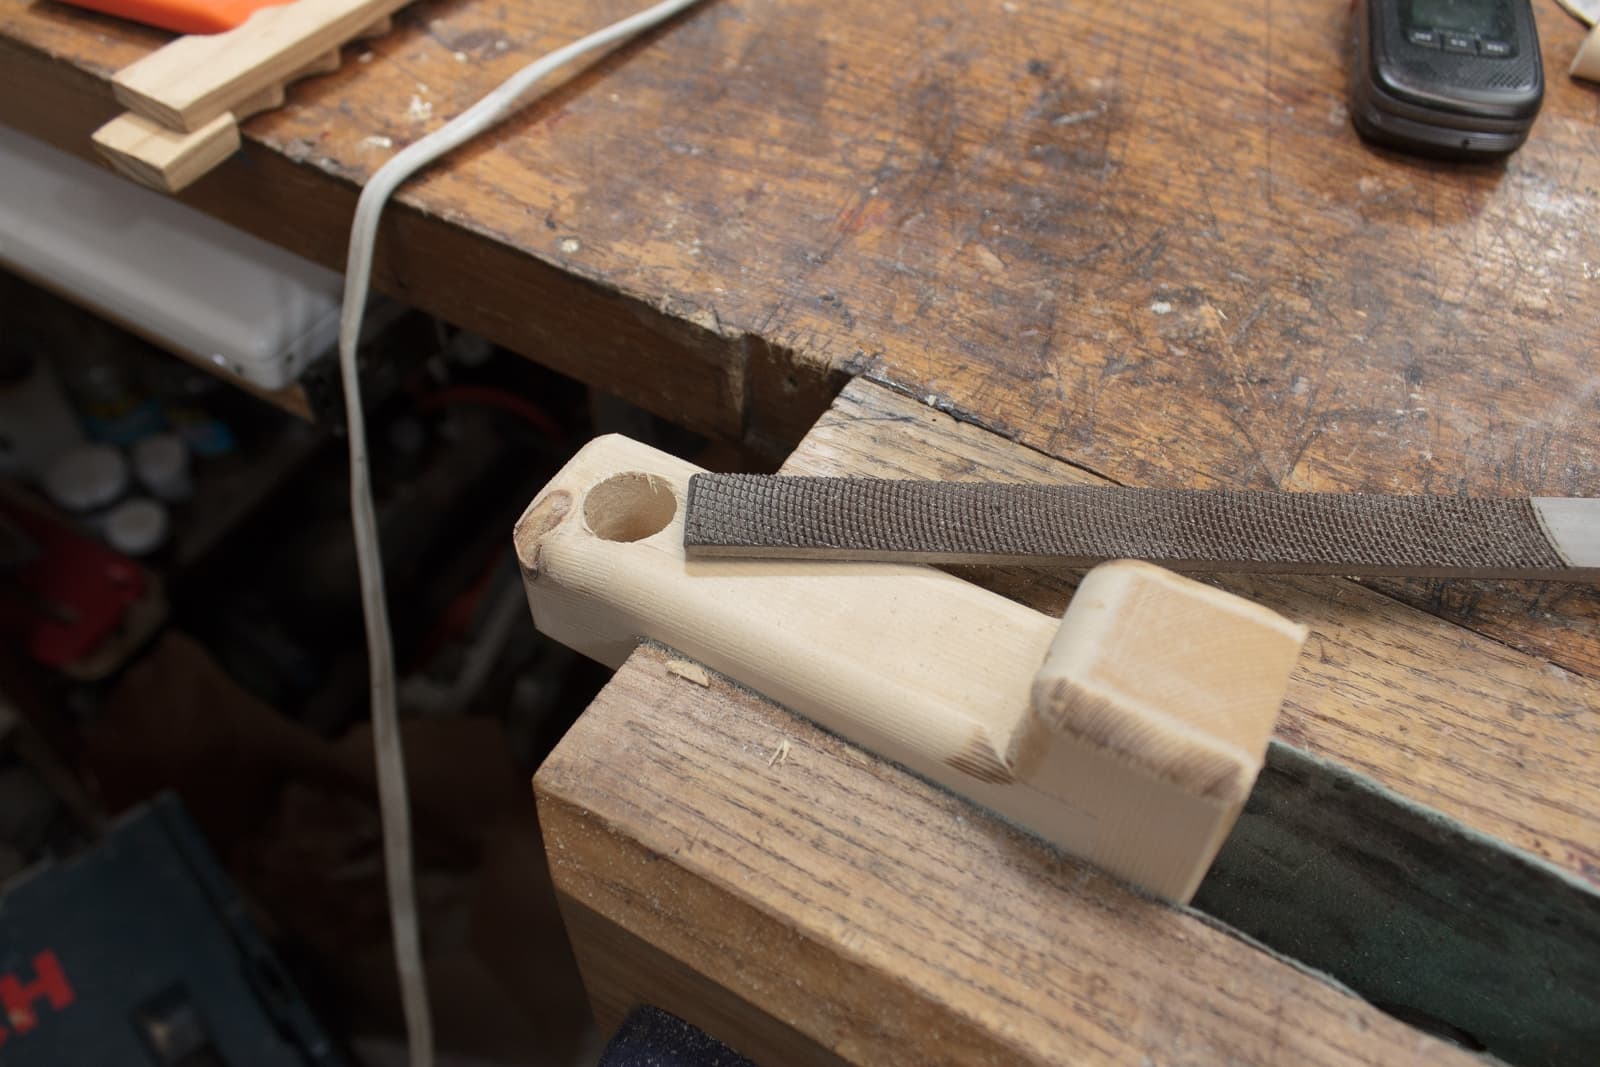
I remembered to roundover things I couldn’t reach later, but I forgot to do all 4 edges.
So now I go at it with my iwasaki files. It only takes amount a minute to make convincing matching roundovers.
It would have been easier if I remembered to do this before!
(btw, that’s not a massive divot. It’s a knot in the wood)
Finished!
That’s all there is. They are done. Put the dowels in and that’s it.
Install

Now I use a spacer block and screw in the holders. I’m using 2” Spax T-star Plus Flat Head screws. 2” = 5cm. I really like these screws, and I use Spax for anything I can.
You can also see my hacked Rigol 1052e. This is the scope I keep in the studio, and it’s a fantastic cheap DSO.
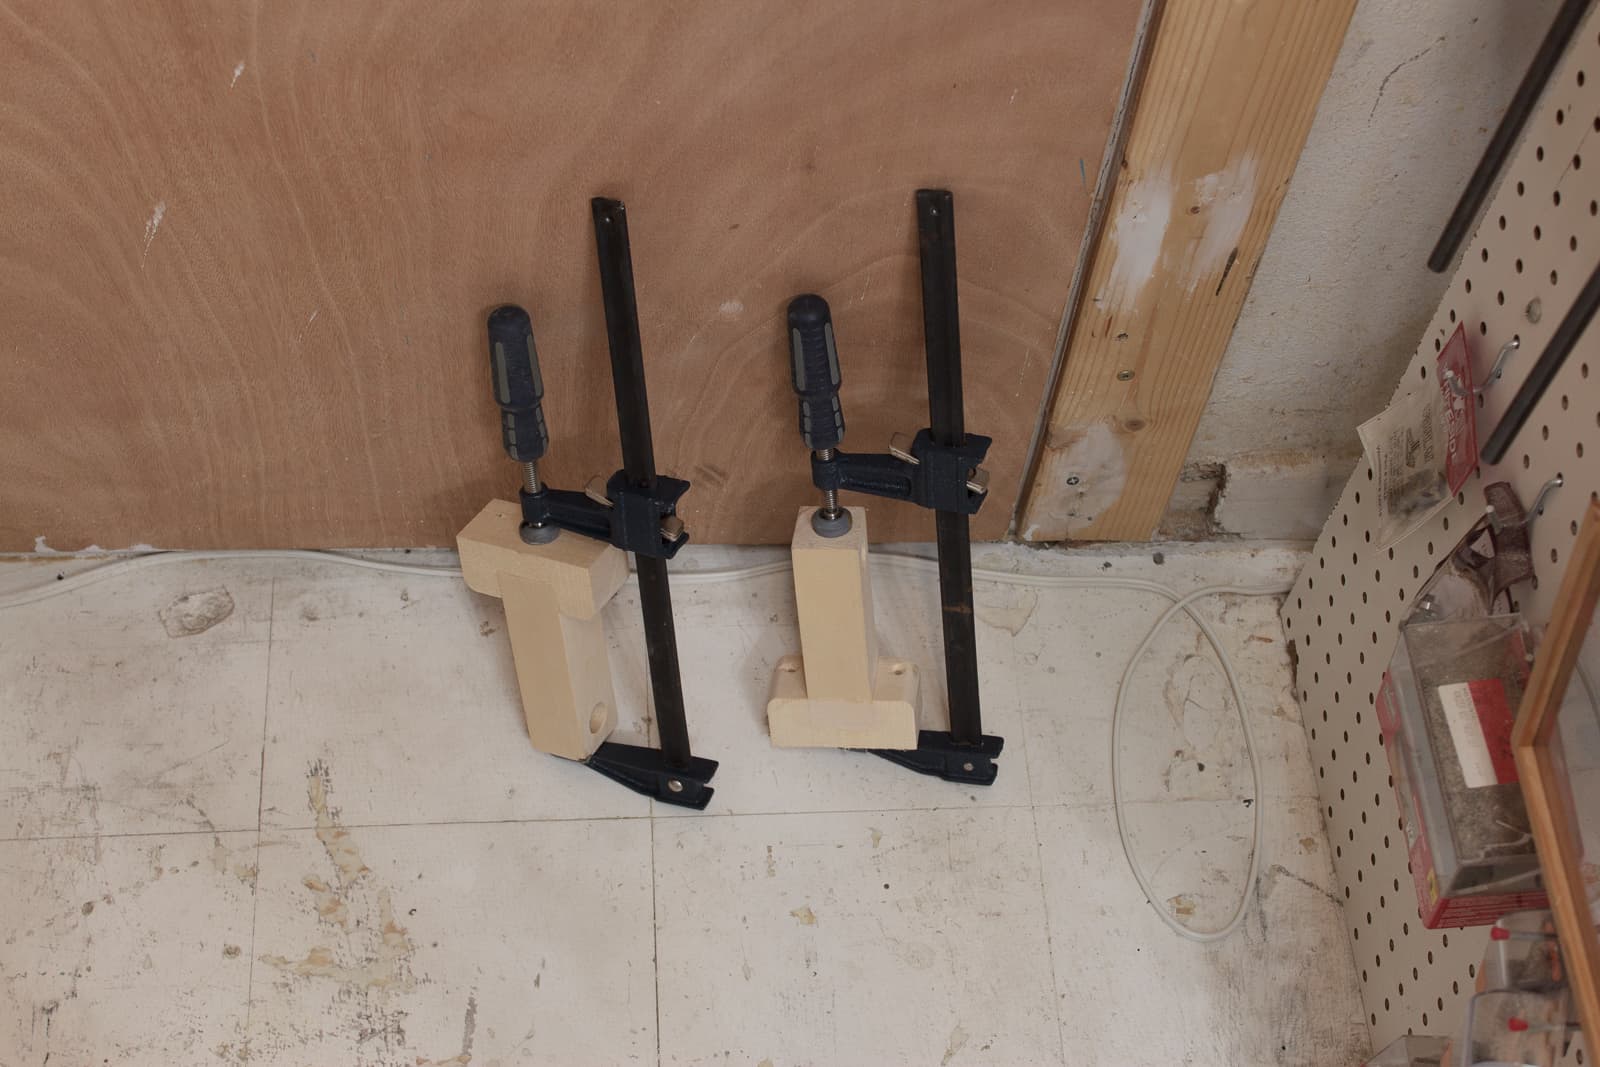
Installed
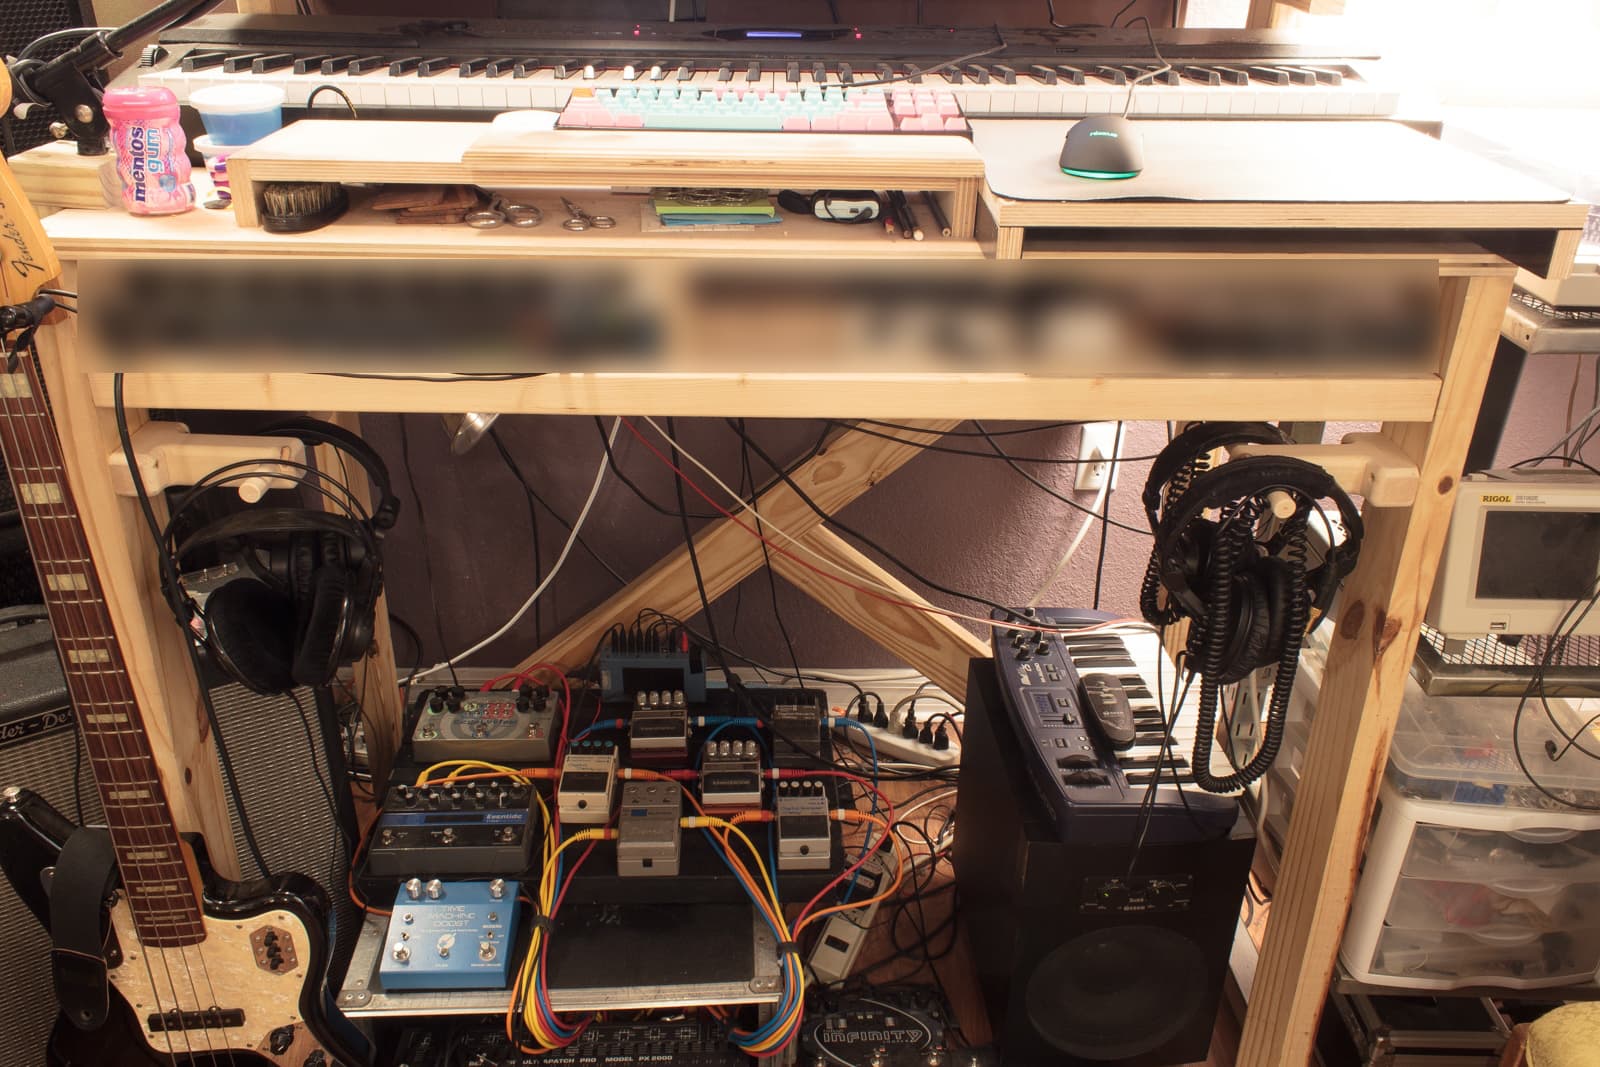
This is what they look like in use. I have some gear blacked out there because, reasons.
You can also see what a mess my standing desk area is, and my love of Mentos Cotton Candy Gum.
This project took me about 1 hour of build time. With taking photos and waiting for glue to dry, it took me 2 hours and 18 minutes total from selecting the wood to putting them to use.
Support Me!
This post took 4 hours to research, photograph, write, build and edit. If you appreciate the information presented then please consider joining patreon or donating!