I usually try to avoid duplicating information that you can easily find online other places. I want my website to be full of relatively unique content. This week I needed to change the hard drive in my iMac because it was failing and I wanted something better. You can find out how to do this in a number of places, so I’m not really bringing in groundbreaking content here.
I am doing the 30 days with Waveform right now though, and I’ve been unable to progress on this review due to the large number of studio changes and the necessity to upgrade my main studio system.
Rather than having no posts for 7-8 days while I try to catch up, I’ve decided to show how I went about the process of changing my iMac’s 1tb Seagate Barracude to a 1tb Samsung EVO 850 Solid State Drive.
This is also a great citation if you’re a non-Mac person and want to show people why macs are awful. Likewise it’s a great post if you’re a mac user and want to suffer along with me.
Let’s get on with it.
Contents
- Prepare
- Supplies
- Opening the thing
- Corner
- Put in the drive
- Open carefully
- Cut more
- Dusty
- Removing 2 cables
- Lift
- Long Peel
- Peel part 2
- Unscrew the Speaker
- Lift the speaker
- Display Adhesive
- Change the drive pins
- Drive Sensor
- Very dusty
- Cleaning
- Cleaned
- Cable Move
- Screw the speaker
- Adhesive Clean
- Adhesive Cleaning
- Tested
- Apply Adhesive
- Down
- Clean
- Done
- Support Me!
Prepare
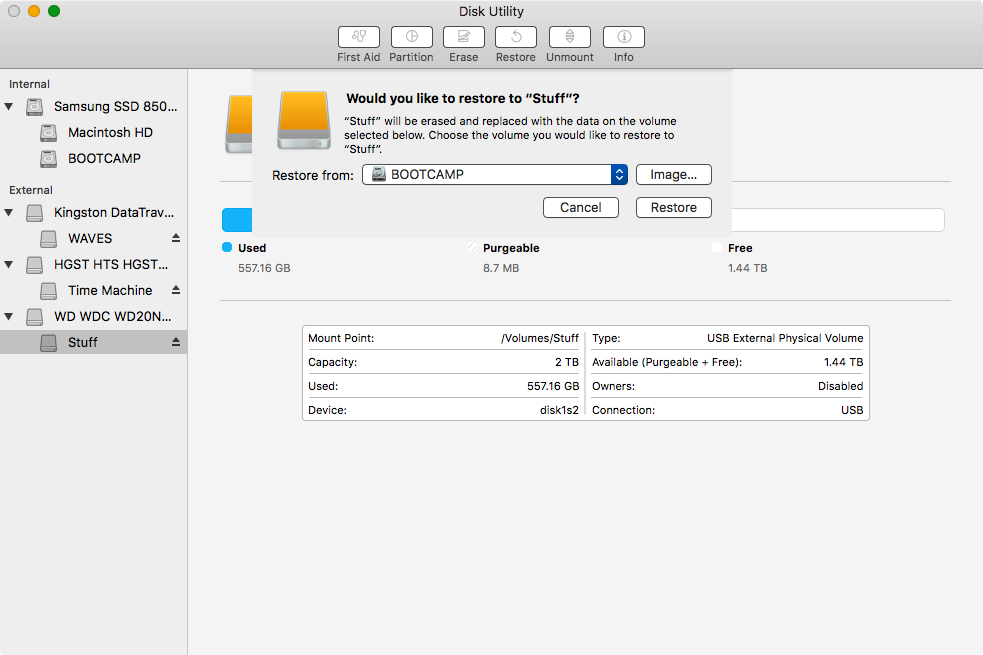
The first thing I did was reboot in to macOS Recovery mode.
With my SSD hooked up, I cloned my ‘Macintosh HD’ partition to my SSD. This ensures that when I drop in the SSD, it will boot up and everything is great. There’s nothing to do beyond simply hooking up the drive and powering on.
I do have a bootcamp Windows (and linux) partition. I attempted to use dd to clone the whole drive, but that took way too long even when using rdisk and a blocksize of 1m (which appeared optimal for my drive).
So I just reinstalled Windows after. I’ll do Linux later.
Supplies
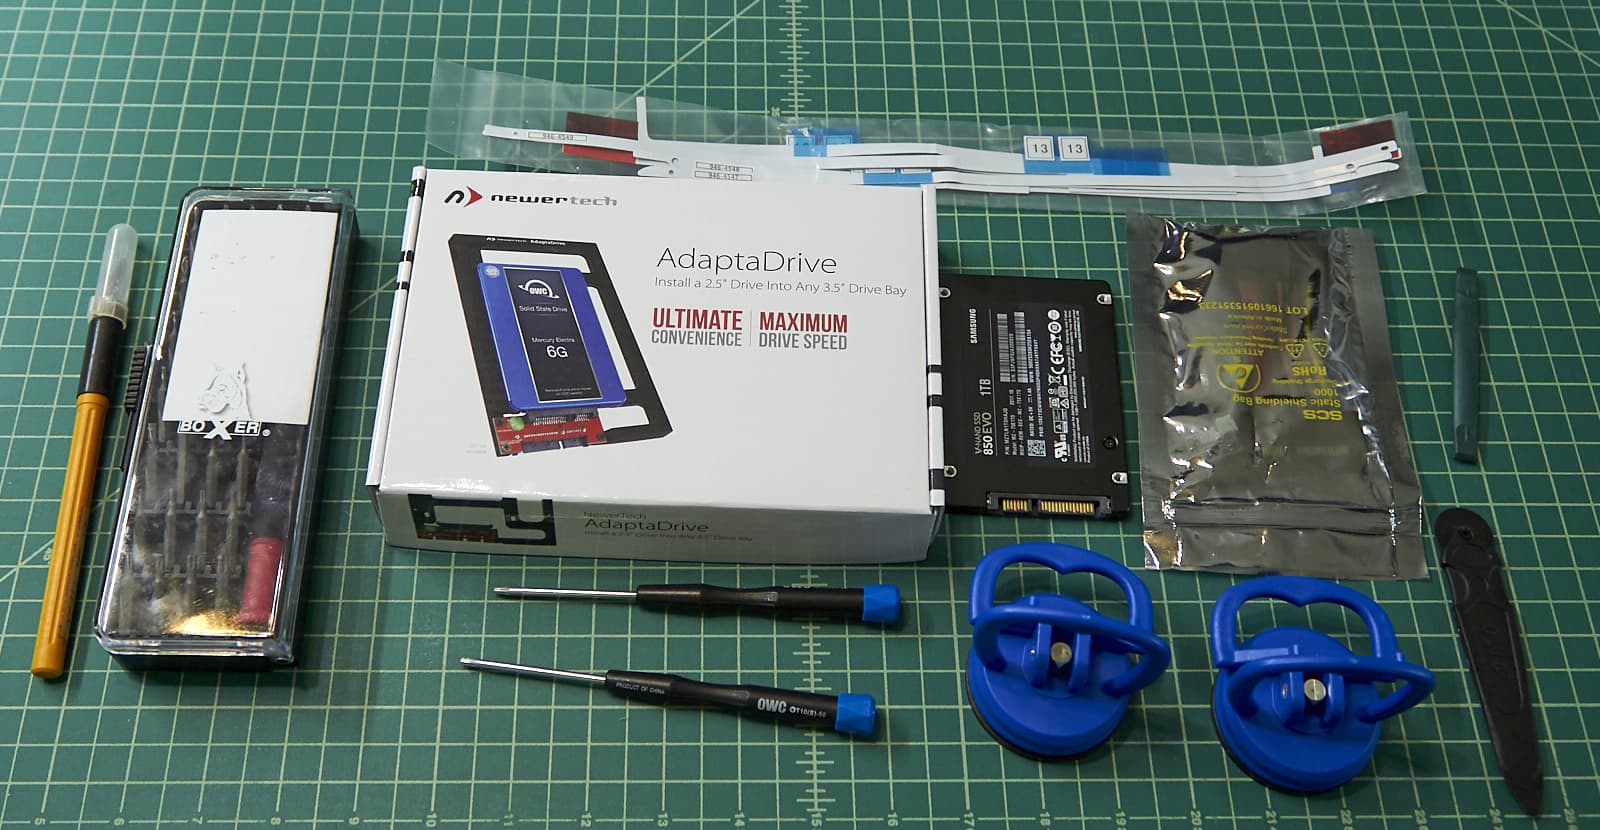
You’ll need some tools. I strongly suggesting just buying this pack right here. This includes the adhesive strips that you need, a way of holding the display, a cutter and the thermal sensor.
The iMac’s hard drive is a 3.5” drive. This means that I also needed to purchase a drive converter bracket as well.
(in reality I only bought the sensor and bracket because my brother already had the tools)
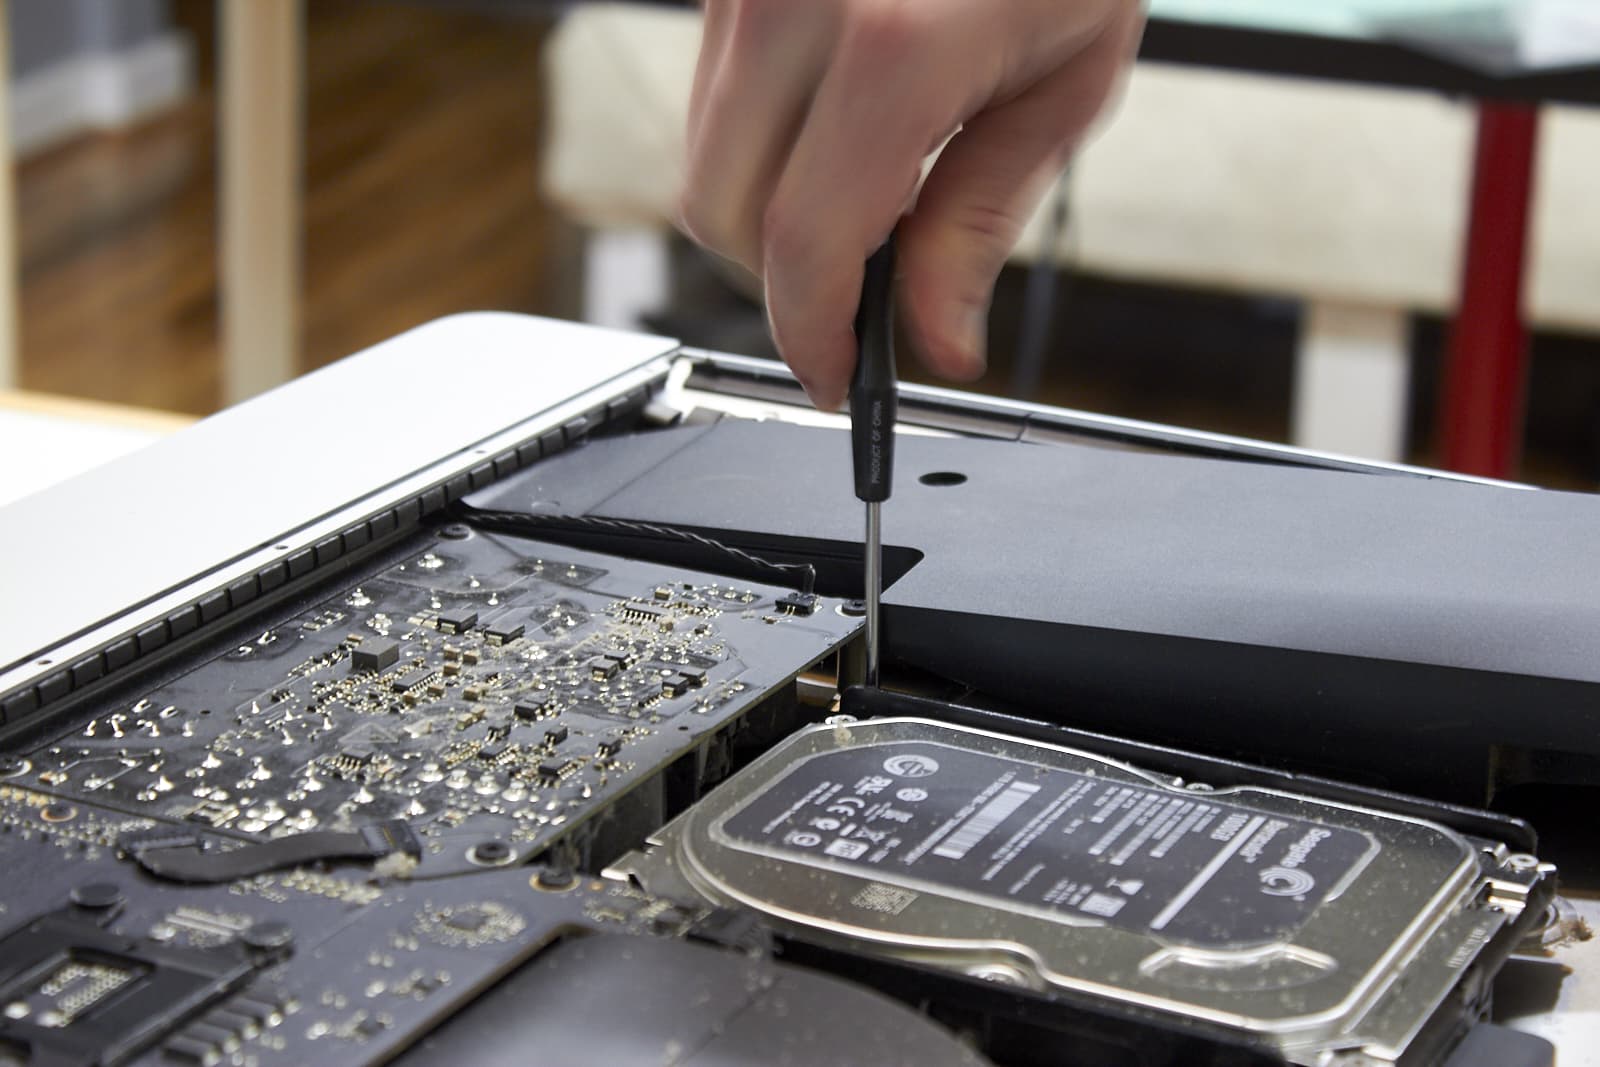
Opening the thing
To start the little plastic pizza cutter thing is placed behind the display and ran along the edge. This breaks the adhesive that holds the display to the chassis.
Corner

Here it is stuck in the corner.
Put in the drive
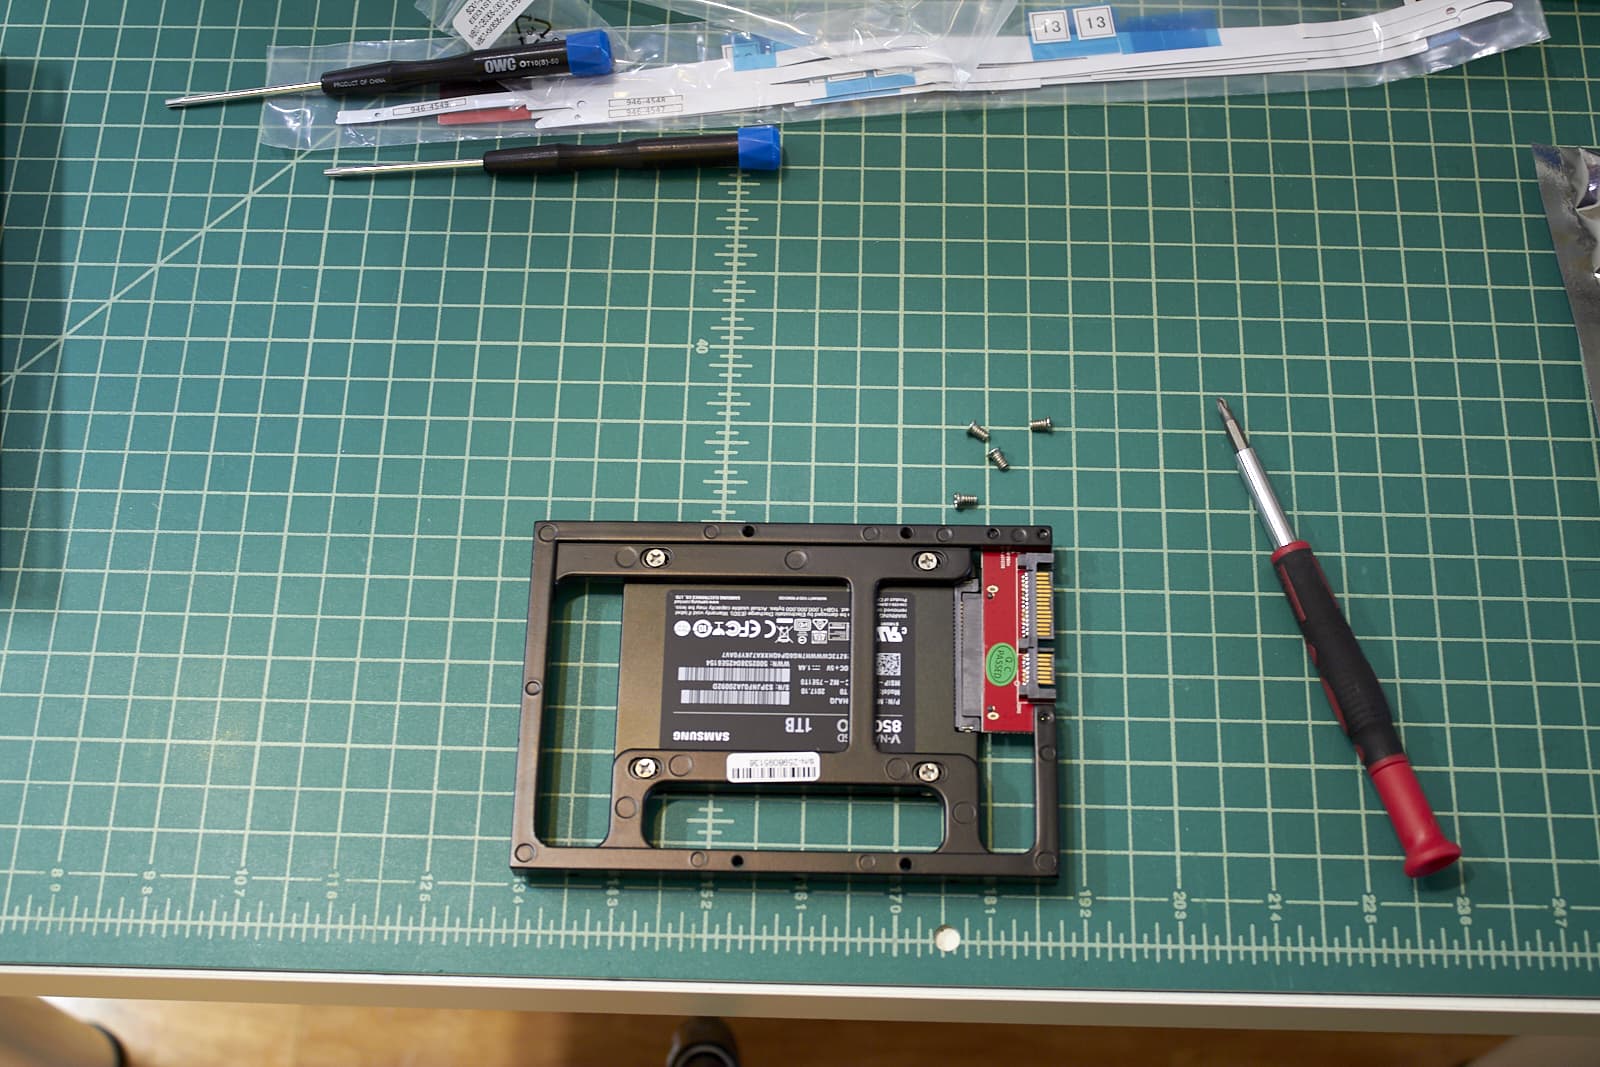
While my brother was cutting open the display, I put the SSD inside of the bracket.
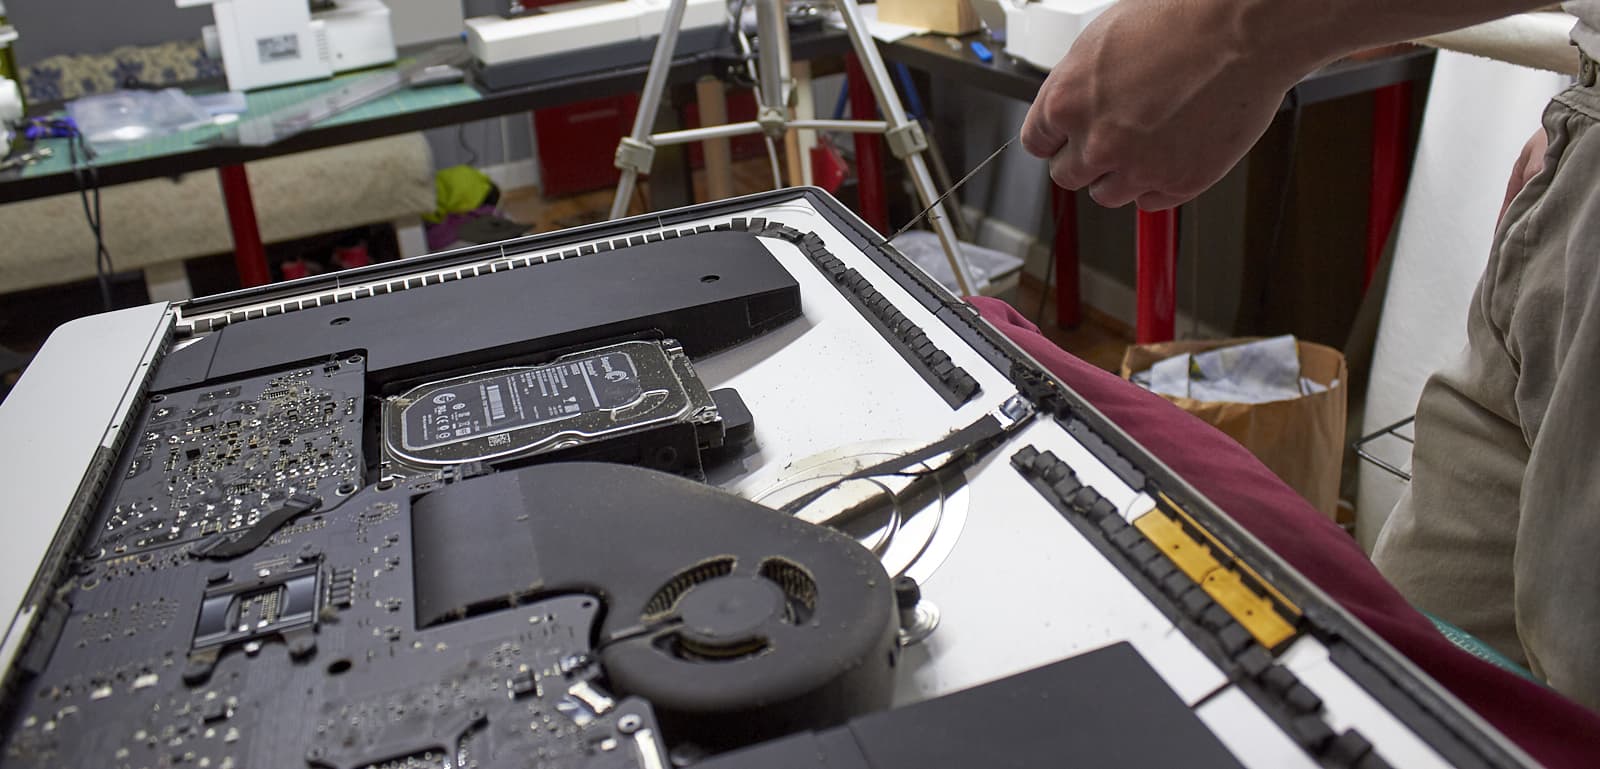
Open carefully
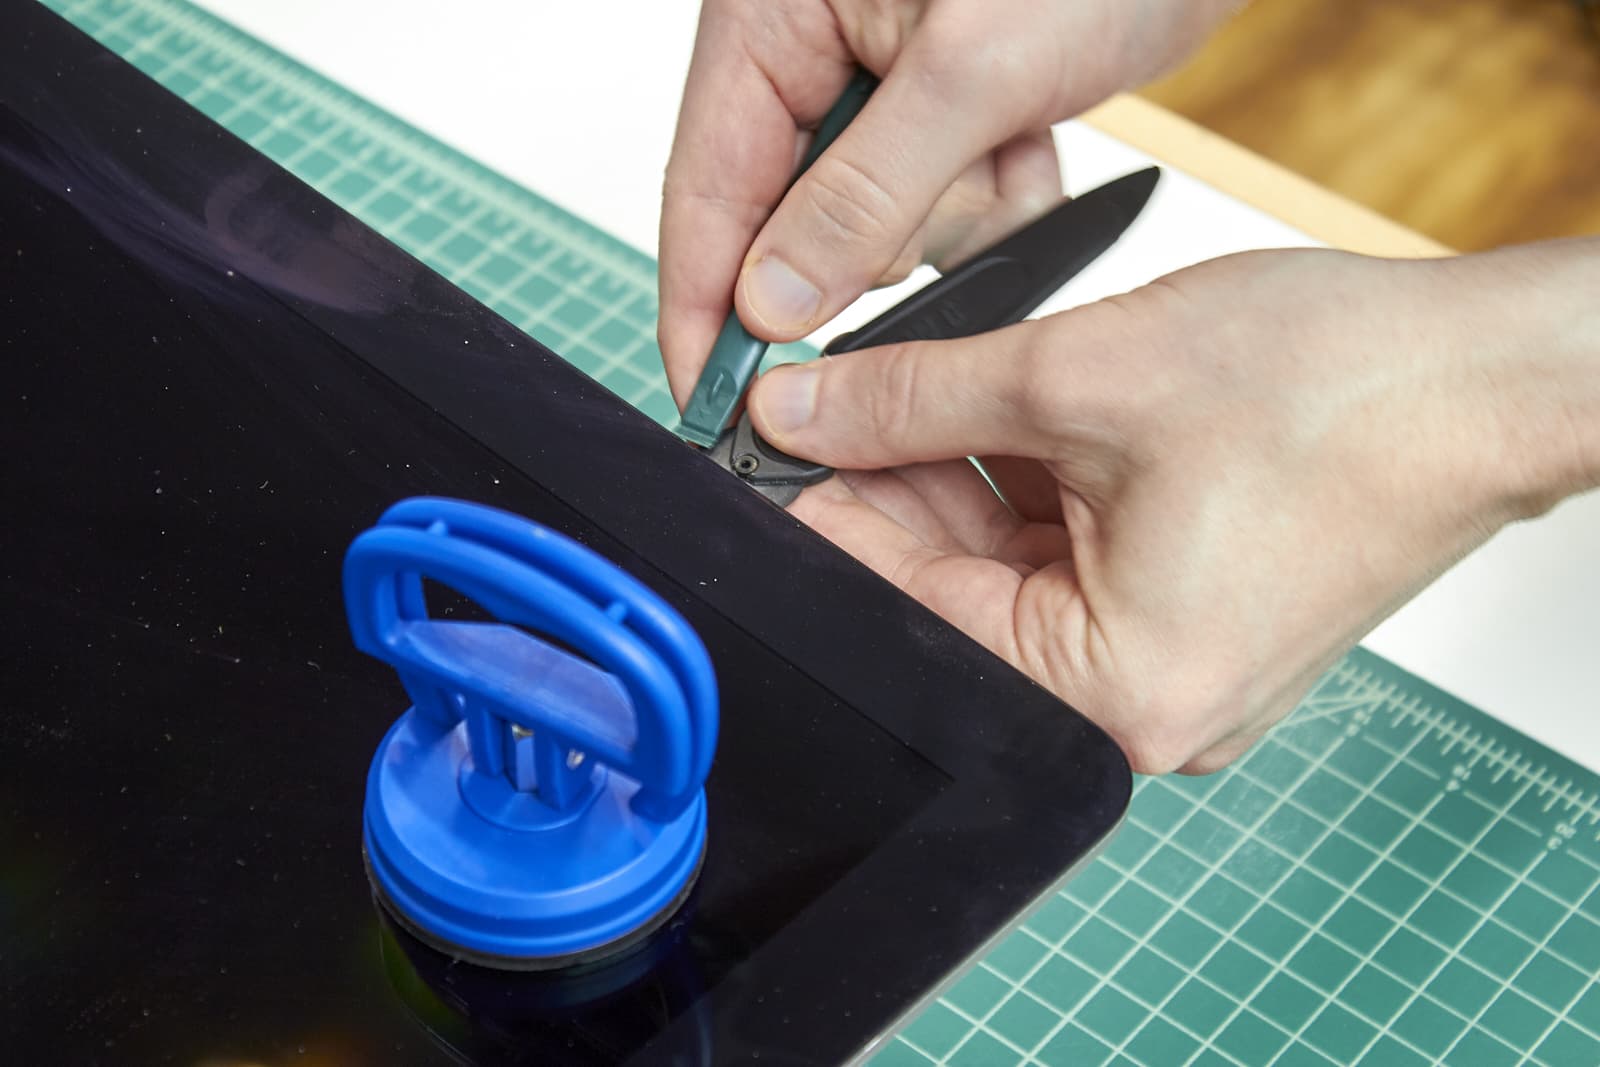
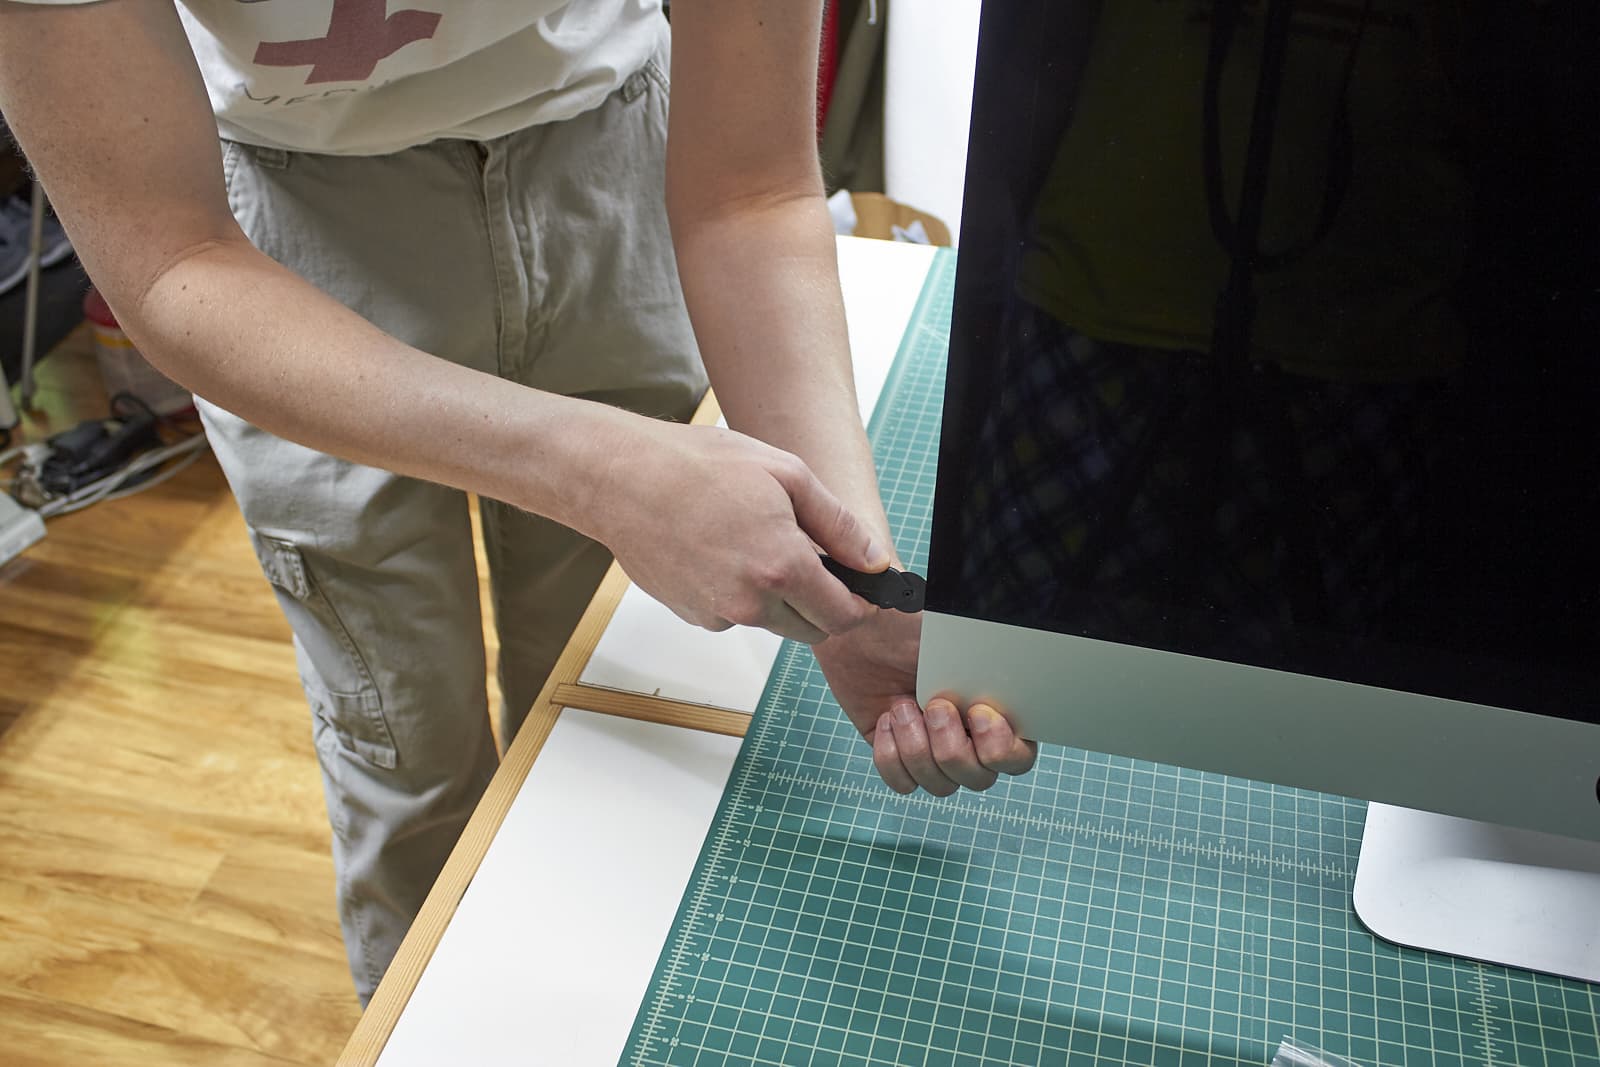
The plastic pizza cutter doesn’t cut fully in to the adhesive. This requires that you use something else to slowly and carefully lift the display as you cut. The kit that I linked before has a tool for this job.
You can just use a credit card or a guitar pick though.
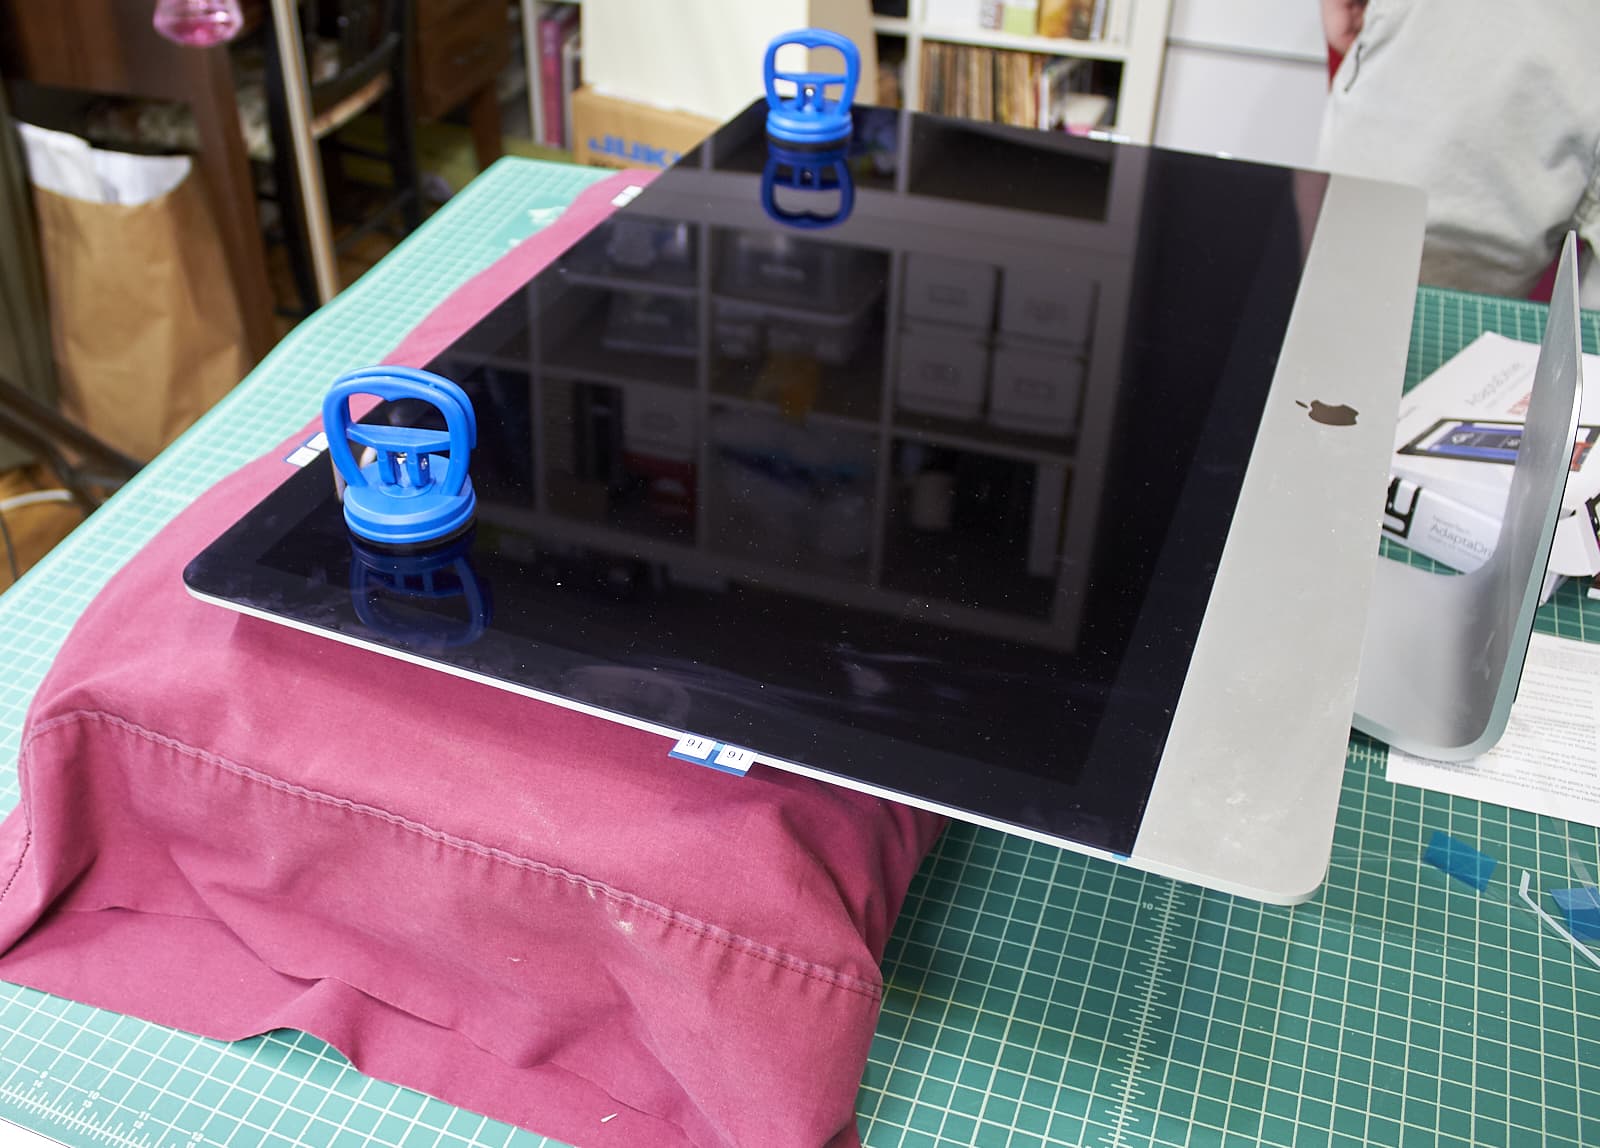
Cut more
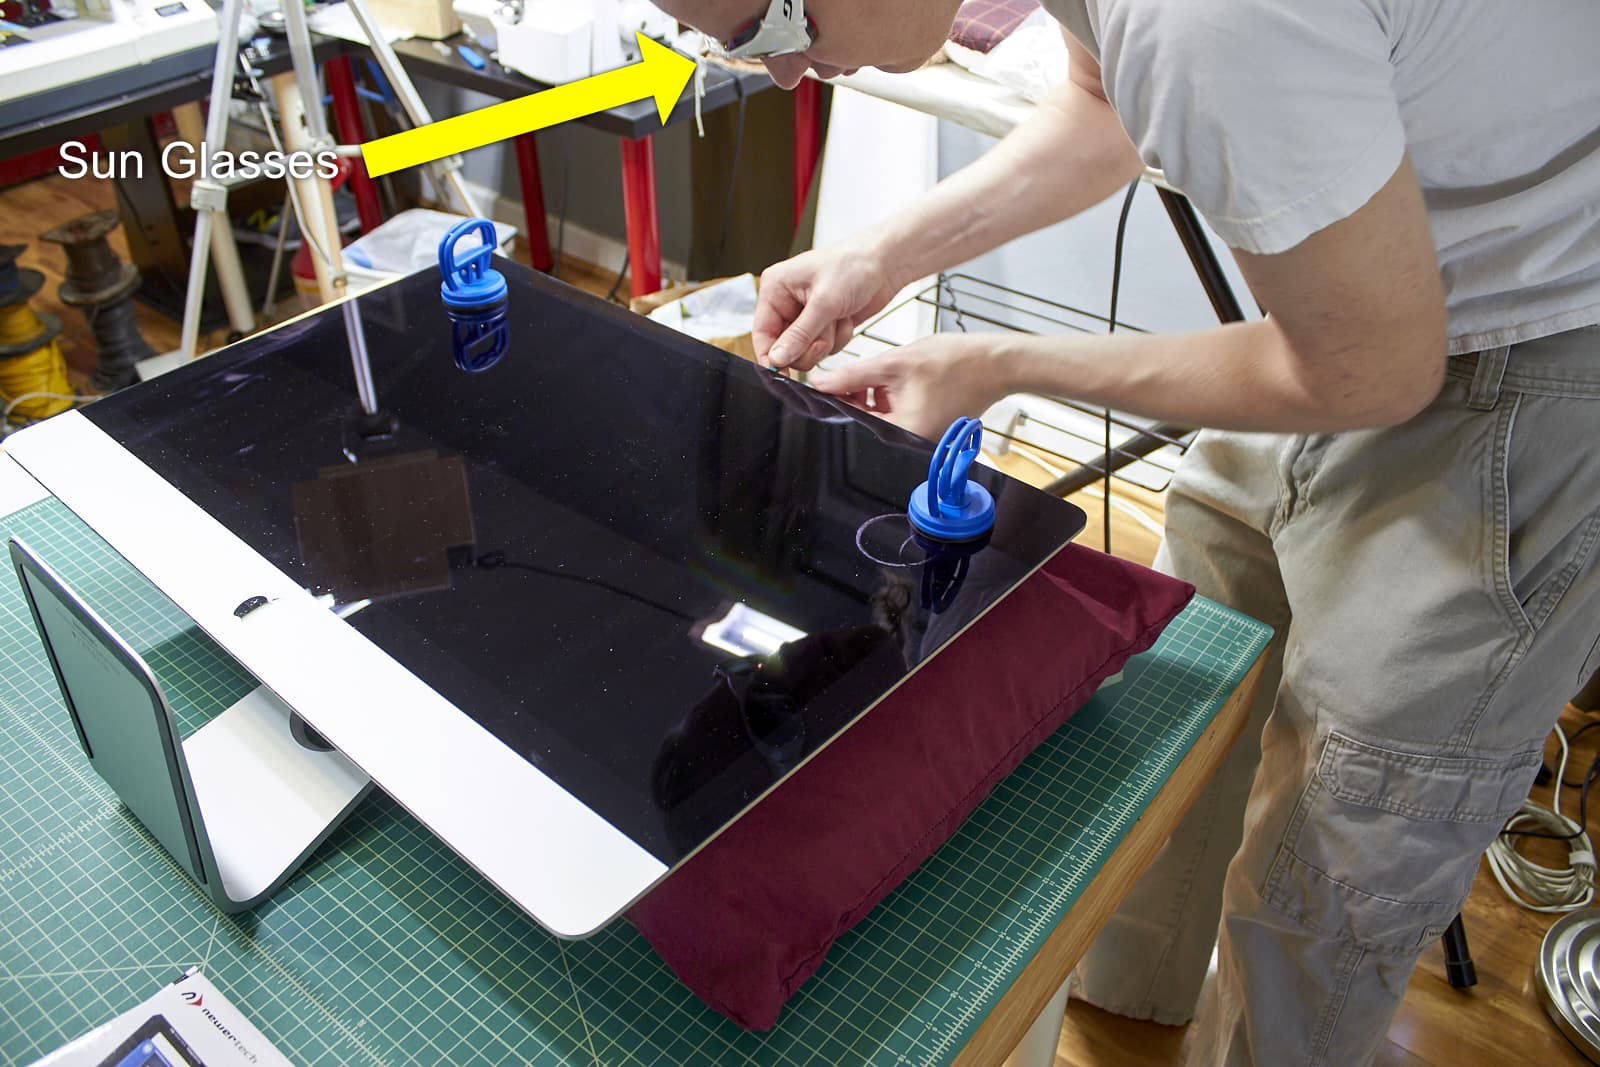
The cutting takes a while. We also placed the suction cups in place to allow the screen to be pulled while cutting.
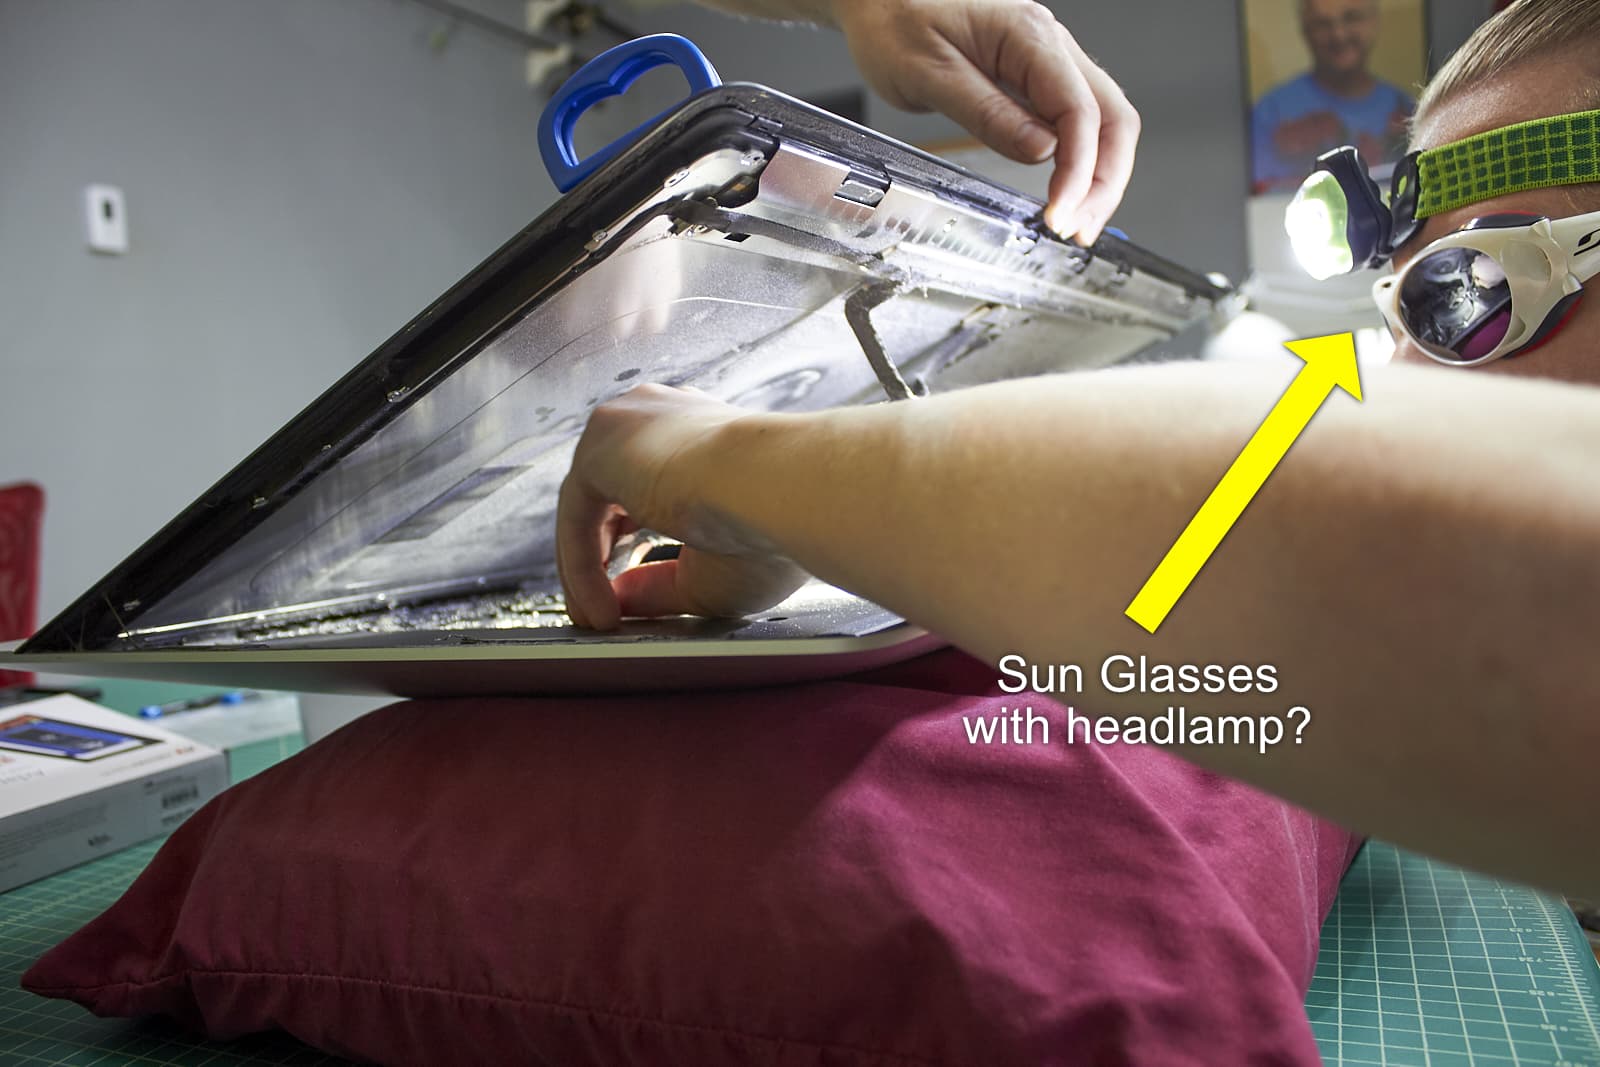
Yes, my brother is wearing sunglasses indoors. He has photosensitive migraines and usually exists in darkness.
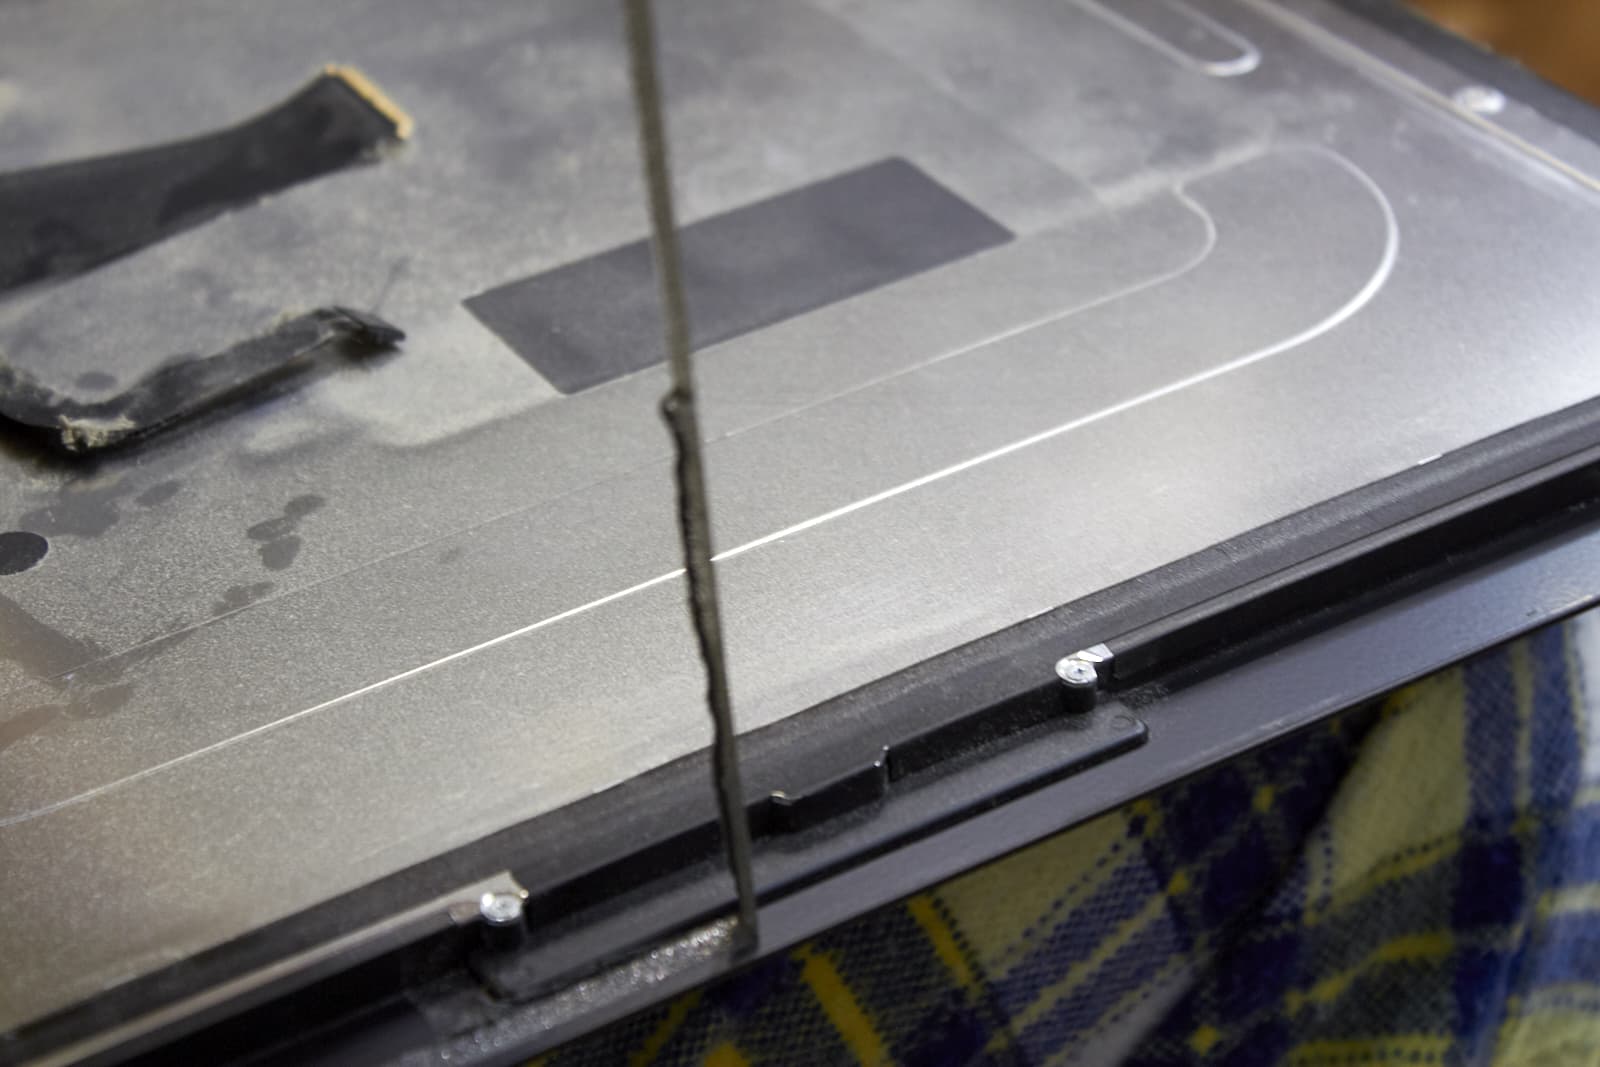
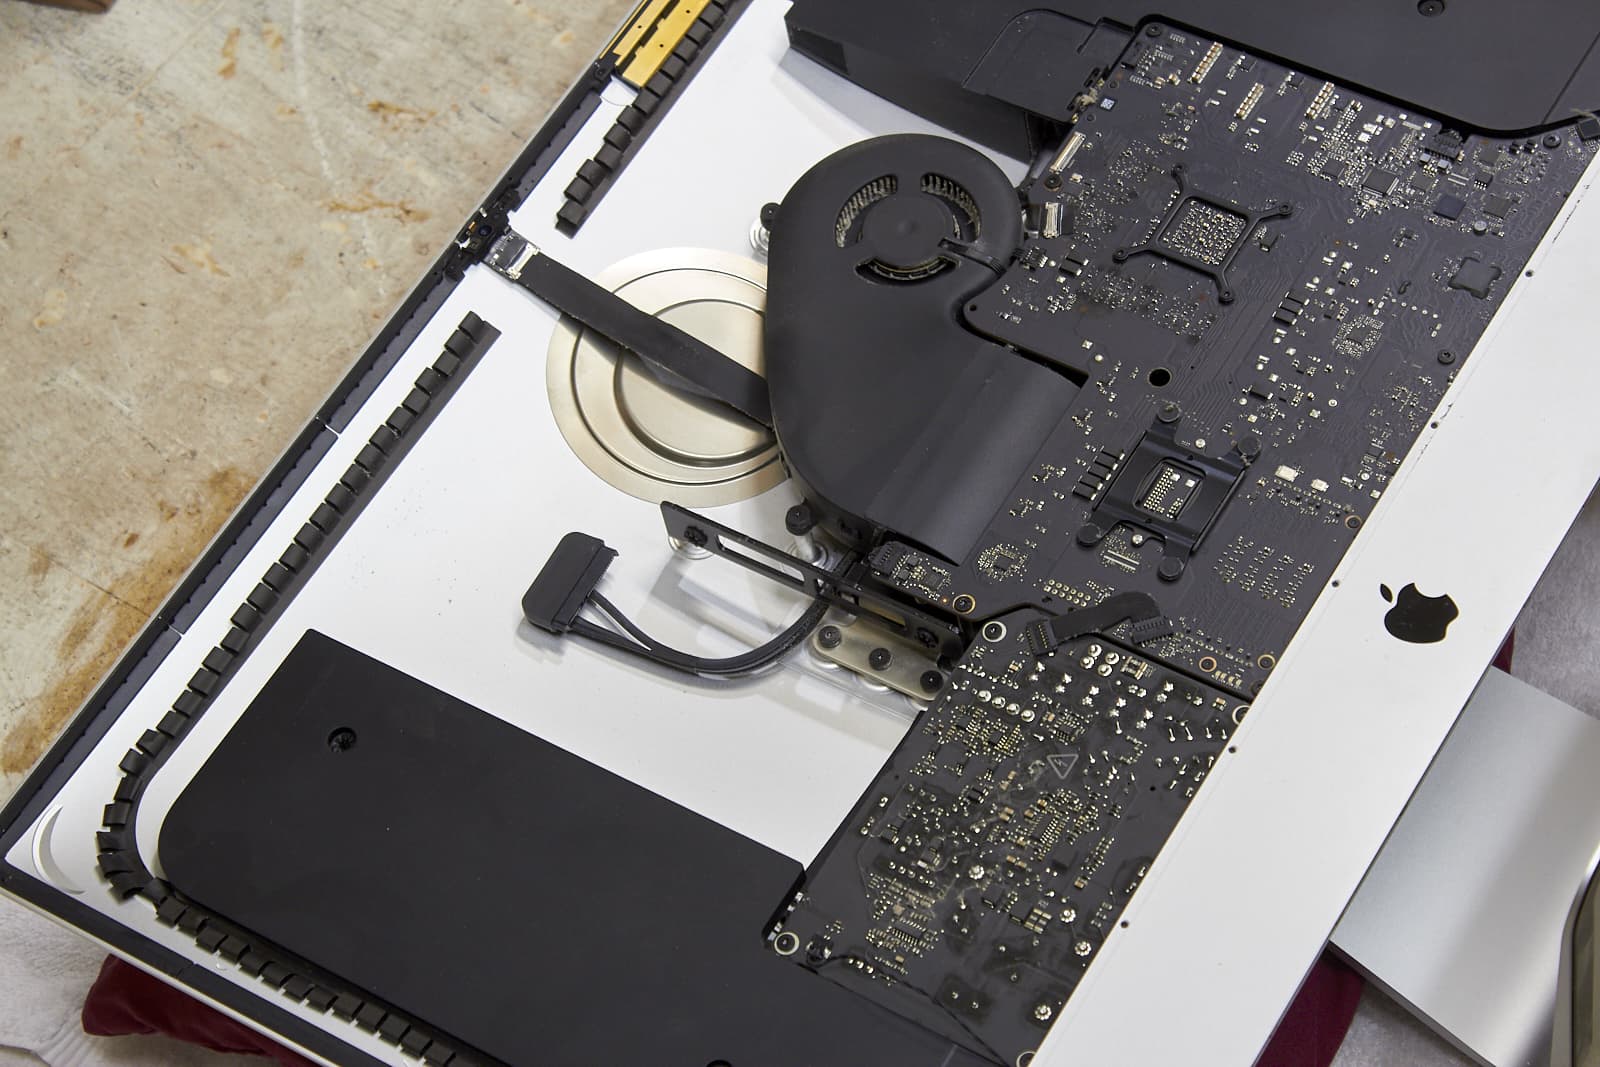
Dusty
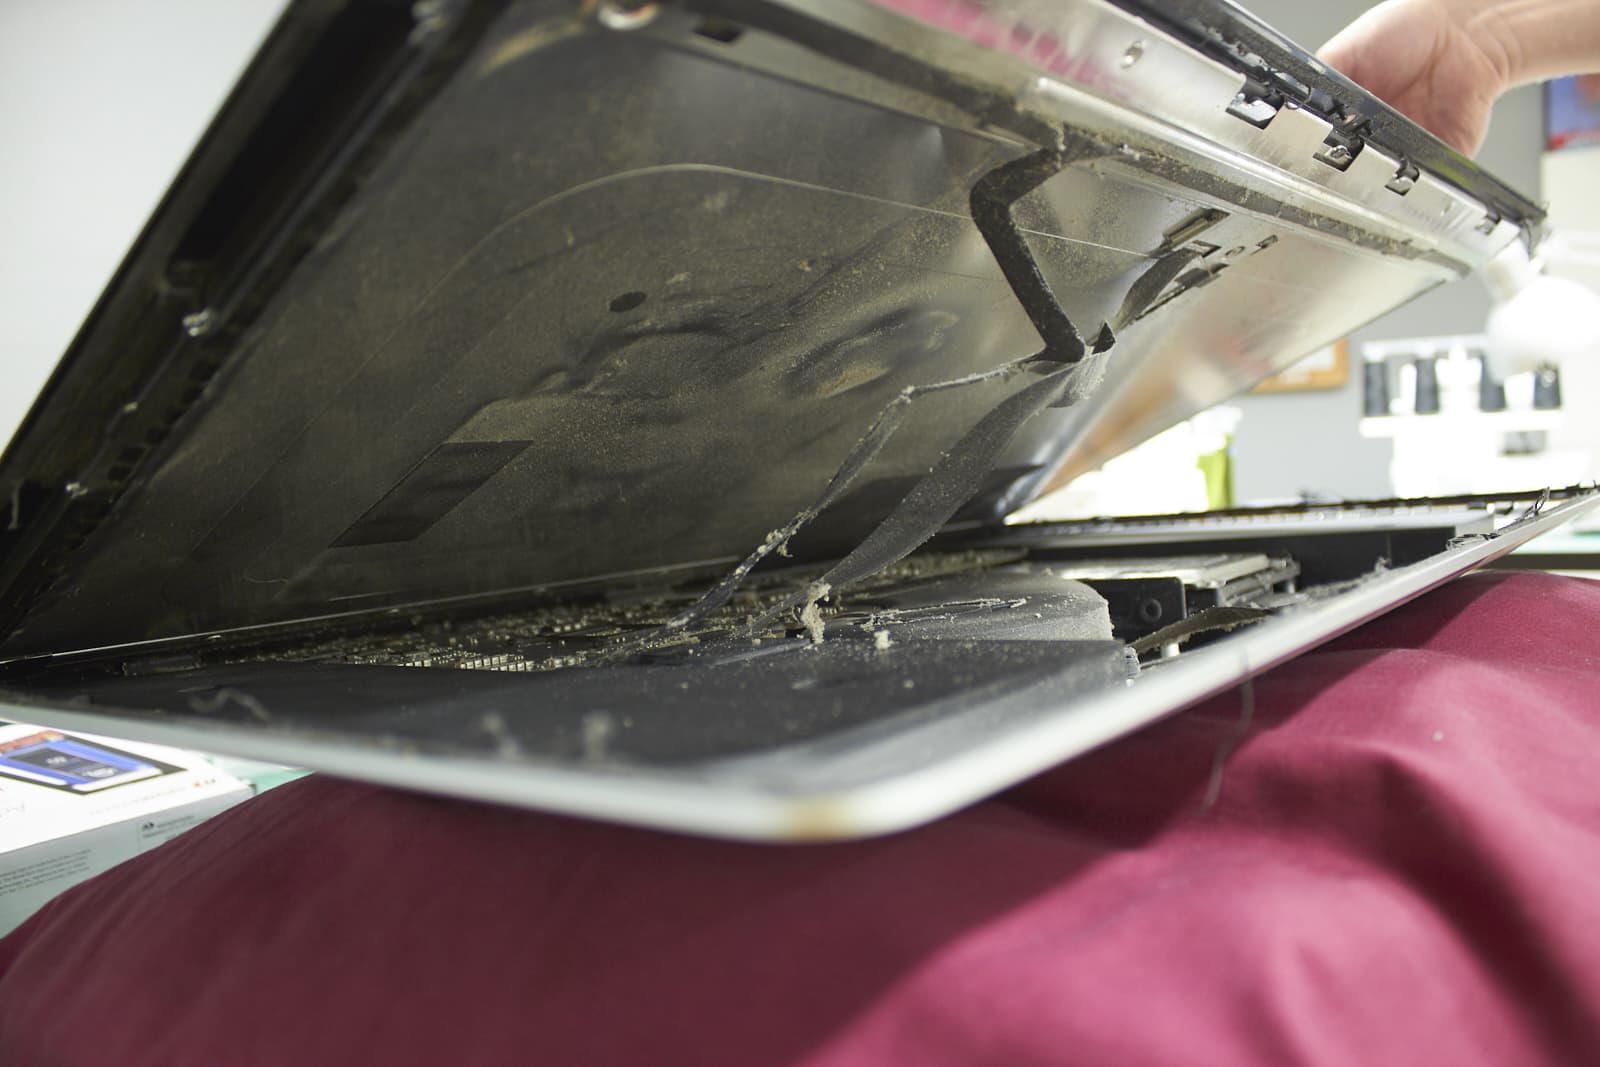
Despite trying to clean the iMac 4 times a year, it’s still very dusty inside.
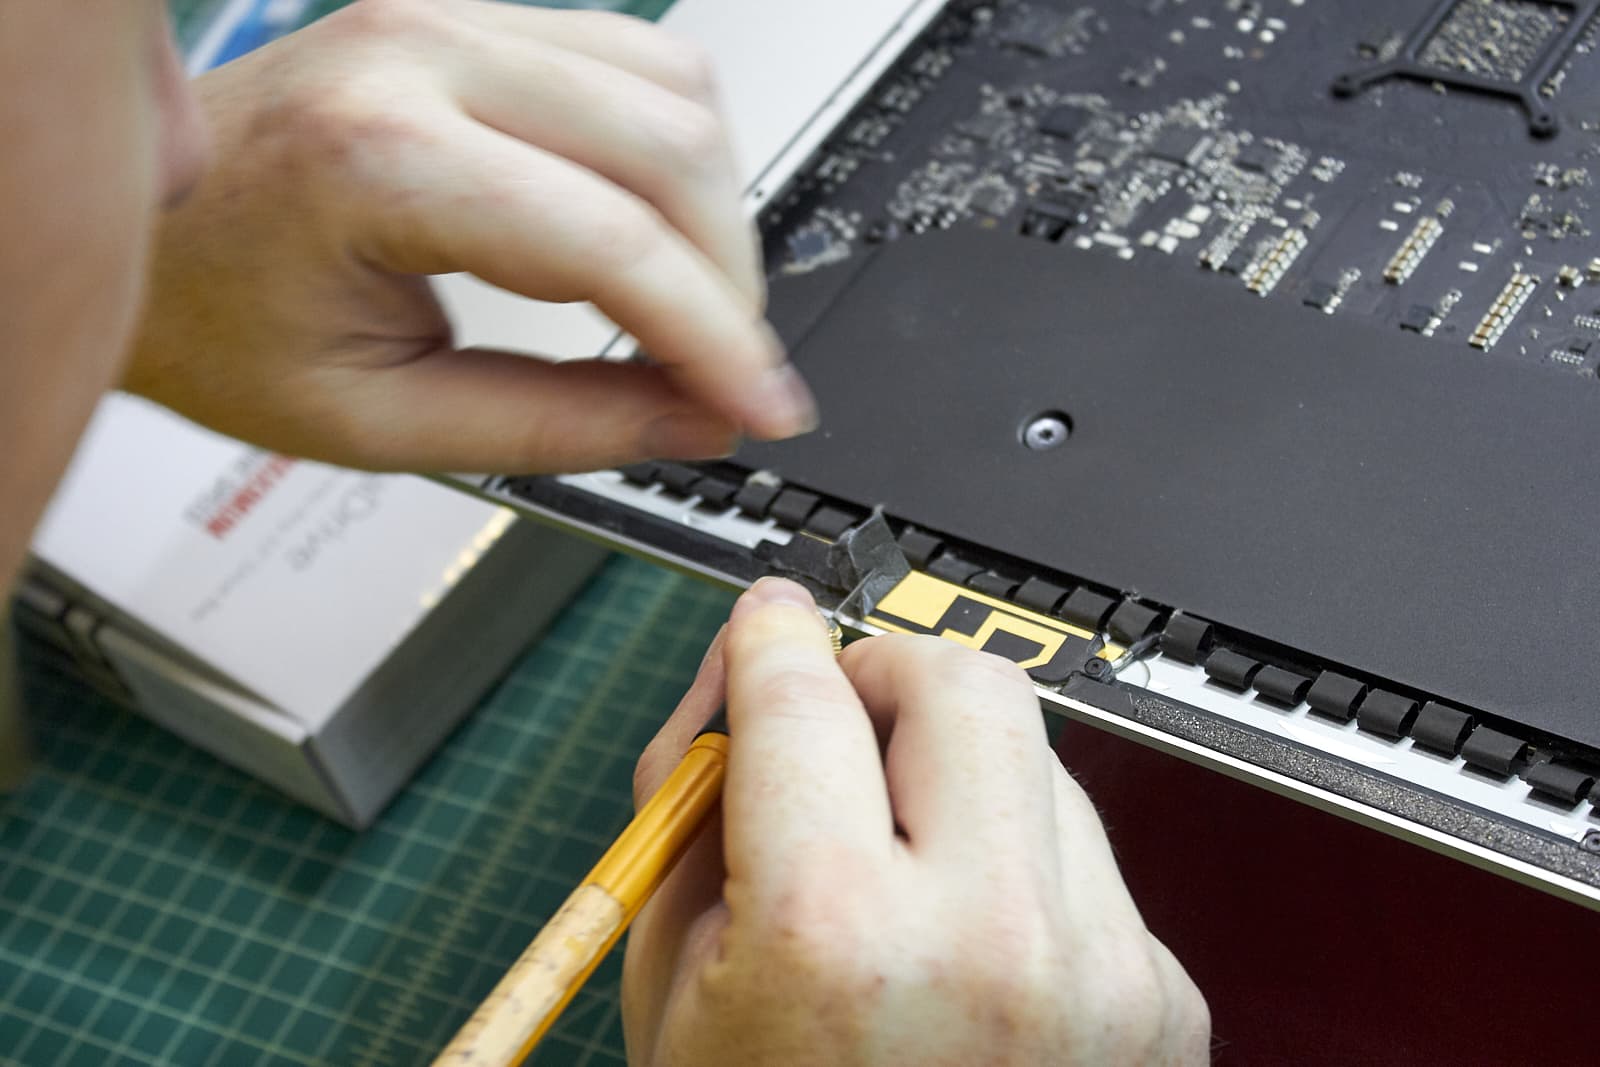
Removing 2 cables
There’s 2 cables to remove on this model. The cable closest to the center has a lift tab. The cable near the side is a pull cable. Careful with the pull cable. Try to use the tabs on the sides to leverage against rather than tugging on the cable.
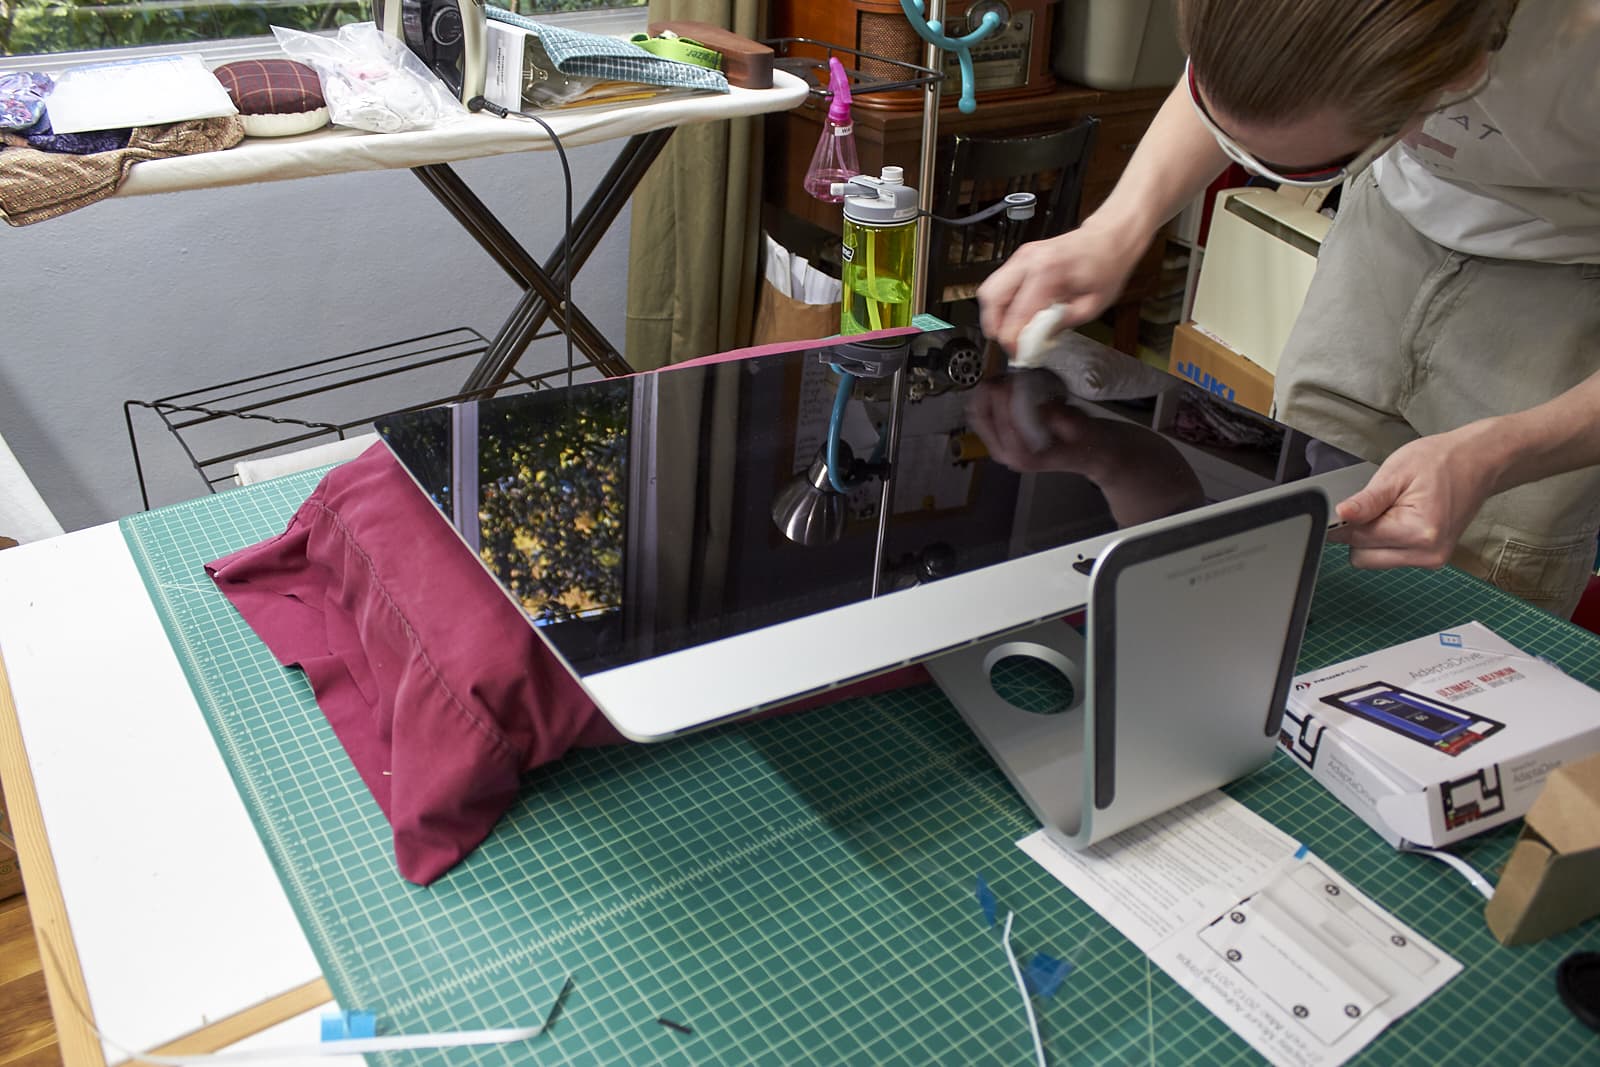
Lift
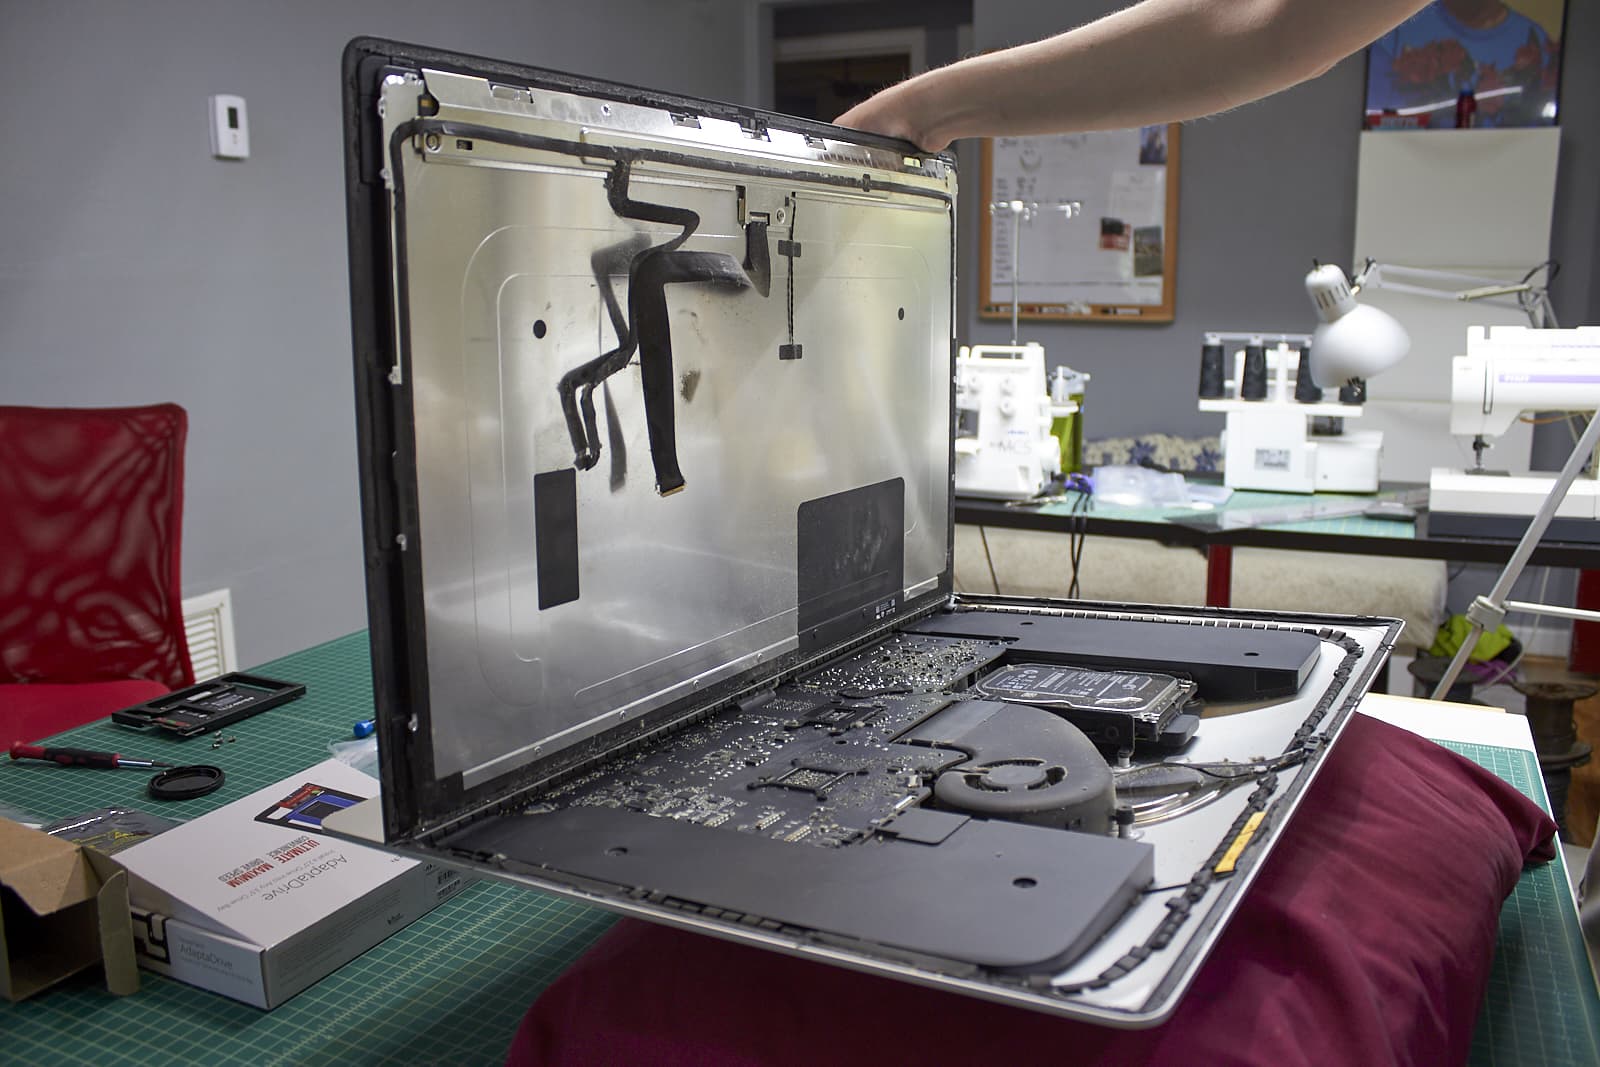
The display is now lifted.
There is adhesive on the bottom. That is removed by hinging the display back and forth, then pulling the adhesive out.
Long Peel
The adhesive strips now need to me removed. Try to get as much as you can in one go.
Peel part 2
Some adhesive remains. I use a hobby knife to get at the edge of the strip then try to lift it up.
Unscrew the Speaker
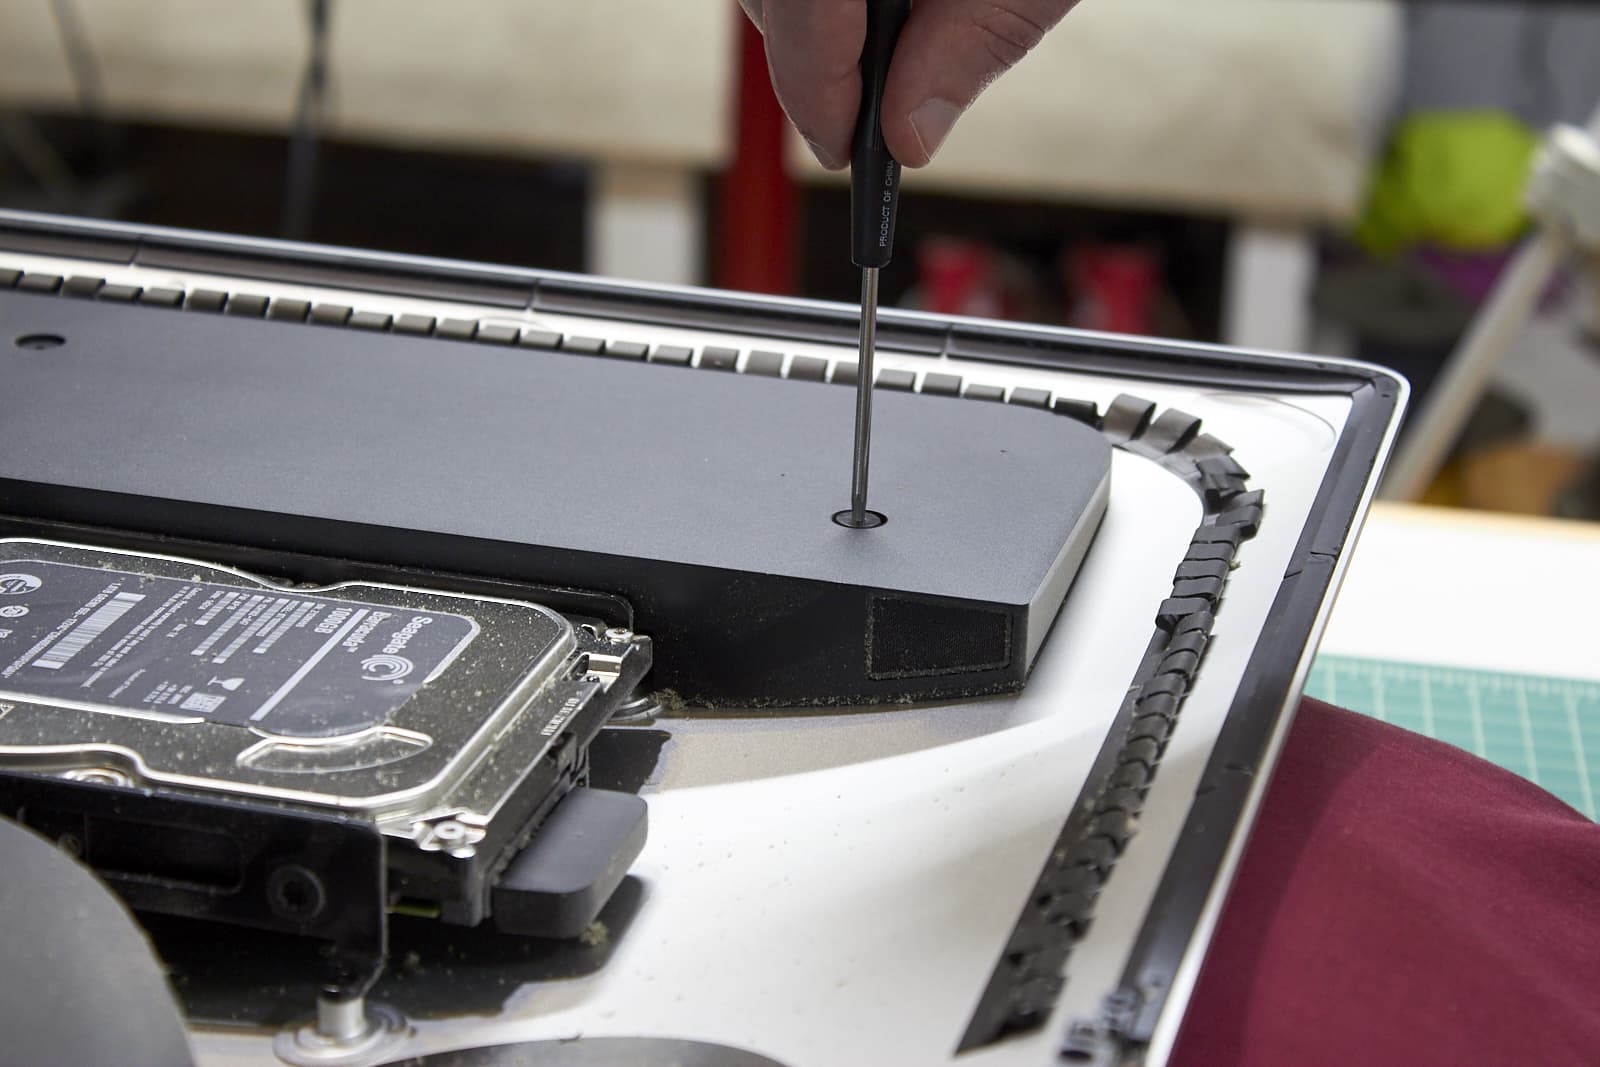
Many tutorials suggest fully removing this speaker, but we learned that this is not necessary. Just unscrew it for now. You can push it to the side slightly to get to the screws you need.
Lift the speaker
There’s a mount that you need to remove so the hard drive can be removed. The mount screws are under the speaker. Just push the speaker to the side and remove the screws.
Display Adhesive
The display has adhesive on it too. That is removed.
Change the drive pins
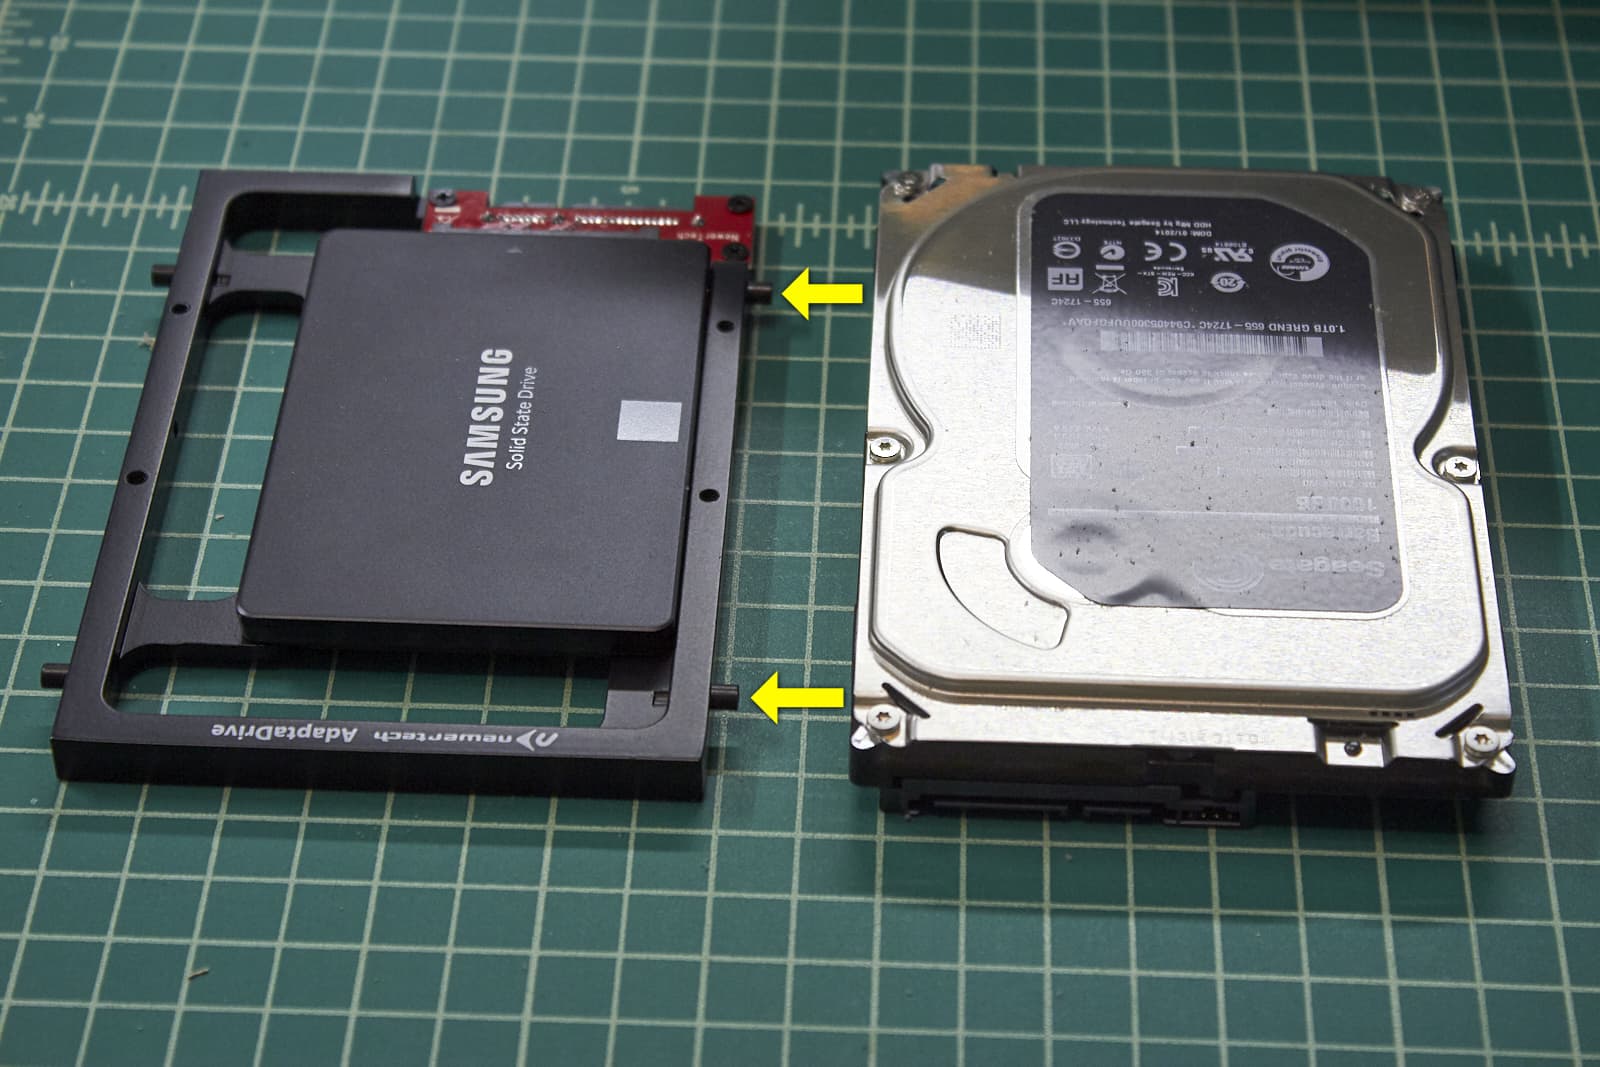
The hard drive has pins on the side. These pins are transferred to the bracket. These pins are what set in to the mounts that were just removed.
Drive Sensor

The thermal sensor is applied to the drive. There’s a nice little square on the ssd, which seems like a decent place to put it.
As far as I know, the original drive has this sensor built in, which is why we need to add it to the new drive.
Very dusty

It’s nasty in there.
Cleaning
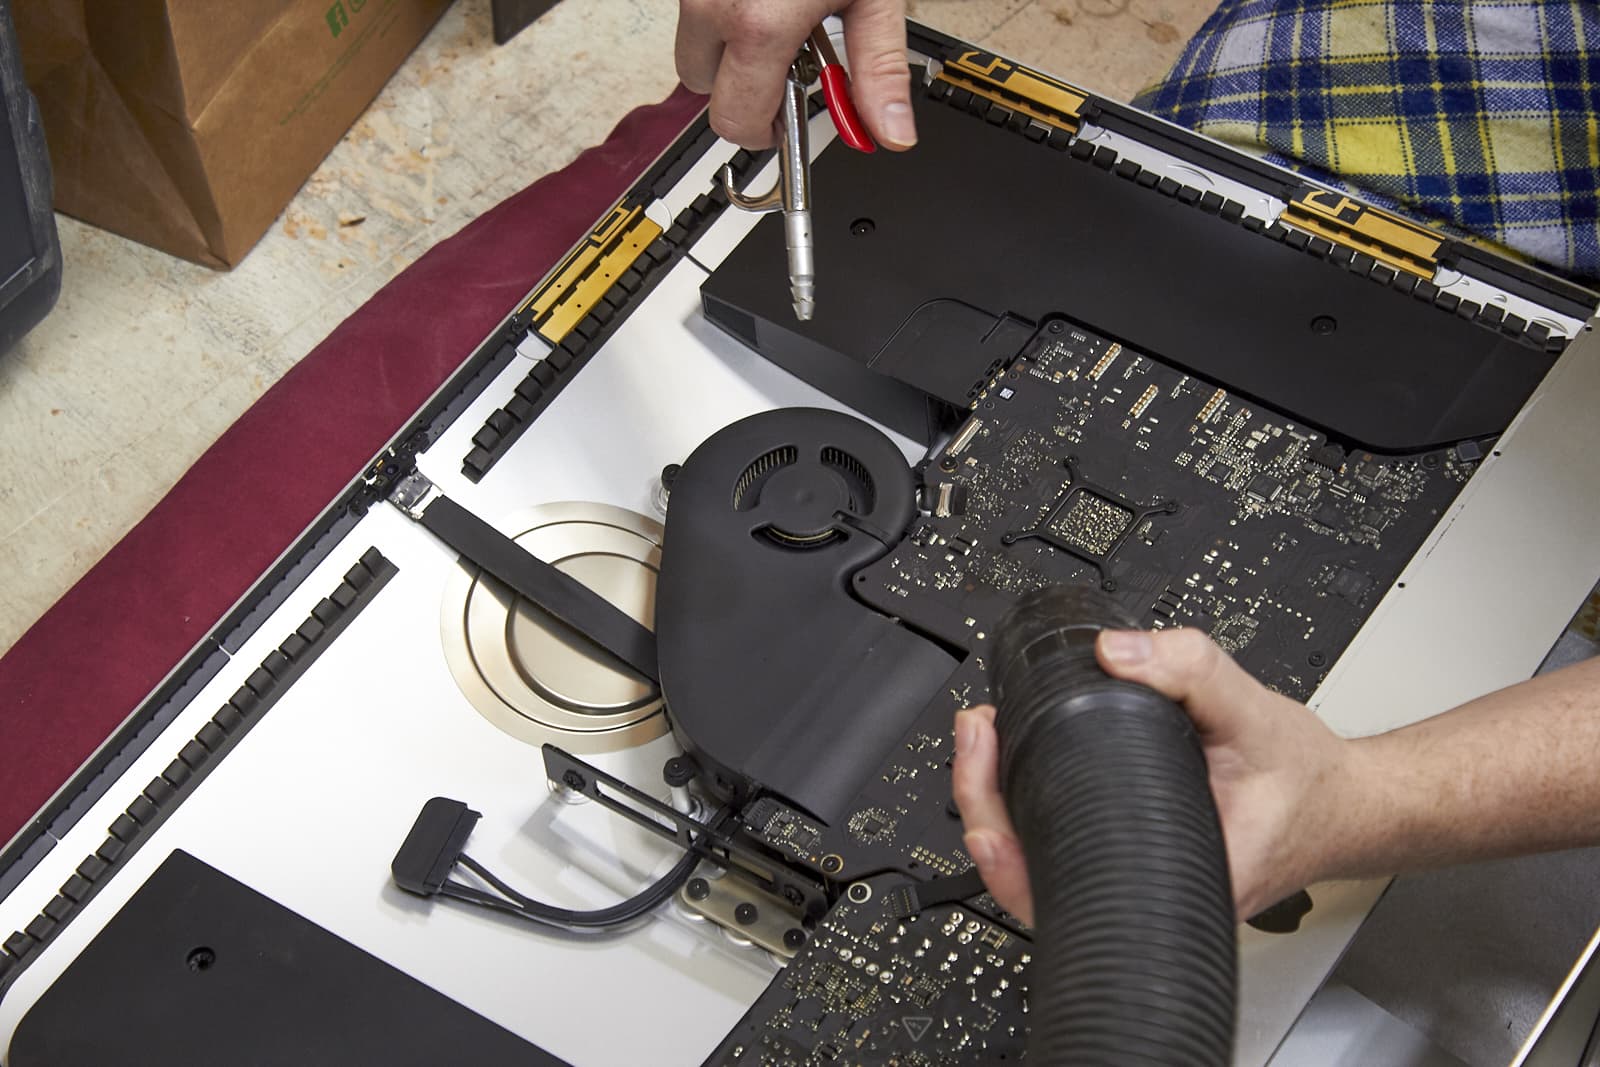
I took the iMac in to my shop. There I took an Air Compressor and blew out the dust in to my dust collection system.
You can use canned air and a normal vacuum. I just use what I have.
Cleaned
Much cleaner.
Cable Move
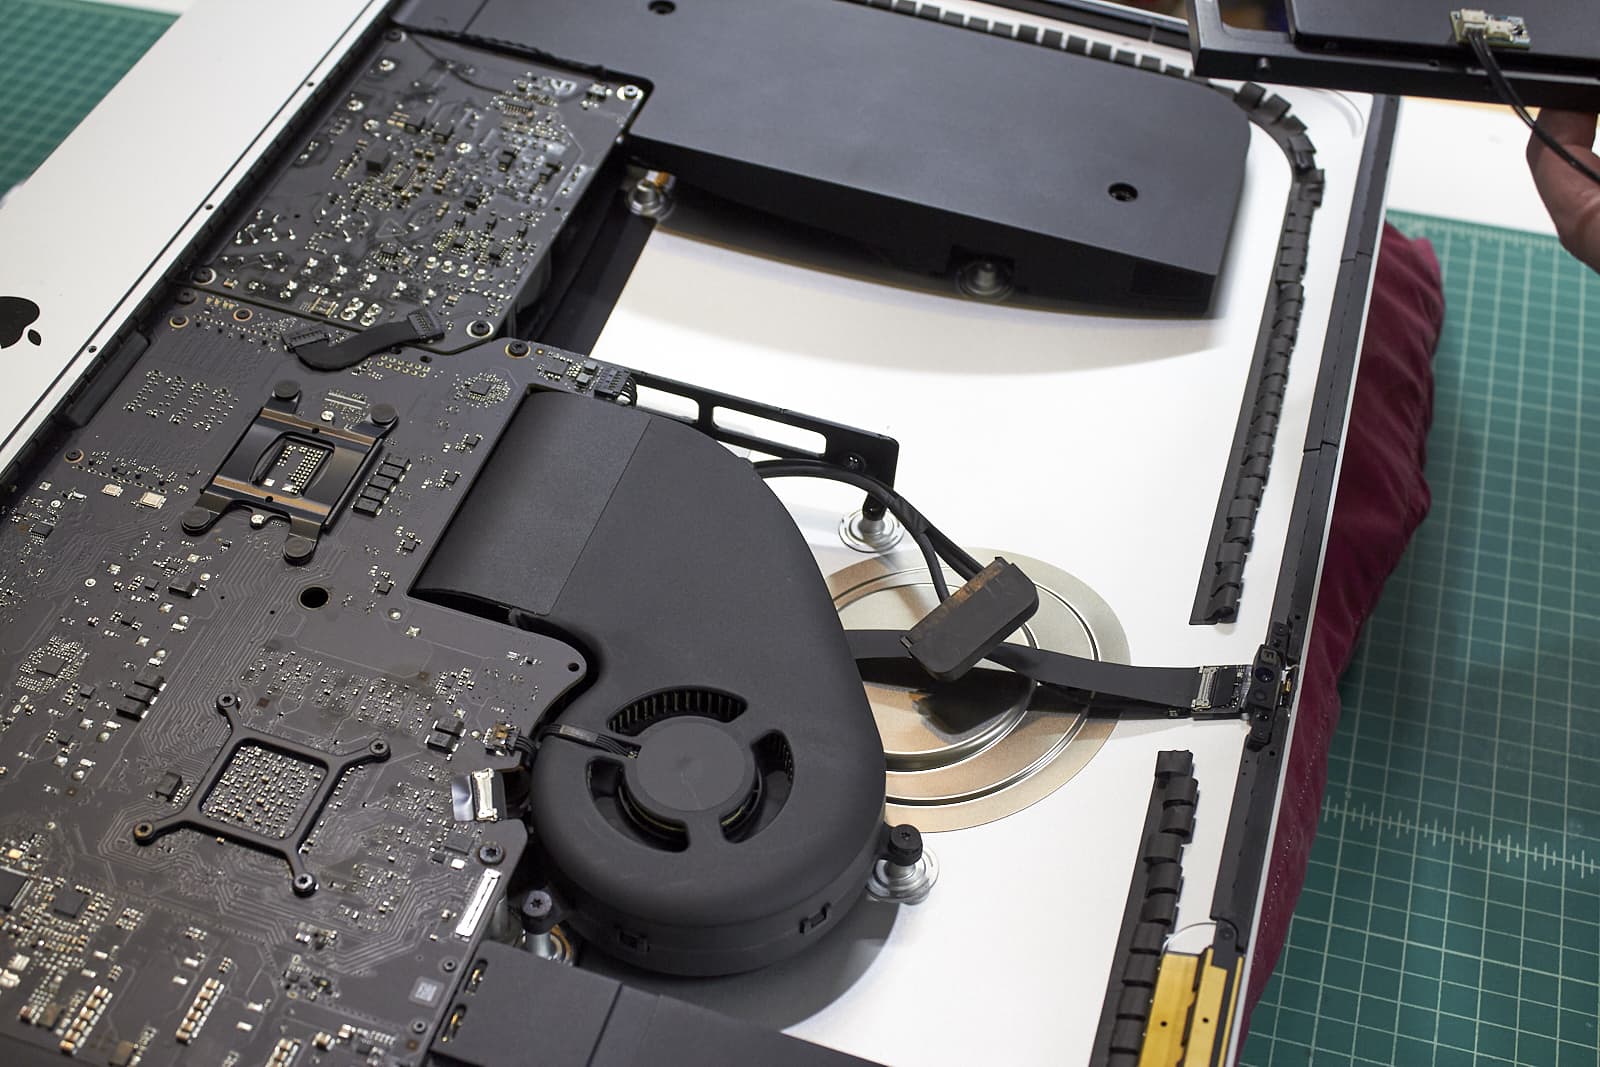
On the 2 systems I’ve done this two, the SATA cable is inside the mounting bracket. It’s easier to put in the new drive if you move this outside of the bracket.
Screw the speaker

The new hard drive is put in, and the speaker is screwed back in.
Adhesive Clean

I use Isopropyl Alcohol and Kimwipes to clean the leftover adhesive bits.
Adhesive Cleaning
The cleaning is as simple as some alcohol and rubbing.
Tested
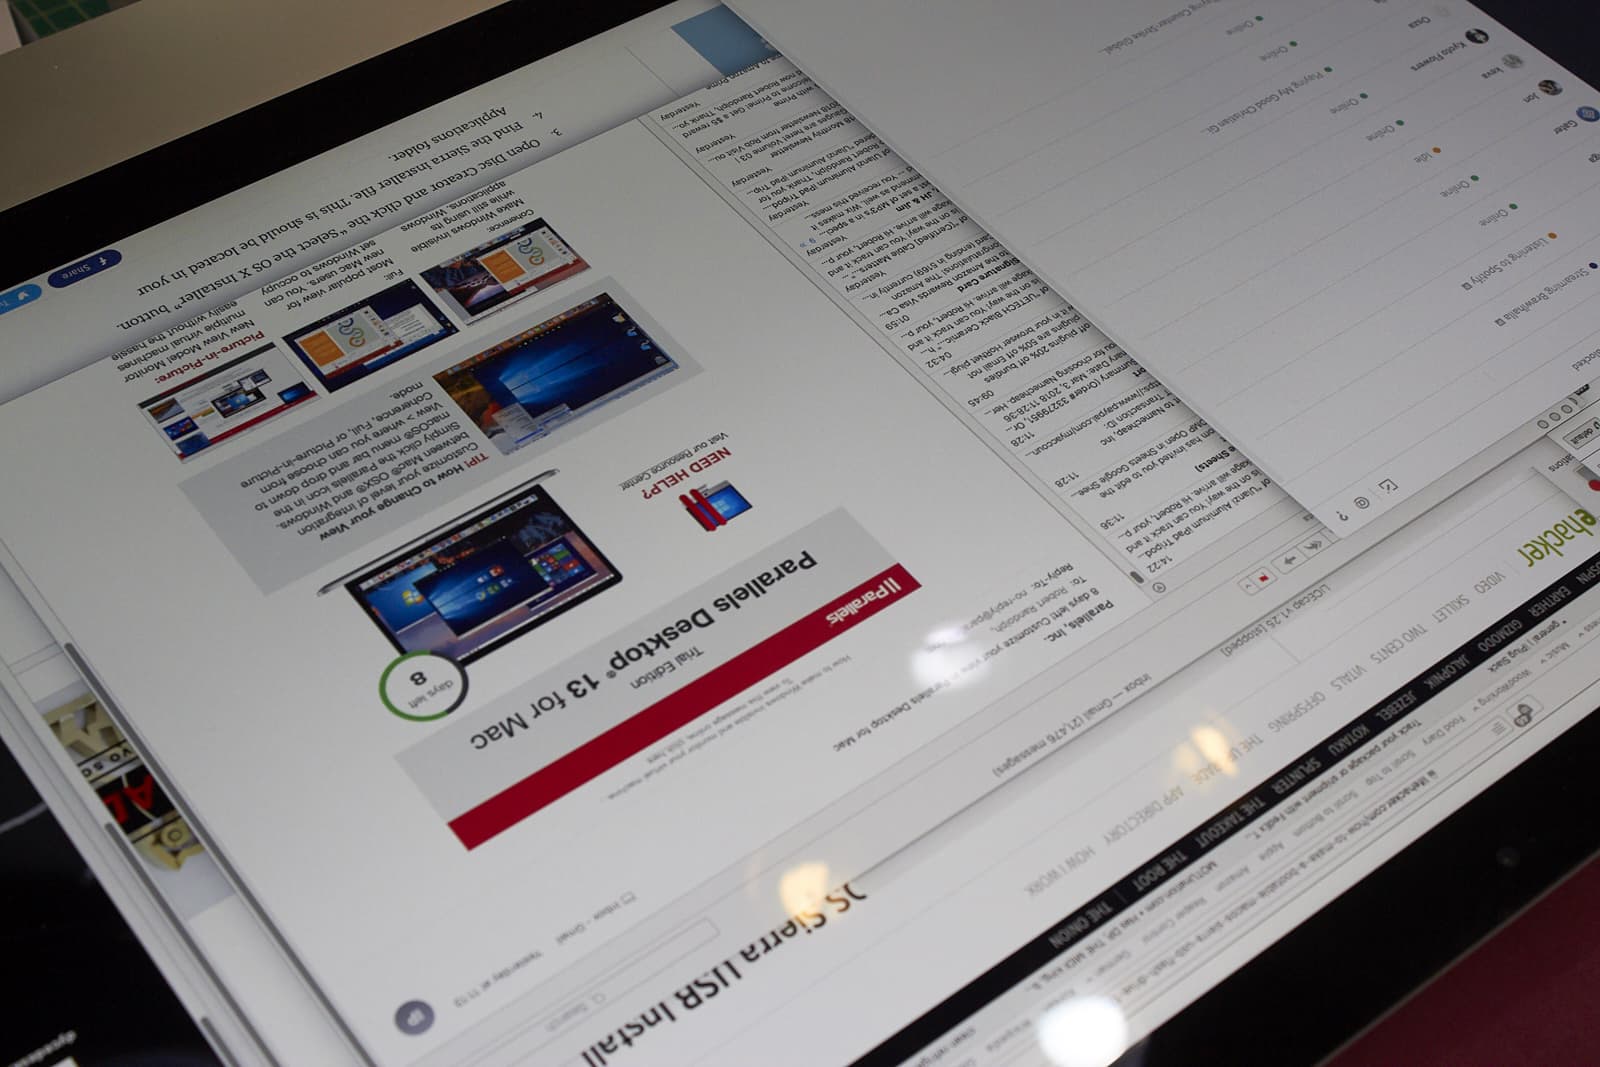
The display is hooked back up, with no adhesive applied, and the system is tested. You don’t want to close the thing up with something wrong! That adhesive ain’t cheap and shipping takes time.
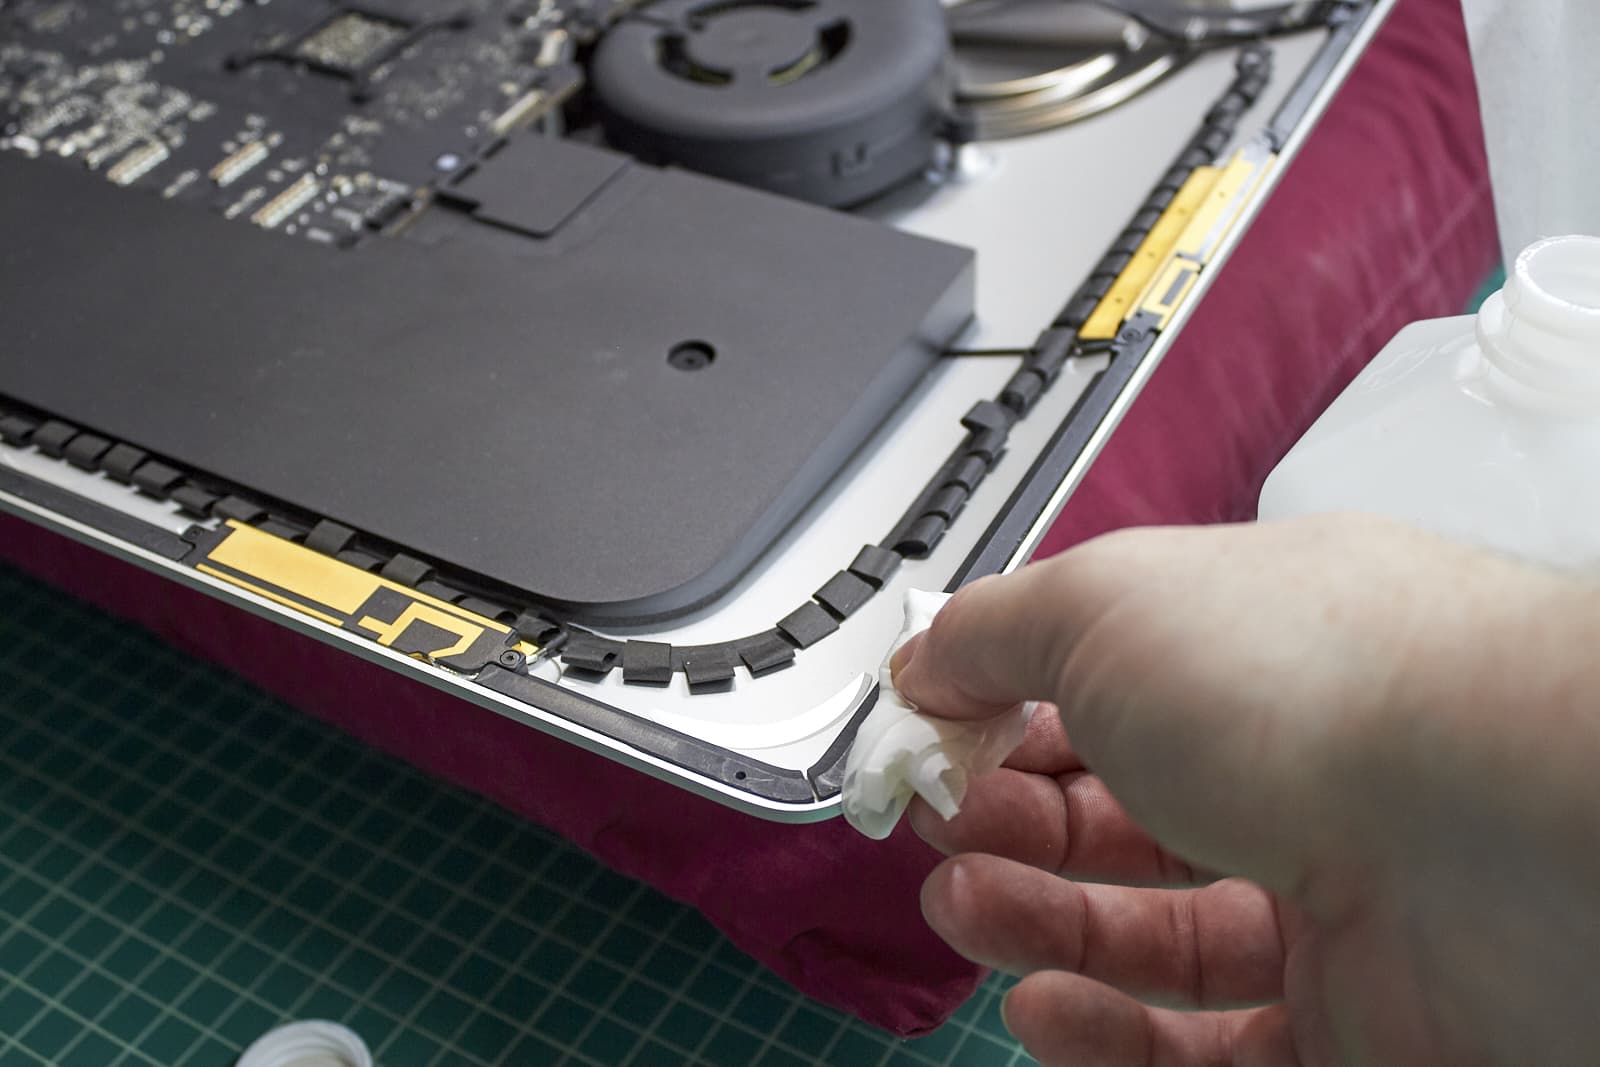
Apply Adhesive

The adhesive strips are applied according to the instructions.
There’s little holes in the strips and the iMac that allow you to line things up, but I find it easier to manually line it up and pull the backing off slowly from the underside. You can see the method in the picture. I pull off the backing and with my other hand slowly align the edges.
Down
The display is then set down on the chassis and the screen is aligned. We then removed the adhesive strip backing with the display in place. This procedure allowed the display to be aligned with no adhesive active and moved very slightly to get the adhesive ready.
This is probably the scariest part, but if you work slowly with some help it’s not bad.
Clean
My brother the screen freak spent about 20 minutes cleaning the screen. Only water is used.
Sunglasses still intact.
Done

Done!
That’s it. Now I can get back to working on this review among other things.
Support Me!
This post took 3 hours to research, photograph, write and edit. If you appreciate the information presented then please consider joining patreon or donating!