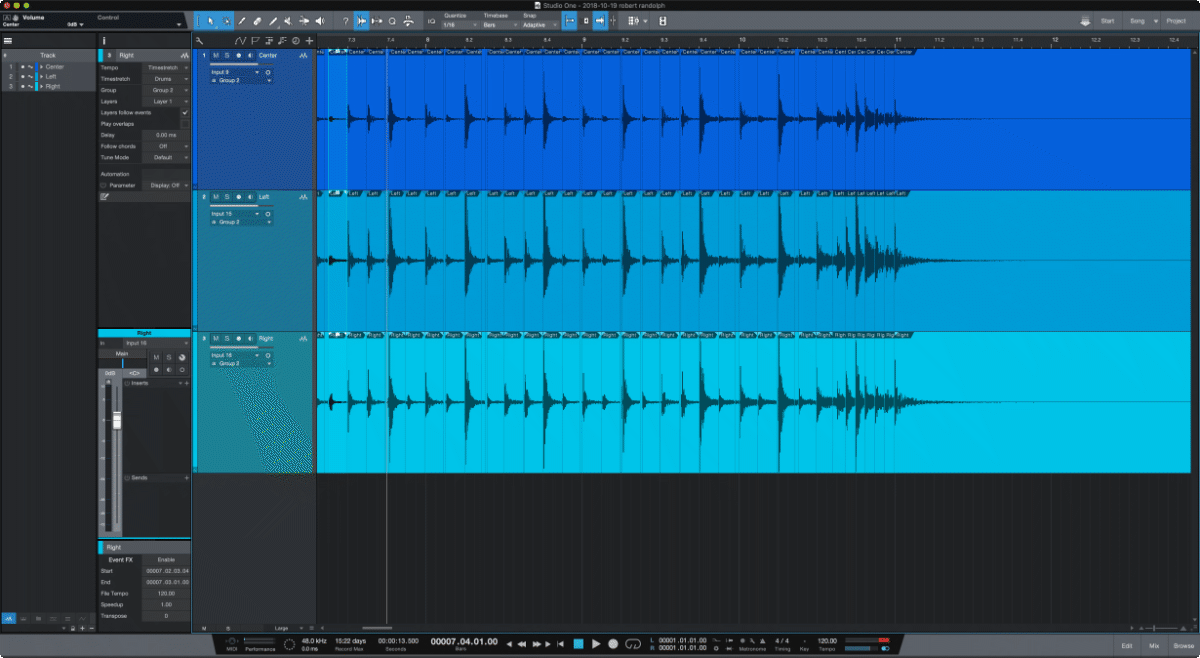
Editing multitrack drums something that not many people do, but that’s what this post is about today.
Actually, scratch that. This is about quantizing any audio in a manner that offers you the best possible sound, but it is most noticeable with drums.
Not only am I going to show you how to do this method manually, but I am going to demonstrate a script that does this for you automatically.
This process will work in nearly any DAW that allows you to stretch or warp audio.
Contents
- Youtube Video
- The Problem
- The Wrong Solution #1 - Split, Quantize and Crossfade
- The Wrong Solution #2 - Warp
- My Solution
- Automate it
- Sound Comparisons
- Drum recording
- Conclusion
- Support Me!
Youtube Video
This week’s youtube video is brought to you by the letter V and the colour grey.
The Problem

The problem is rather simple: even the best musicians suck sometimes. Not all parts need time correction, but sometimes it’s necessary to do correction of hits so that they match another part in the project or match the grid.
There are number of ways to do this, and the most traditional ways have a few failings.
The Wrong Solution #1 - Split, Quantize and Crossfade

The most common way to handle this is to use the DAW’s built in transient functions combined with the ability to split the audiophiles at the transients.
After you reach the ‘split at transients’ state, you can quantize the position of the audio clips/regions/items. The audio part is now quantized since the splits happen right at the transients.
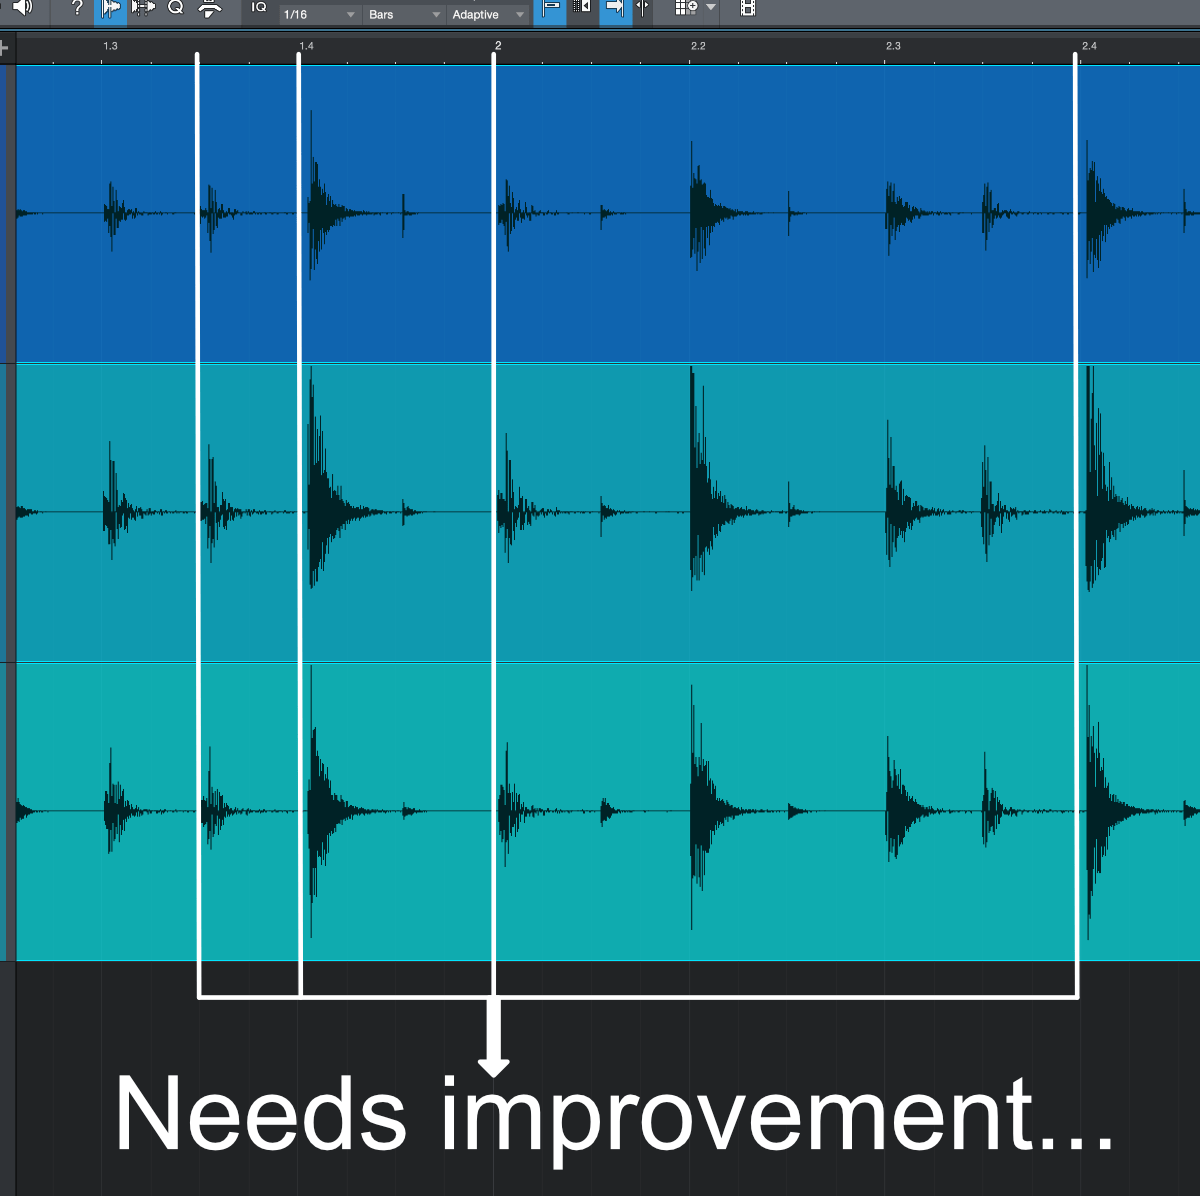
As you can see above there is a problem with this: there are gaps between the audio clips/regions/items.
These gaps may sound okay if there is no sustaining parts. Something that may sound fine would be a drum part with a closed hi-hat kick and snare. There are no sounds to sustain across the parts so the gaps will be silent.
If there are any parts that sustain across the clips then there will be an audible dropout in the audio. Imagine a kick and snare playing but with a washy ride sound going on. The right sound will be consistent across the track and the gaps will create an audible dropout of the ride sound.
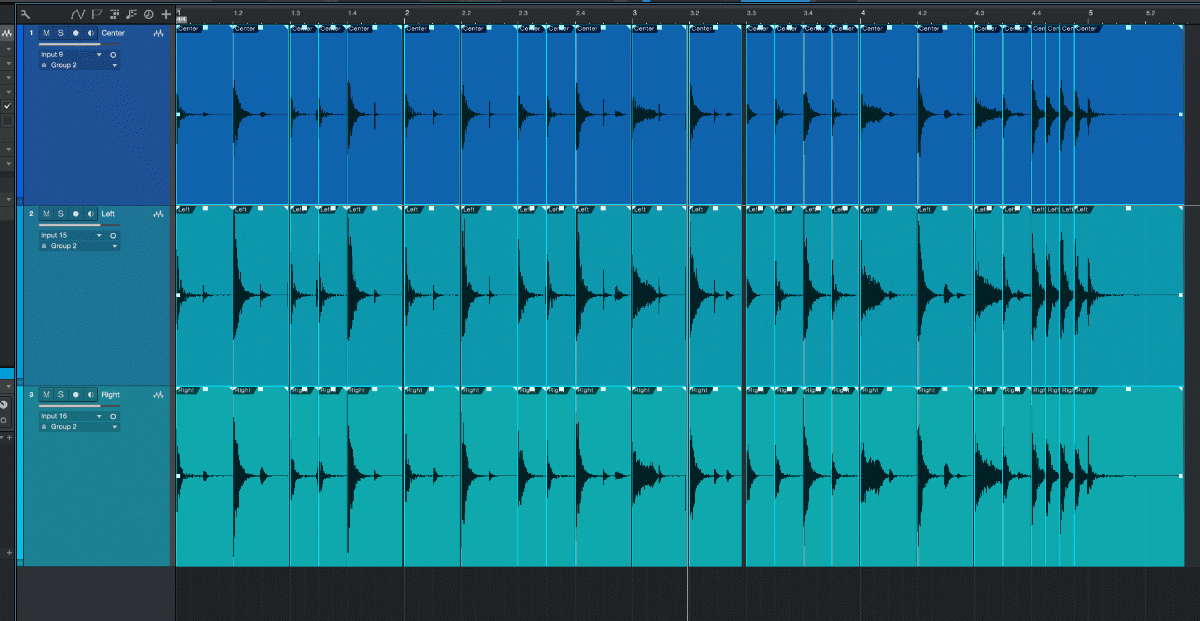
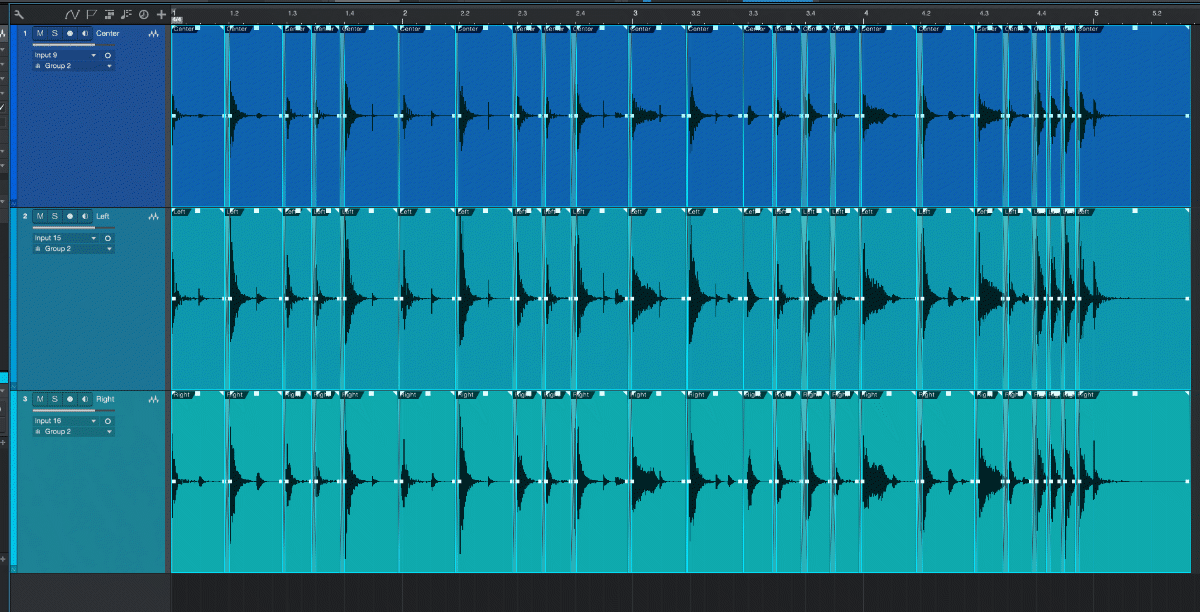
The normal way to deal with this is to crossfaded the end of an item with the beginning of the next item pulled forward. Let me show you:

There is a big problem with this though. Imagine that there is a small snare hit between two kick drum hits. That hit is near the second kick drum hit.
If we crossfaded like shown above, then we will end up with that hit appearing twice just like the image below.
If you use this method then there will be many times where there is a sound that is not split that ends up being doubled or flammed because of this phenomenon.
The Wrong Solution #2 - Warp
The next most common method of dealing with this is to use a built-in warping feature.
DAWs that have this feature will automatically move the transient using a timestretching algorithm so that the following hit is not affected by the stretch. This means that there are no gaps because the whole hit is stretched.
This sounds ideal, but the timestretching process wreaks havoc on your transients. Even the “drum”, or “transient” algorithms for timestretching tend to be pretty poor.
My Solution
My solution is the best of both worlds.
- Split at transients
- Quantize Item position
- Stretch only the end of the items to fill gaps.
This method retains your transients in the overall sound of the initial hit and still allows you to fill the gaps in a way that sounds relatively natural.
Ideally this is utilized along with crossfades.
Do it
The process is fairly simple to do manually. First you need to be in the state described in Solution #1. Split at transients, quantize clips/items/regions.
Now you go from item to item and create a split in the item as close to the transition as you feel comfortable. Take the newly created item on the right of the split and stretch it to fill the gap.
That is it.
It may take a little bit longer than you are used to to fill the gaps, but the end result soundwise tends to be much better.
IMPORTANT
DO NOT USE TRANSIENT STRETCHING MODE!! Use a stretching mode made for complex sounds. If it sounds good on dialogue, then it will sound good for this. We’re taking care of the transients ourselves. We don’t want a stretching algorithm to try and stretch our “release” portion of the sounds.
Integrate it
You do not need to do this for every single hit. If you are already comfortable using the Solution #1 that I described, then you can start from that position (with crossfades in place).
From their you will want to find where the crossfades sound slightly unnatural and then do the split and stretch method that I described above.
Automate it
Lokasenna create a script for REAPER users that does this whole process for you. It intelligently attempts to figure out where the splits need to be and then stretches for you. Let me walk you through the process of using it:
- RMS Window - The size of the window used to calculate the RMS (this averaged window is what’s used to find the threshold violation)
- Protect Left - How much of the left side of the item to avoid touching
- Min Stretch Rate - A limit on the amount of stretching that the script will do
- Crossfade @ Split - Self-explanatory
- Crossfade Shape - Open the Crossfade Editor (
View->Crossfade editor) to see the shapes, You must have 2 overlapping items selected to see the shapes. - Max gap to process - Self-explanatory
- Place Markers at split points - Markers can be placed at split points for easier navigation when/if you need to manually adjust the edits.
- Place Markers when no split point is found - Lets you know where ‘errors’ occurred.
- Trim ends of overlapping items - Overlapping items can be annoying. This trims them.
- Step through markers afterwards - Built-in feature for marker navigation, you really should learn to use hotkeys though
Sound Comparisons
I originally put sound comparisons here, however I realized that it’s dependent on the skill of the editor and the source files. I could easily convince you that “my way” is superior to anything else, but you may never replicate the results on your own.
Go try this out on your own. See if it works for you. Here’s some tips to increase your chances:
- Make your “Stretch item” as large as possible. This will result in a lower stretch %, and thereby a better sound.
- Default to using your DAWs native ‘Fill Gaps’ (unless you use REAPER, then use Lokasenna’s script. Use the ‘split and stretch’ to fix areas that need improvement.
- If your DAW doesn’t have a “fill gaps” function, then you need to go to the item in front of the gap, extend the start of it to the left, and crossfade with the previous item. If that sounds wrong, then use my method.
- Split on Zero Crossings! If your DAW doesn’t have this feature then beg for it! If you don’t know what this is, then search your DAW manual for how to use it. It makes your splits happen when the audio is as close to the “Zero Line” as possible so you won’t have any nasty pops.
- DO NOT USE TRANSIENT STRETCHING MODE Use whatever stretching algorithm that works nicely on complex material, or voice. It depends on the DAW which one will work nicest.
- Be aware of what is not quantized. Sometimes the performer will place in time perfectly, but be shifted slightly. If you quantize just that start note then the rest may sound weird. You need to carefully pay attention to the timing of each note of the performance.
- I used a drum part in the youtube video that has a ‘foot hi-hat’ to show this. It’s not picked up by the transient/splitting, but it has a bit effect on the ‘feel’ of the timing. You have to be careful! If it doesn’t sound right, it isn’t right.
Drum recording
The drum recording method used in the video and the article is described in these 3 articles:
- You’re micing drums wrong - Part 1
- You’re micing drums wrong - Part 2
- You’re micing drums wrong - Part 3
I think they’re pretty fun articles, and not exactly what the title implies.
Conclusion
I’m sure that somebody else’s come up with this concept on their own, but I came up with this on my own as well. This does not need to be used on only on drums. Anything that needs to be quantized will benefit from using this method.
Don’t go crazy quantized thing every single thing that you see. Some types of music require a metronomic like feel, but if you can afford to leave some of the musicians natural feel in the performance then please do so. I suggest using this method only for the most egregarious of timing errors.
I hope that this article was useful to you, and perhaps it caused you to take the time to learn about the functionality in your DAW. (FLStudio and Live users are probably somewhat disappointed with the functionality offered by their product in this case).
Support Me!
This post took 7 hours to research, photograph, write and edit. If you appreciate the information presented then Donate to Lokasenna. He built this amazing script, and he’s also responsible for The GUI framework for REAPER that I covered before.
He also put together a great extension for scripting in REAPER using VS Code.
If you can afford it, then please support his fantastic work. Thank you.
WRITTEN IN VS Code. See this post for more information.