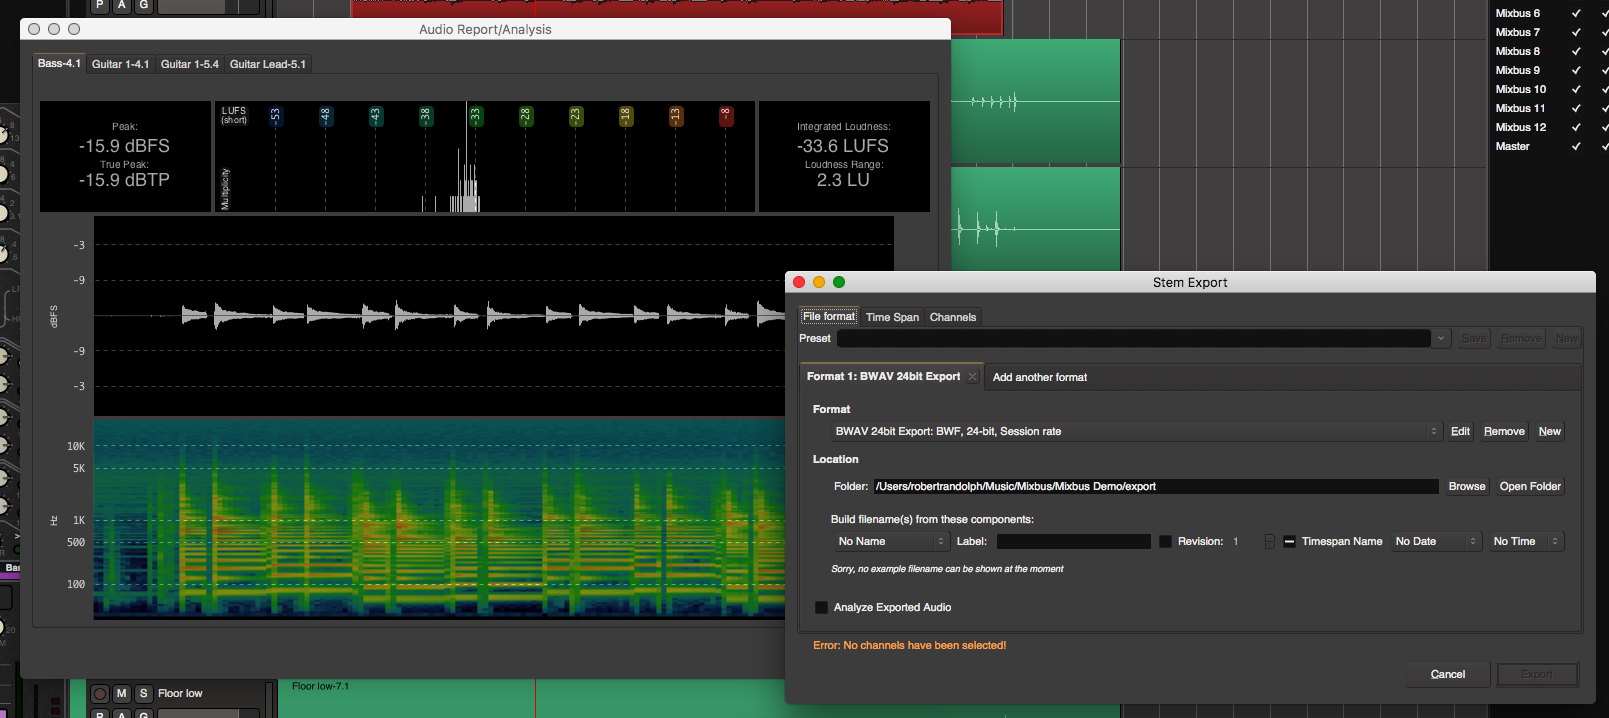
In part 1 I covered some cool features in Mixbus 4. Here in part 2 I’m going to cover three more awesome features in mixbus.
- Loudness Analysis
- Export Features
- Persistent Undo
Don’t forget Part 1, Part 3 and Part 4.
Contents
Loudness Analysis
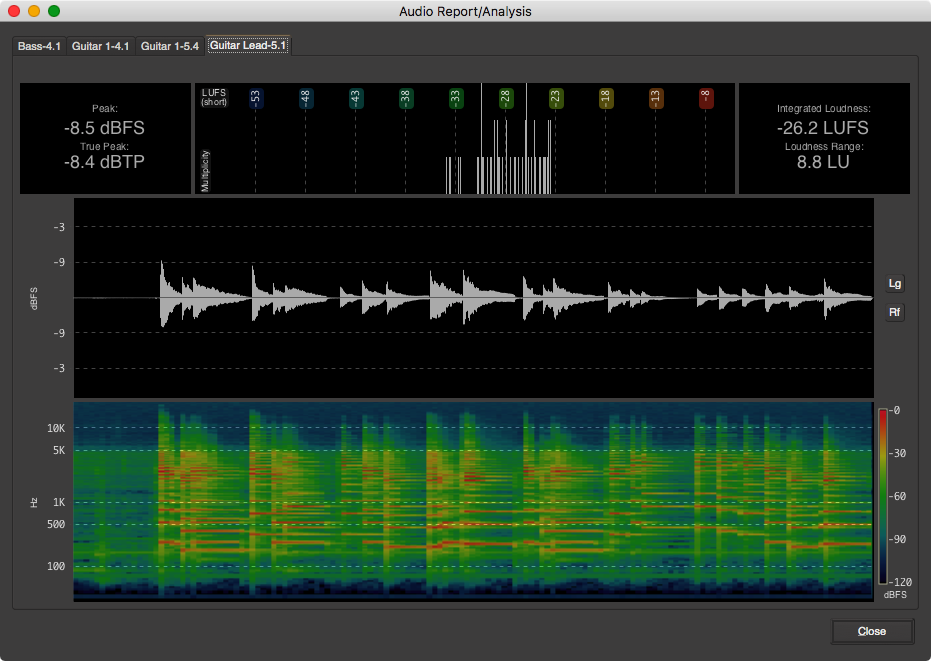
Mixbus allows you to select any region and perform a loudness analysis on it. Loudness analysis can also be automatically performed and shown after export. So any of the export features can generate a loudness window for each rendered file! You can also proof the files by playing back in the loudness analysis window as well.
The loudness analysis window shows:
- Peak - actual sample peak value
- True Peak - oversampled peak value (important for intersample overs)
- Integrated Loudness - ITU-R BS.1770 loudness. Also known as lufs or lkfs.
- Loudness Range - The range between the lowest lufs value and the highest.
- Spectrogram - a display that shows time on the X axis, frequency on the Y axis and frequency amplitude on as a colour.
The loudness analysis function is extremely useful when working with dialog and film. Monitoring region loudness can be the difference between dozens of send backs or first-acceptance on a dialogue edit. In other DAWs you have to rely on plug-in meters and realtime playback. Mixbus makes this workflow a breeze.
Export Features
Mixbus has a whole host of amazing export features. Here’s some of the features:
Multi-selection export
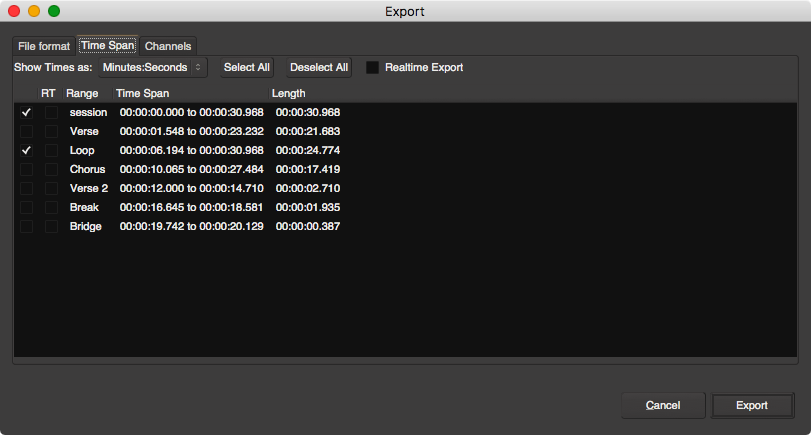
You can have multiple selections exported. Range markers, time selection, loop selection and session start/end are available. You can batch export sections along with your full mix with ease.
Selections can be rendered in realtime or faster-than-realtime, or both. If you are using various external hardware, dsp cards or certain video-specific tasks than this is a great feature.
Some of you reading this will find this to be a ‘make it or break it’ feature, and it’s here. It works great.
Multi-format export
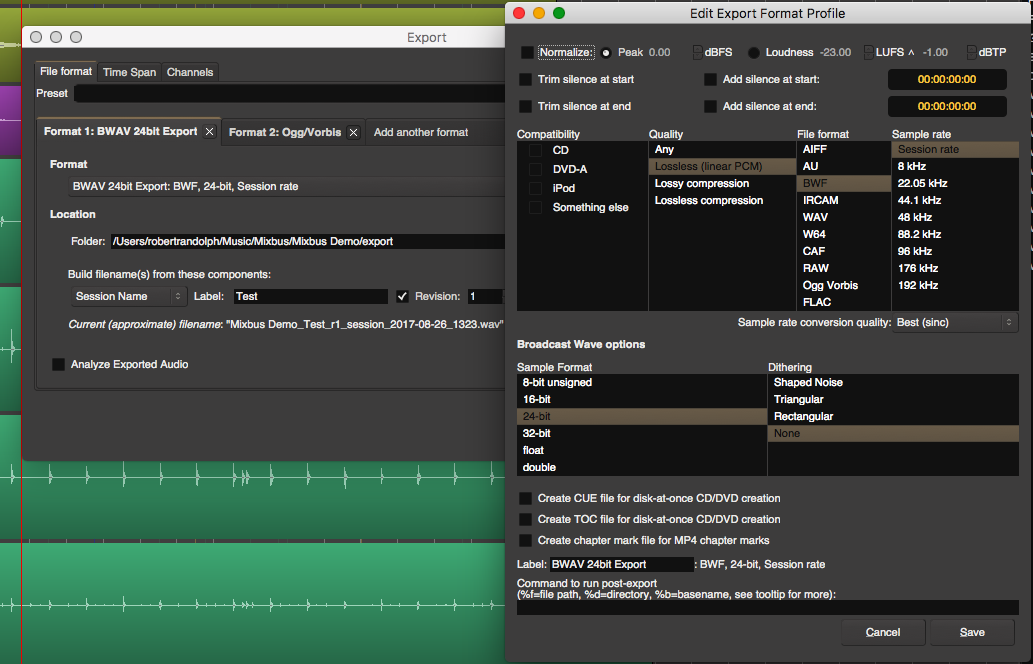
For each selection export, you can generate multiple formats with specified naming schemes. Revision tags are available as well.
Each ‘format’ selection can be optionally normalized (peak or lufs), trimmed, pads added, dithered and have cue/toc files generated.
A killer feature for more advanced users is the ability to run command-line programs on the exported file. Perhaps you think that ffmpeg does a better job of loudness normalization, then you can easily pass your render through ffmpeg as part of the render process. Another fine example is using something like mp3Tag to handle mp3 tagging and metadata directly in your export, thusly giving you control that you simply do not have with other DAWs.
Stem export
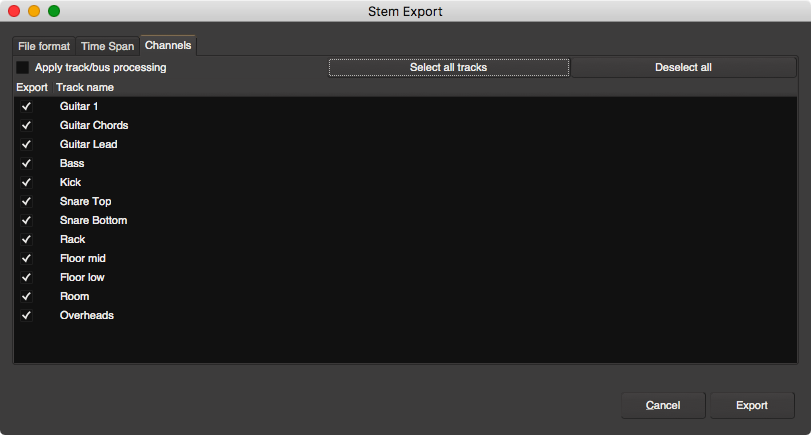
Stems are basically exports of tracks or groups of tracks so that they can easily be imported in to another DAW or processed easily.
If you wish to send tracks to a user of another DAW, you can export all of your tracks individually with or without processing in one easy step.
Of course, stem exporting also stats with multi-format exports and multi-selection exports, so you can have multiple format exports of each specific section of a session for each track.
Export Presets
Mixbus’s powerful export features may allow you to setup complex exports that can prove useful in the future. Exports can be saved as presets to be called up easily for another session.
Very powerful
Persistent Undo
This one doesn’t really have a cool image or graphic, but it’s still a lifesaver. When you re-open your project you retain your whole undo stack. This is a feature that many DAWs still lack, but it’s an integral feature of a professional workflow.
No matter how many times you open and close your project, you can still keep your whole list of undoable actions.
Support Me!
This post took 2 hours to research, screenshot, write and edit. If you appreciate the information presented then please consider joining patreon or donating!