Recently I was told by my neurologist that the frequent pain/tingling/itching/weird sensations all over my body are likely due to small fiber peripheral neuropathy, which is not uncommon in people with autonomic failure such as I’ve been diagnosed with. I’ve dealt with the autonomic failure for years, and while it’s a pain, I’ve mostly managed.
The neuropathy is affecting my ability to be a musician though. Specifically, it’s greatly affected by ability to play drums. After playing for an hour, my hands will tingle for hours or days after. I think that this is partially due to me holding my drumsticks too close to the butt.
For a much more detailed look at the phenomenon that I think is contributing to my issue read this article.
To help alleviate that I’ve decided to make a modification to my drumsticks which I already make myself.
Let me walk you through the basic process.
Trigger alert: I frequently mix imperial and metric. Whichever label I present first is the one that I used when making this. I have my reasons for mixing measurements (largely due to available tooling in the US), and if this bothers you then… well… too bad.
I also mix decimal and fractional measurements.
Contents
More Info
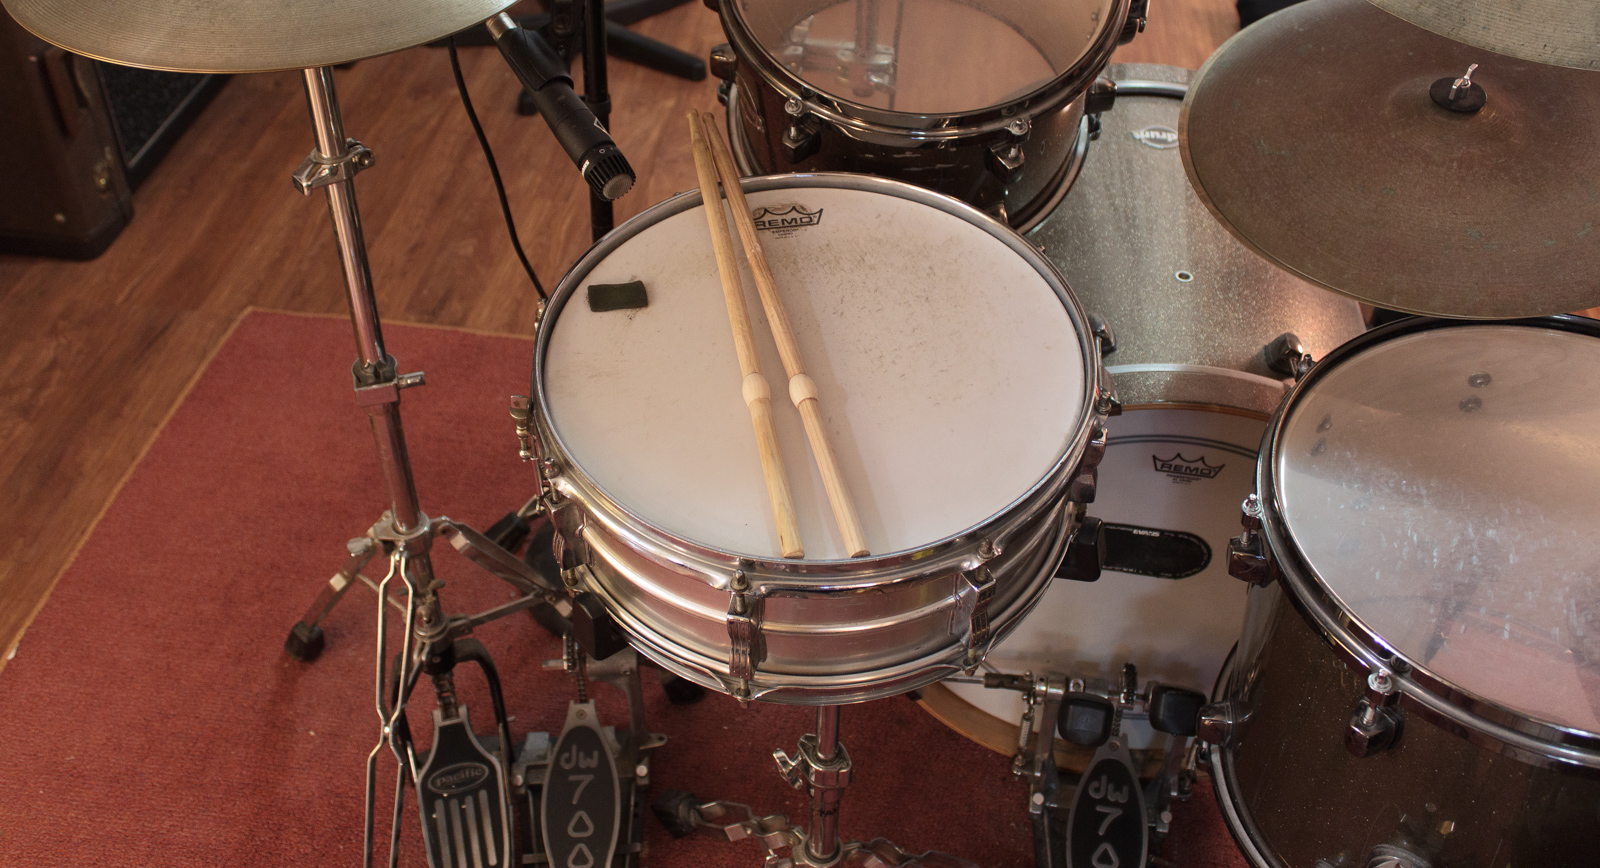
Remember how I said I hold my sticks too far back?
I think that I’ve developed this habit since I’m a rather tall person, and my leg’s engagement with the kick drum necessitates me sitting further back from the drum kit than most people. Moving the drums closer to me is not a solution, since I use a double kick pedal. The use of a double kick restricts my placement of the hihat and snare drum. The drums are optimally functional when setup in a normal configuration, and not at all functional when in an optimized ‘tall guy’ configuration.
Look at the picture
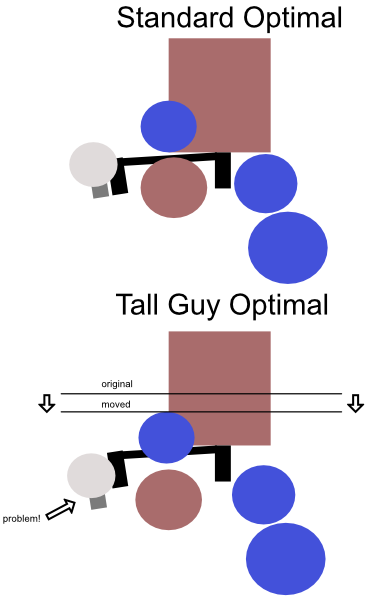
The slave double kick pedal needs to be next to the hi-hat pedal. When you move the drums away from the kick drum, the slave pedal on the double kick would take on a .~~’ style shape rather than the \’’’’/ shape. Due to how the way the linkage works between the pedals, the pedals and linkage must always form a total convex shape. The convex shape is not possible unless the drums are all in close proximity to the kick.
Now maybe you think, “Ok, but you’re tall… so your arms are longer!”. I’m not familiar with the exact anatomy behind this, but someone that is 12” (30.5cm) shorter than me sitting comfortably at the kit with 16”(40.5) sticks, can touch the far rim of the rack tom with tip of the stick. Me sitting comfortably at the kit with 17” (43cm) can not touch the far rim of the rack tom without leaning forward!
The described situation has lead me to use longer sticks and hold my sticks further back.
I can solve how I hold the sticks. Hopefully over time I can solve the issue with reach.
Start
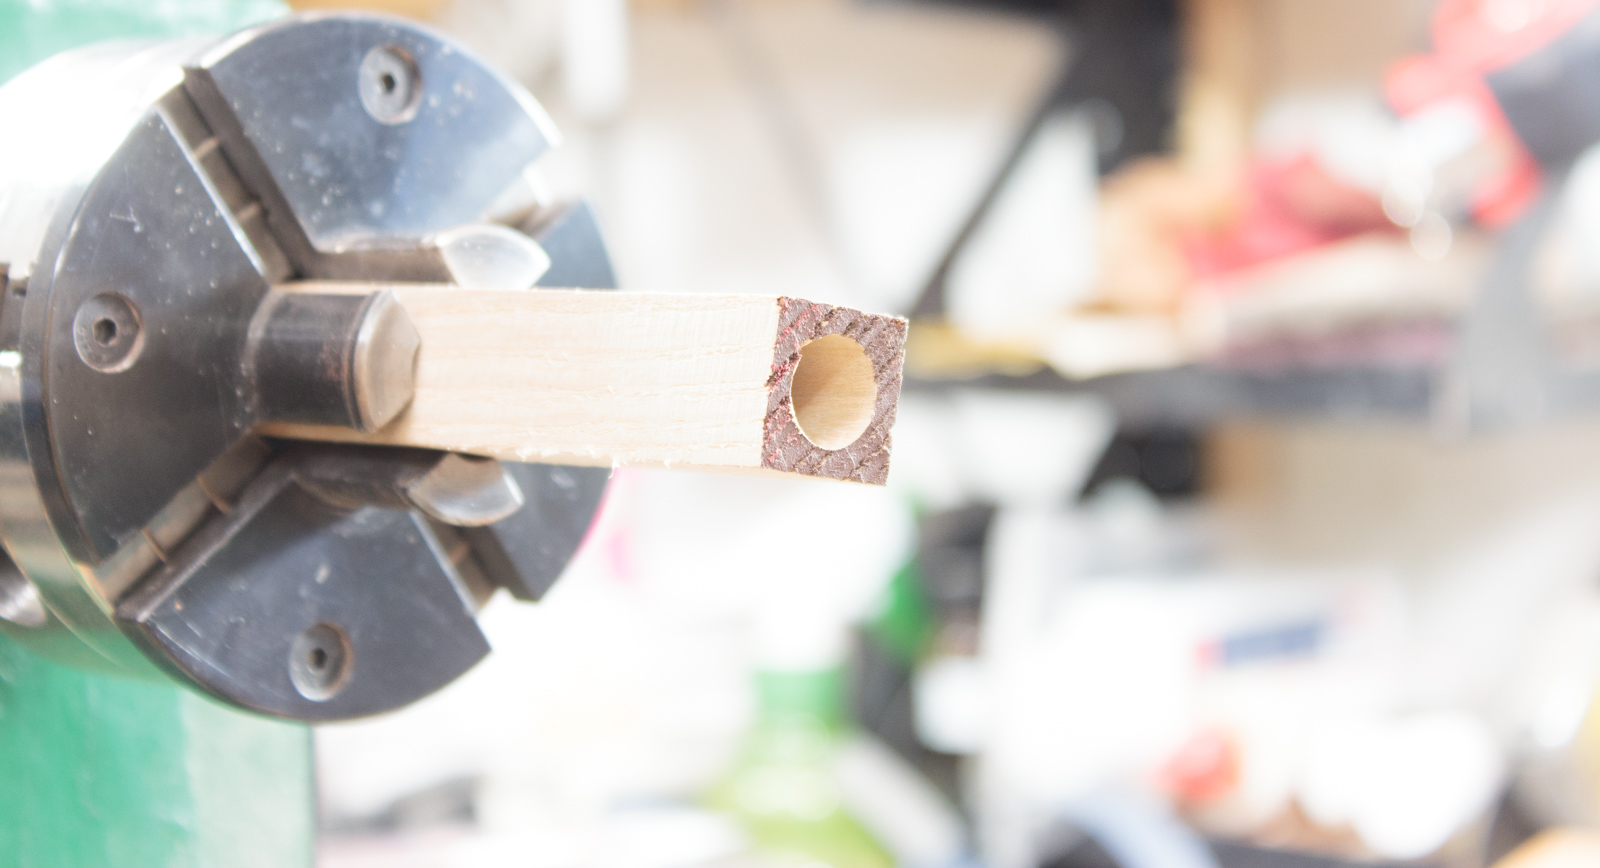
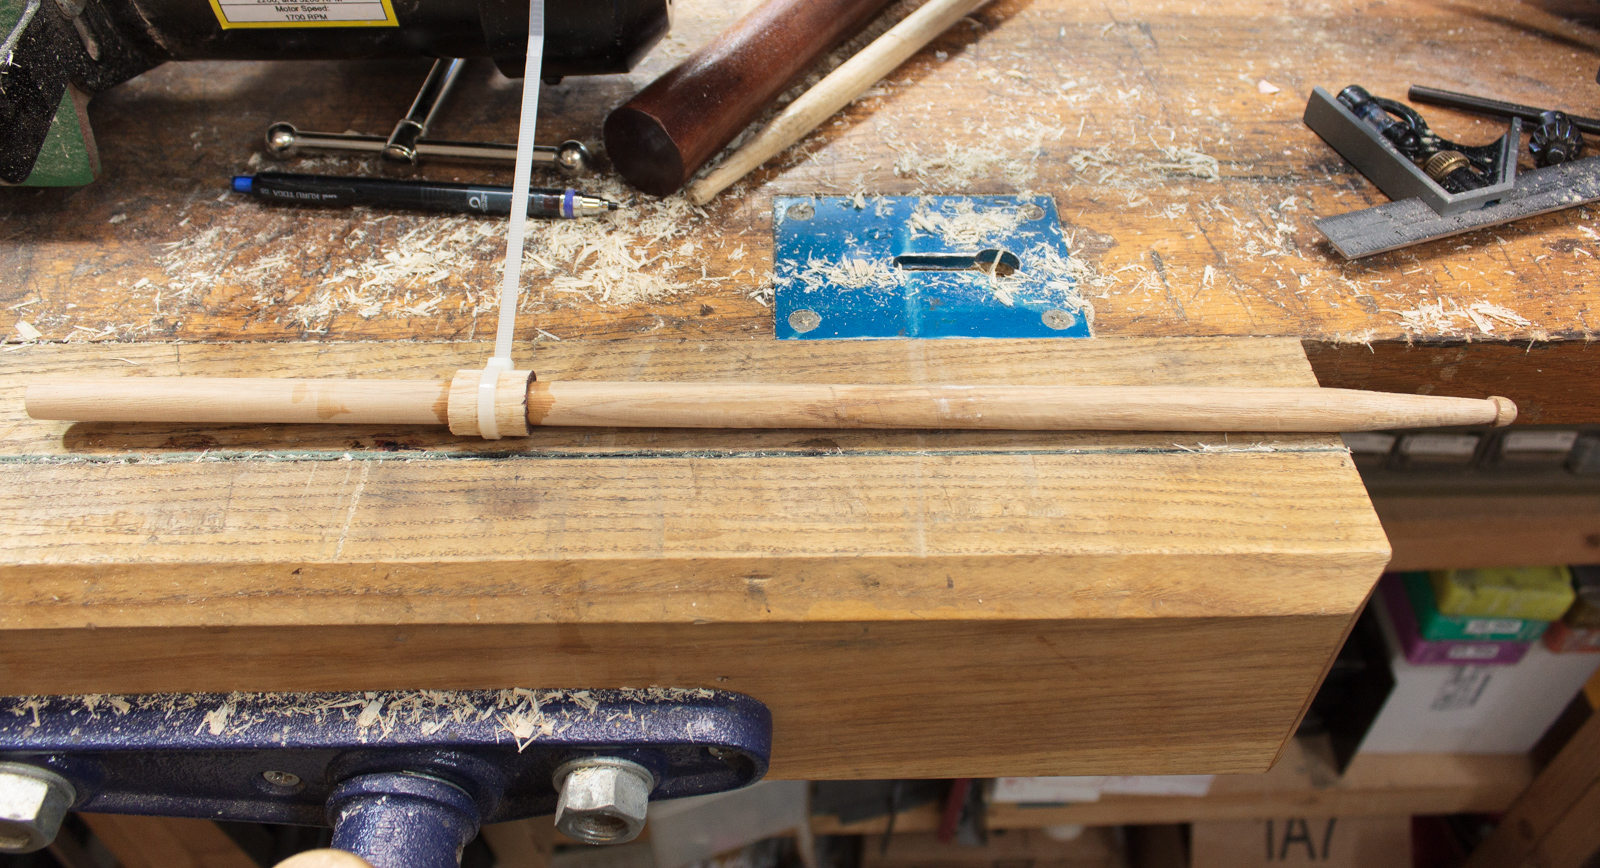
The first thing I did was cut out some white oak to dimensions of about 3”x3/4”x3/4” (7.5cmx2cmx2cm).
My drumsticks are slightly over 1/2” (13mm exactly). So I drill a hole with a 1/2” drill bit, then sand it out lightly.
To sand it I use #120 attached to a 1/4” steel rod.
Round and cut
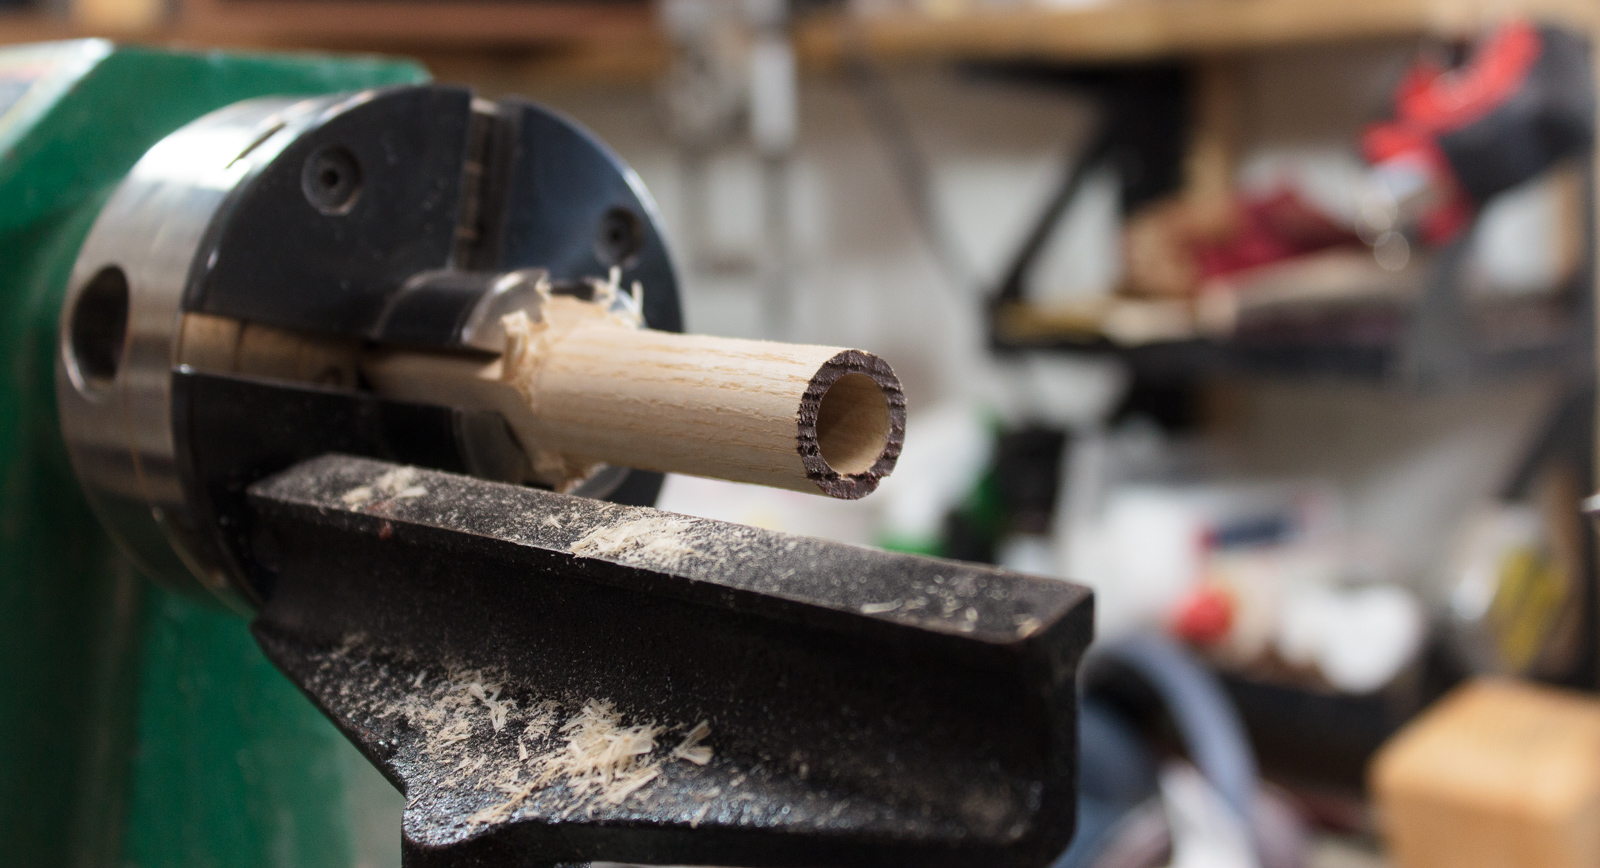
With the piece still on the lath, I round off the corners so that it measures a diameter of 3/4” (1.9cm).

Now I crosscut the pieces to 2cm (just under 7/8”).
Get them on
The attachments may require a bit of sanding to fit properly. I use StickFast Medium CA to adhere the main body of the attachment, then StickFast Thin CA to fill any gaps. I prefer CA for this operation due to its speed and easy selection of viscosity.
I placed mine so that the top of the attachment is at exactly 1/3” of the drumstick. For this 17” white ash drumstick, that is exactly 5.66…”.
I selected the third harmonic after careful testing. See this amazing video for a basic idea of what I did to test the position. (It’s also an excellent thing to do to your drum sticks anyway).
Normally I’ve played with my index finger positioned at the 5th harmonic, which is very far back. I suspect this has been the cause of a lot of issues. The 4th harmonic felt strange to me and was not much of an improvement.
Turn it down
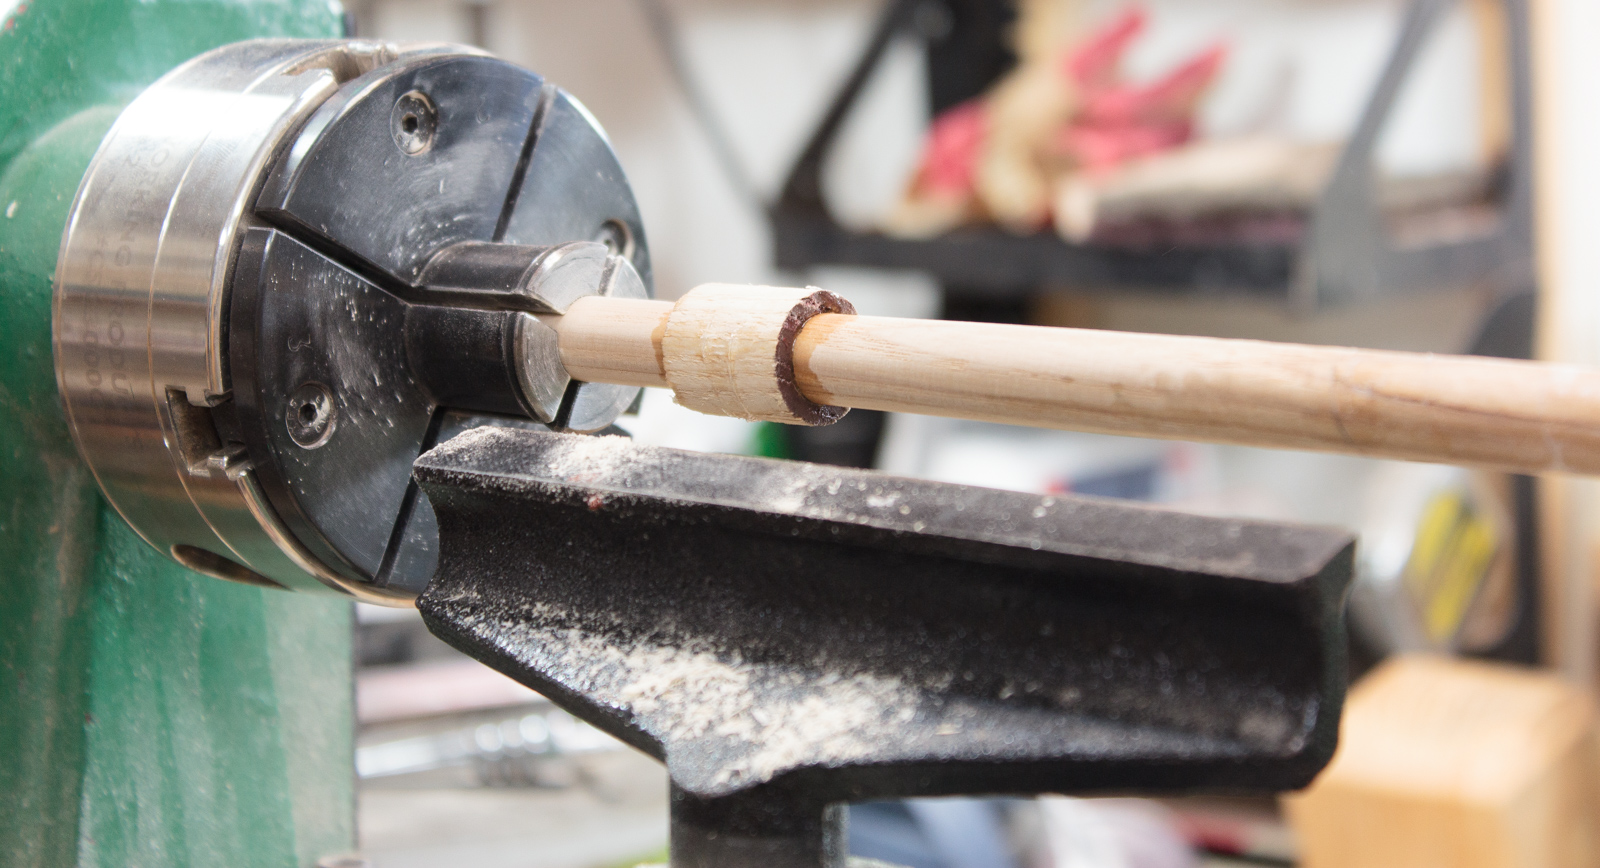
Now I mount it on what’s basically become my drumstick lathe.
From this point it’s a matter of simple turning
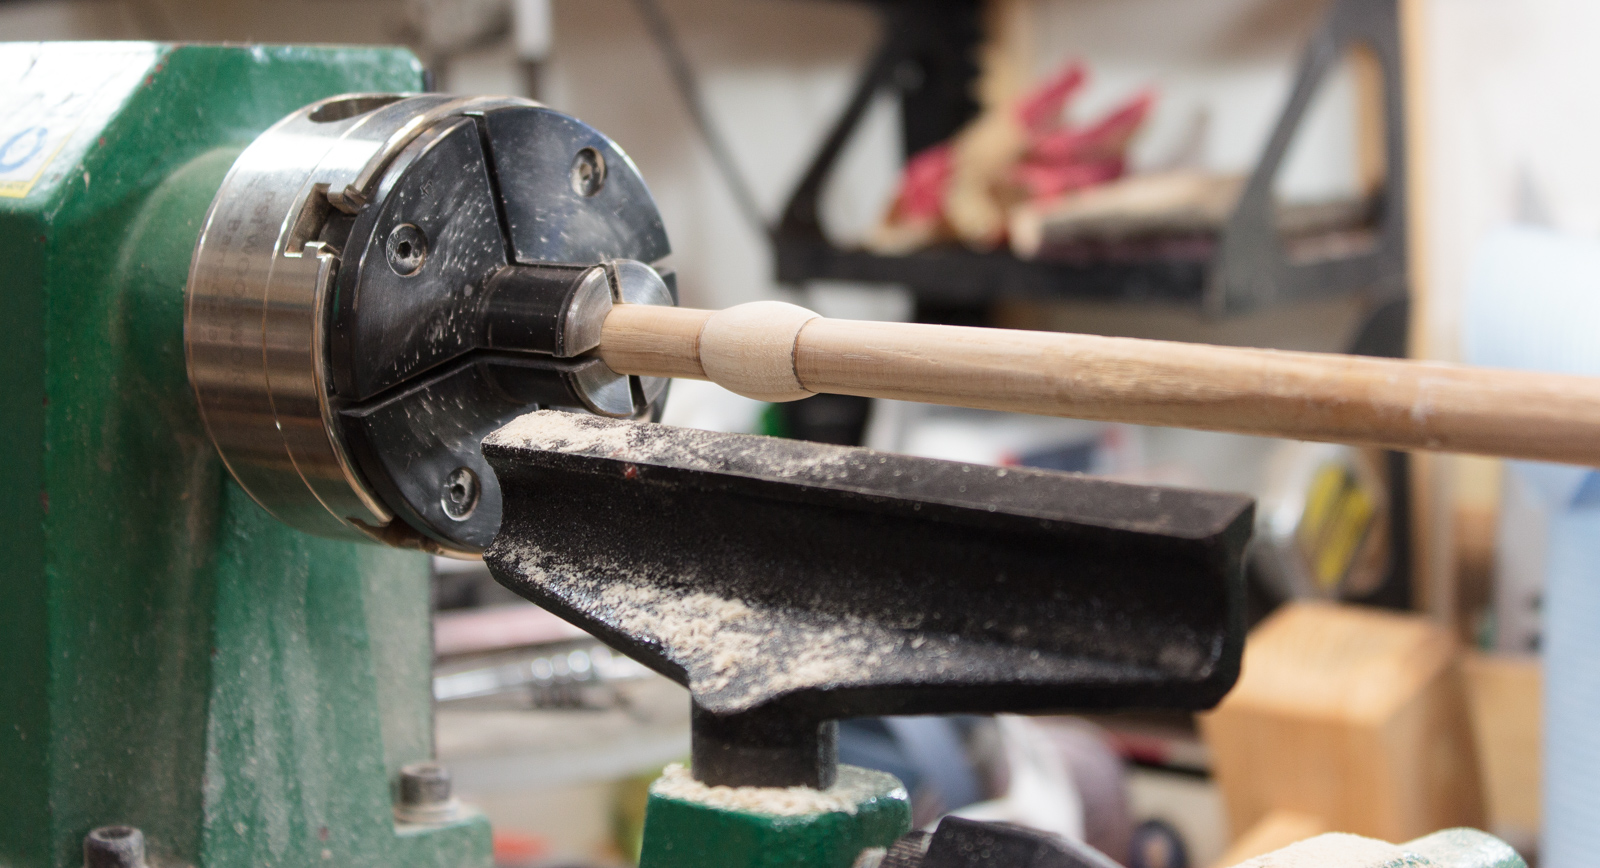
I sand my sticks to #320 across the grain on the lathe, then with #220 along the grain off the lathe.
From a lot of testing I’ve determined that any cross-grain sanding at the handled portion causes callous build-up or blisters. Finishing and sanding past #400 reduces the callous issue, but does not provide a strong grip. #220 with the grain is the perfect balance.
Done!
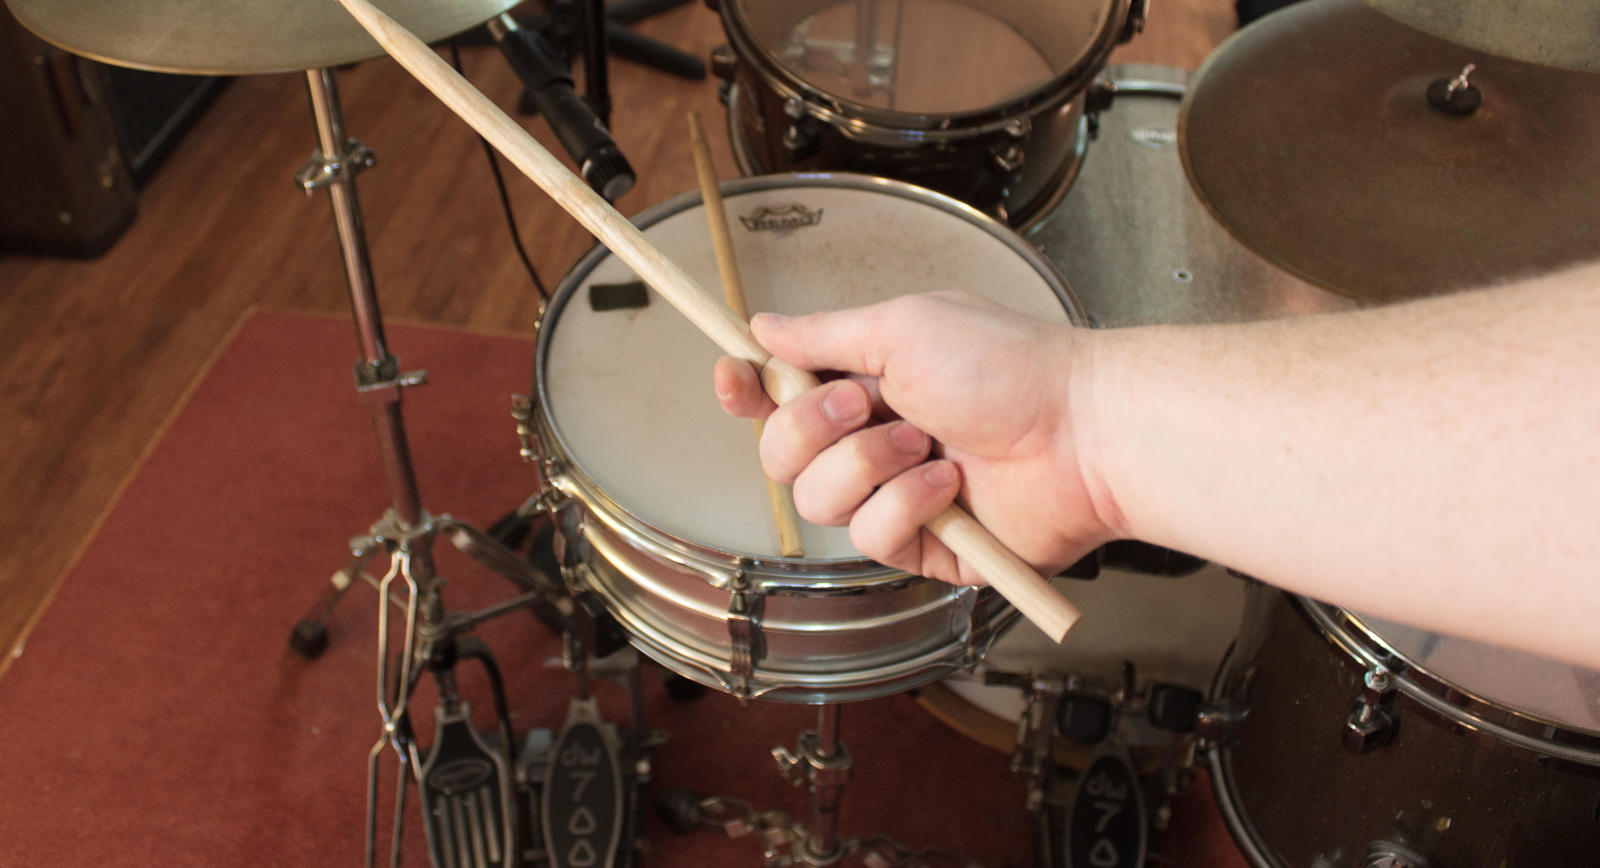
As you can see, these little bulges allow me to easily hold the stick with my index finger dead-center on the 3rd harmonic of the stick. Slipping will be minimized if not limited, and there should be some increase in rebound.
Reduction of overall power output is another benefit. It’s not difficult to hit the drums harder by engaging larger muscle groups, but increasing dynamic range through reduction of overall power is an easy shortcut to more dynamic playing.
If these attachments are successful over time, I will make myself a large batch of them. This is a much better solution than starting with an oversized stick and turning it down. I can easily experiment with position by using a releasable glue and it wastes significantly less wood.
I hope you enjoyed this, and I really hope that this allows me to play drums again.
Support me!
This post took 6 hours to research, photograph, write and edit. It contains ~1100 words, 8 photographs and a simple drawing. If you appreciate the information presented then please consider joining patreon or donating!